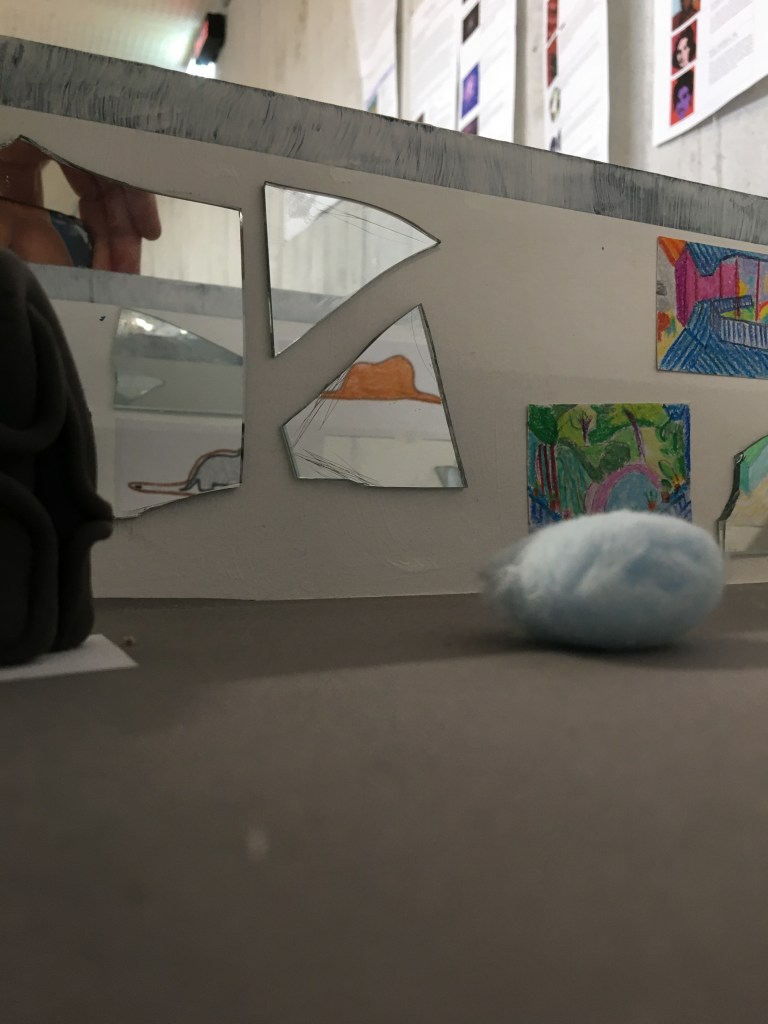
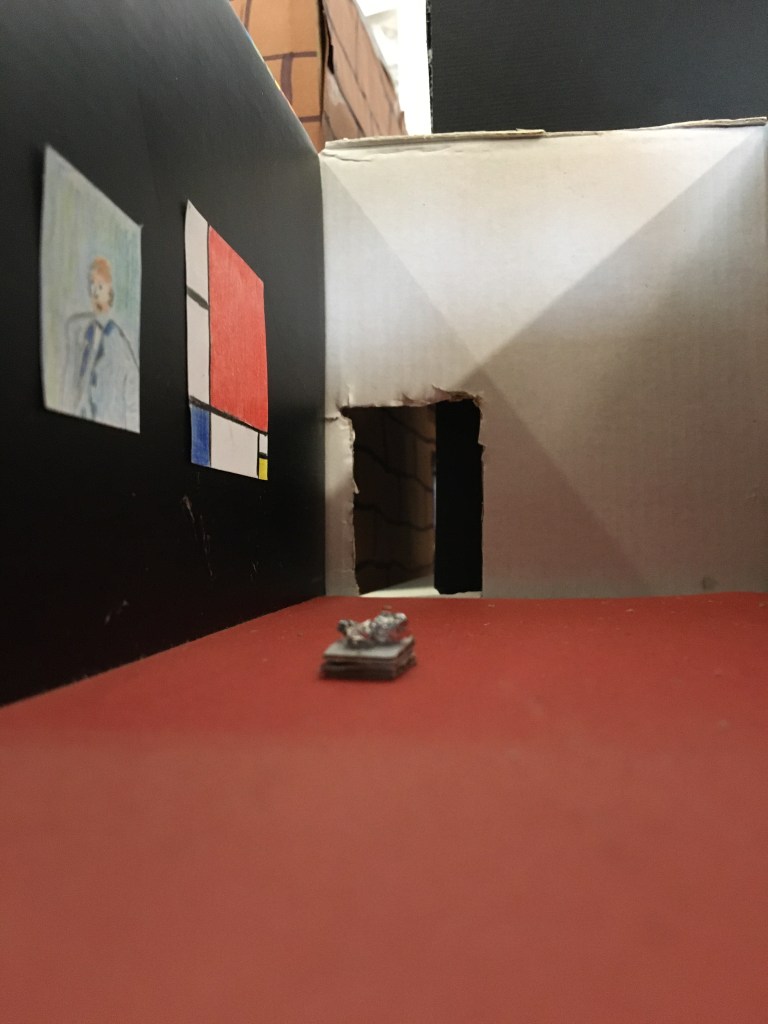
Nearing the end of lockdown during COVID, I wanted the students to create something to bring us all together. Some older students had mentioned missing going to the museum. So when I saw the Instagram post (listed below), I thought it might be fun to create our own museum! Each student would create a gallery which could then be connected to all other galleries, creating one big museum.
Mini gallery task handout as given to the students:
You will be curating a miniature exhibition of artworks that are conceptually related.
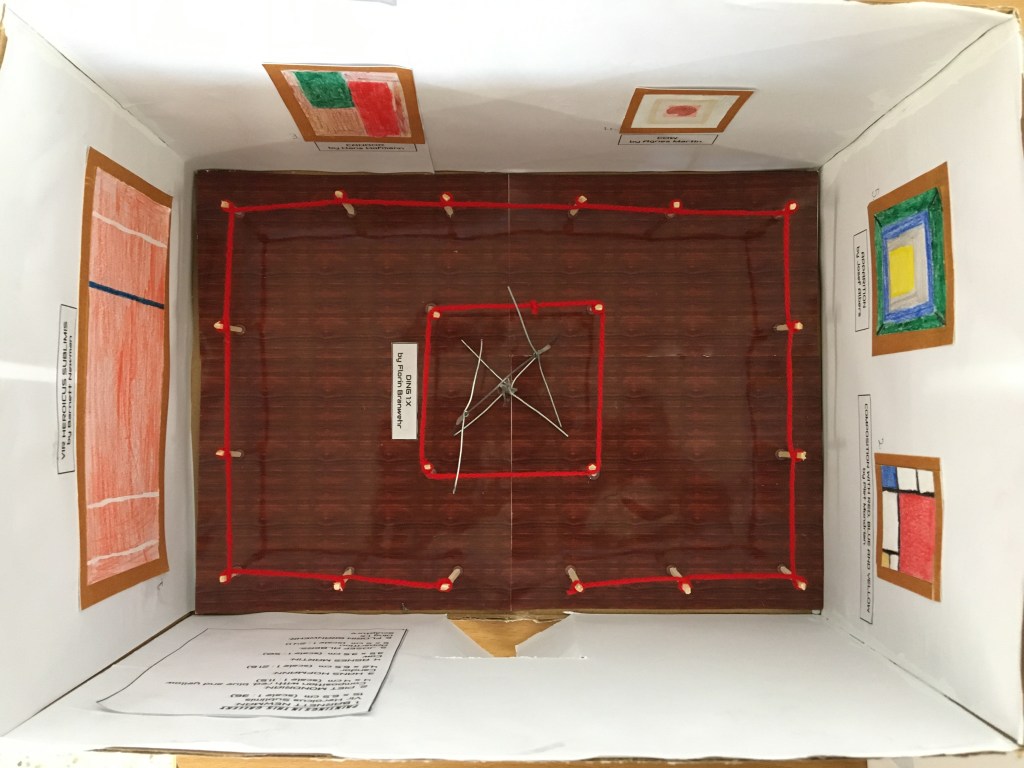
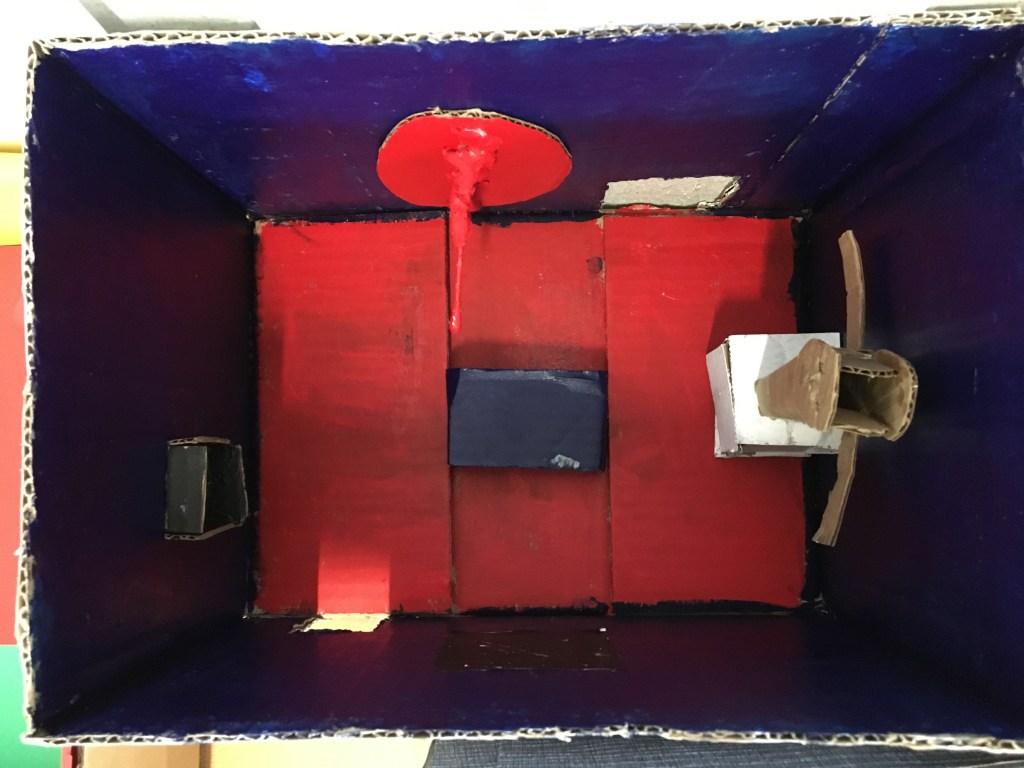
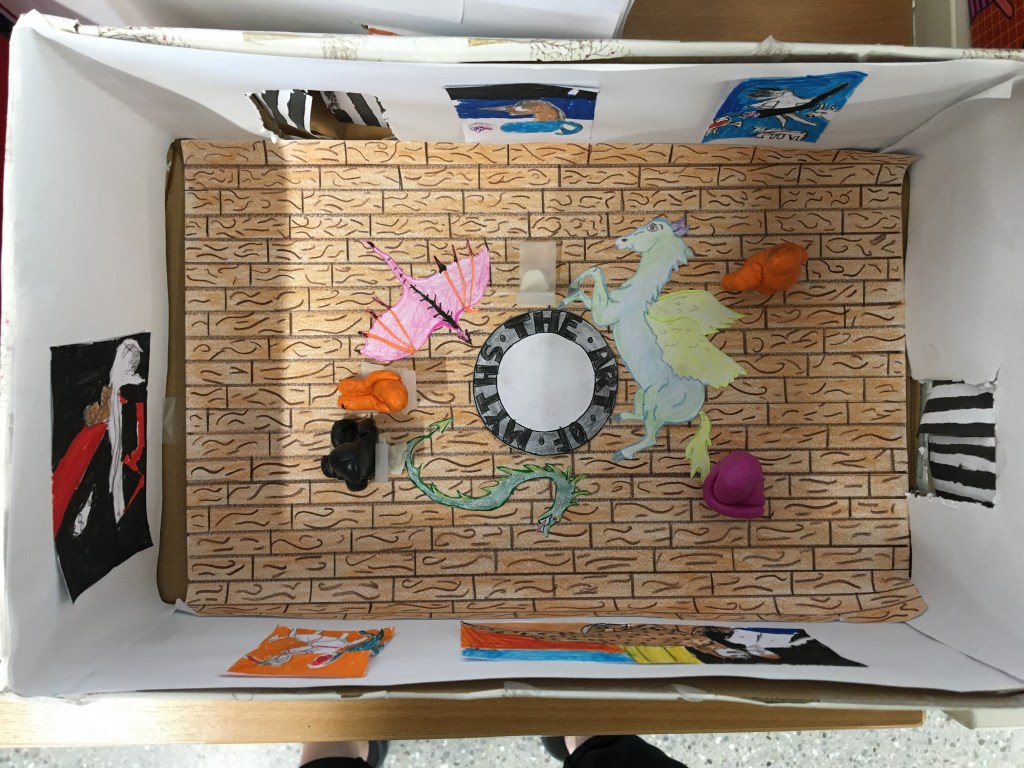
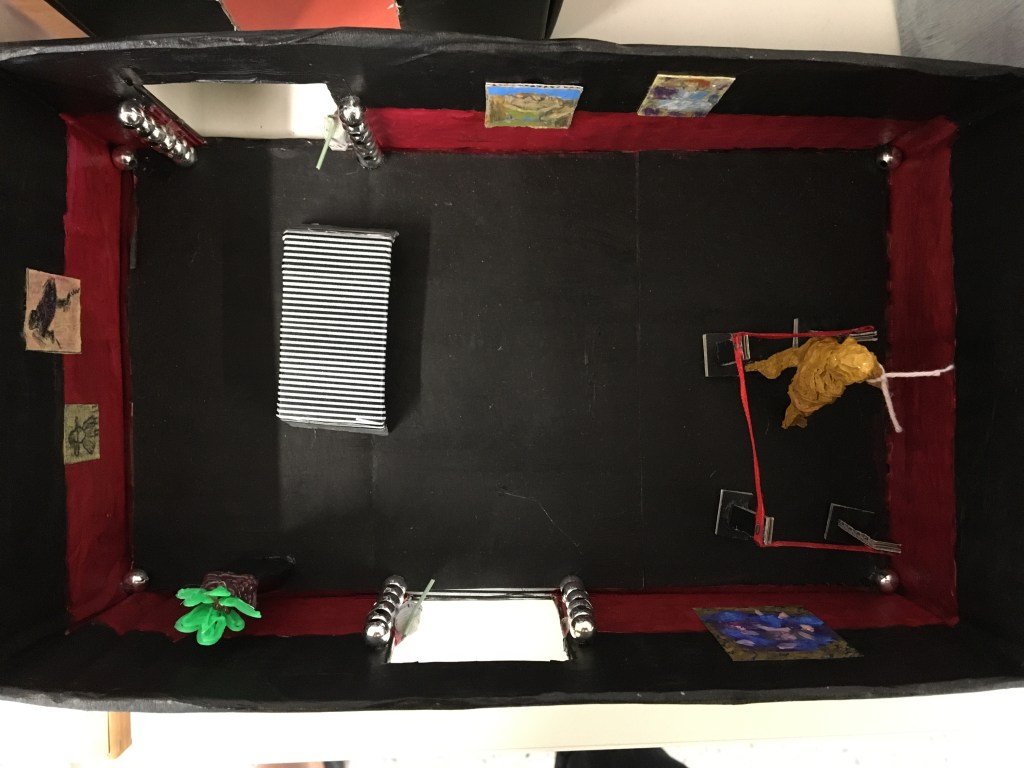
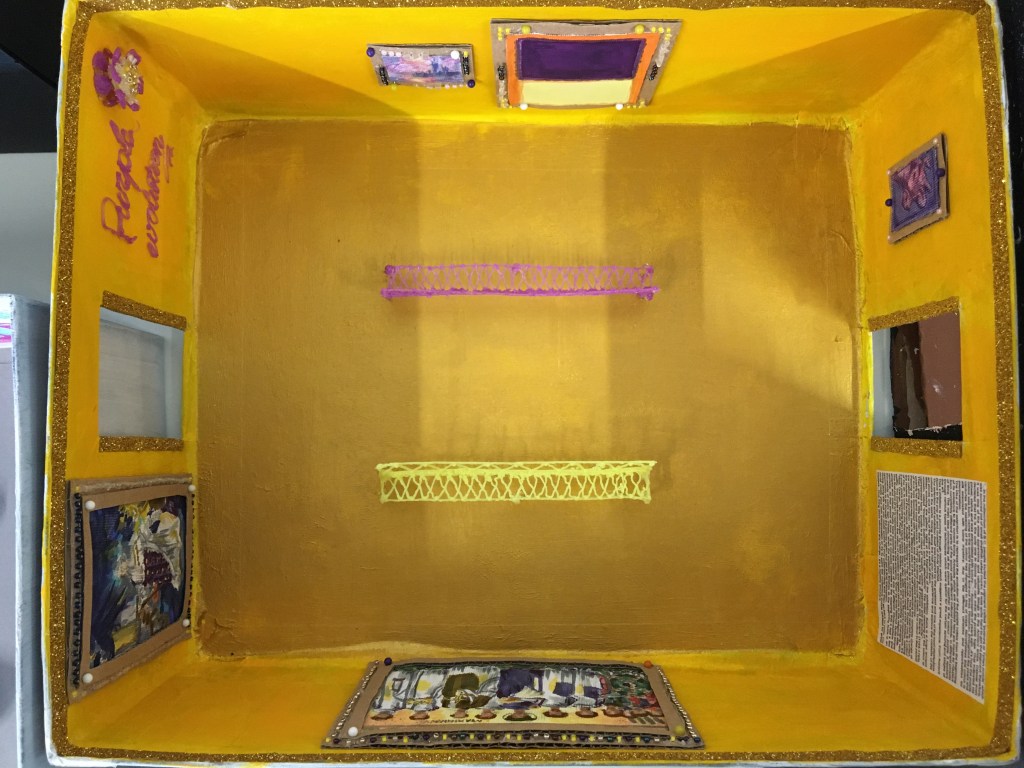
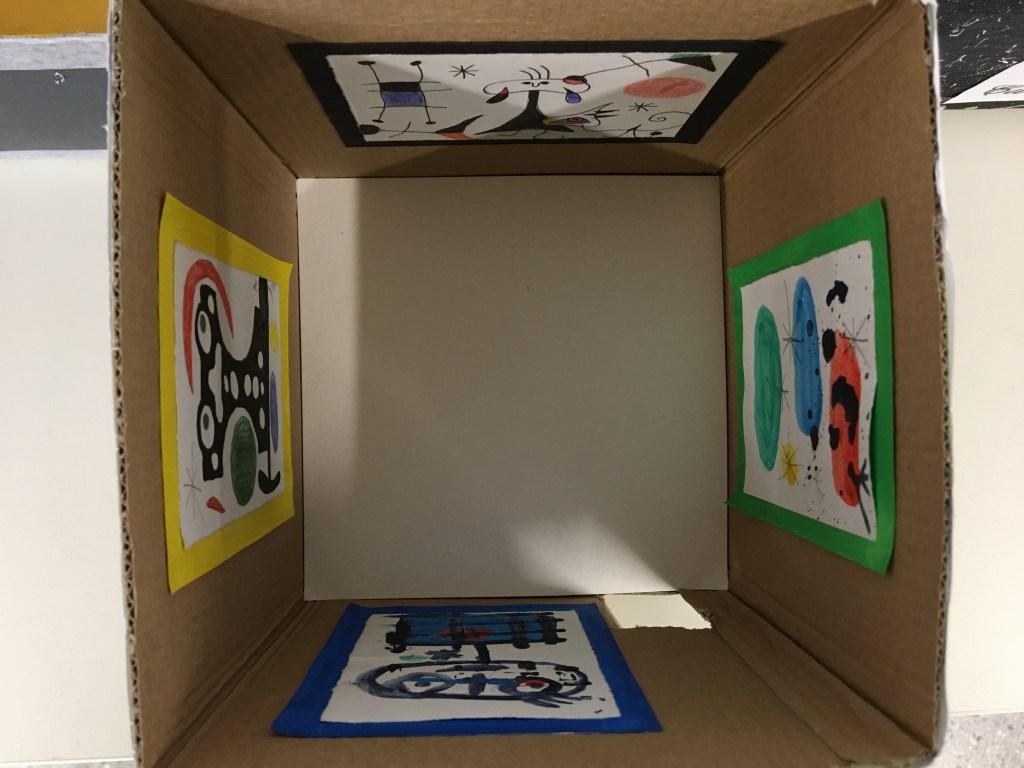
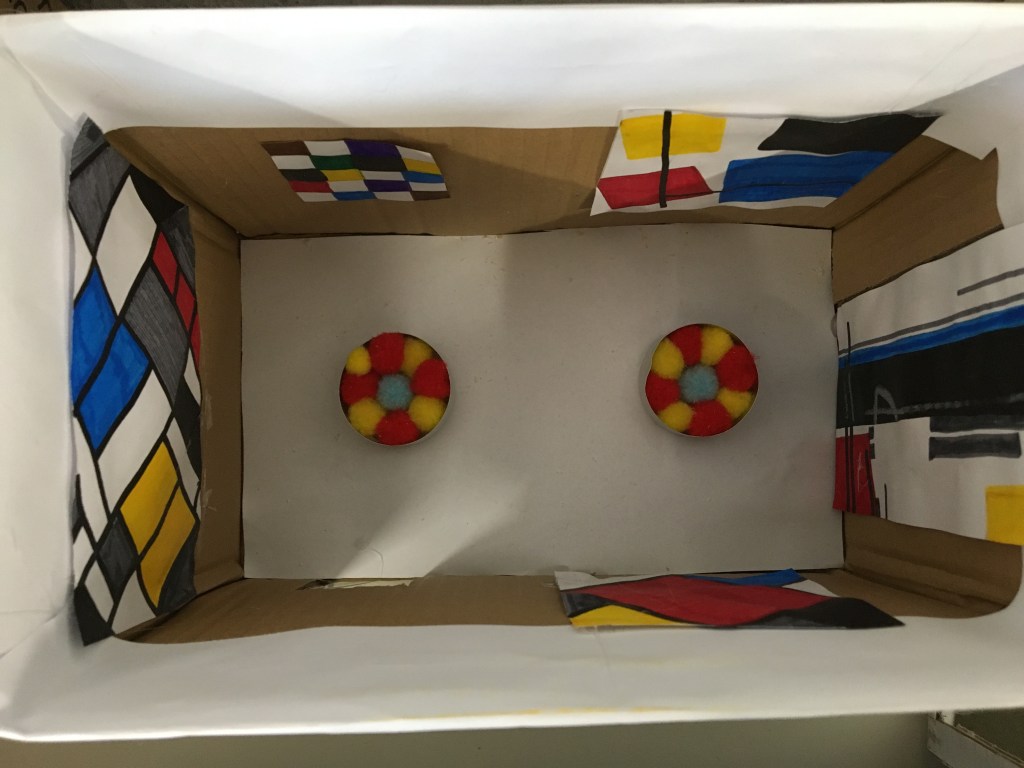
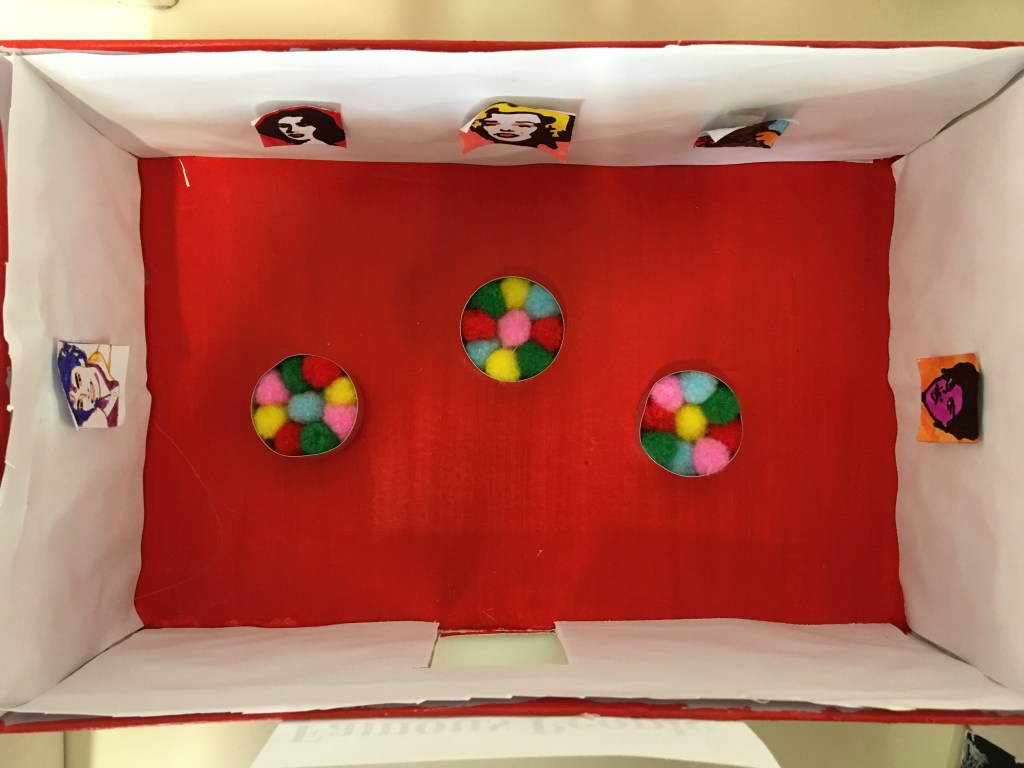
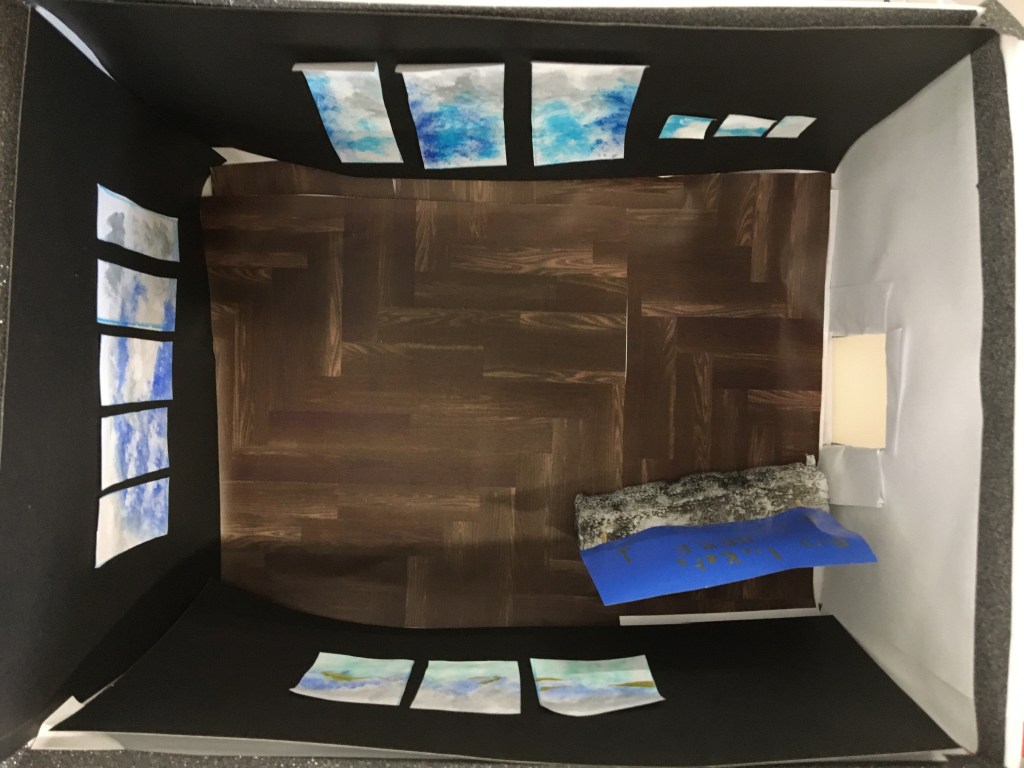
This exhibition will be in a cardboard box, on scale, with self-made copies of works of your choice. When we are back at school, we will connect all the galleries and place them in the hallway and cafeteria.
This project is inspired by:
https://www.instagram.com/p/B_FQZP8JXgY/
and
https://www.designboom.com/art/tezi-gabunia-put-head-into-gallery-05-25-2016/
Helpful Definitions
What is Curating? What is a Curator?
When we like a video on Youtube or an image on Instagram or Pinterest, in essence, we are curating. Curating is simply selecting and separating a set of images, objects, or ideas for the purpose of experiencing and contemplating them as a whole. The job of a curator at a museum is to put together an exhibition of artworks. Their selection is never random. The works usually have something in common. Curation is also how the works are exhibited in the exhibition space.
What is a Curatorial Statement?
A curatorial statement is an essay written by the curator meant to explain the rationale behind the exhibition. It is usually a persuasive essay that informs the reader about the premise of the exhibit and describes in detail some of the works in order to show how these works relate together and why it is significant to see them together.
Requirements
For the exhibit:
- The mini gallery must be an exhibition of 5 – 10 different works of art. These works can be in a range of art-making forms, including paintings, sculpture, textiles, video, etc.
- Grade 6: The works must share an atmosphere, mood, or emotion
Grade 7: The works must share some subject matter
Grade 8, 9/10: The works all must share some theme or concept
Grade 9/10: The works must come from a variety of cultural contexts - All the works must be scaled 1:30
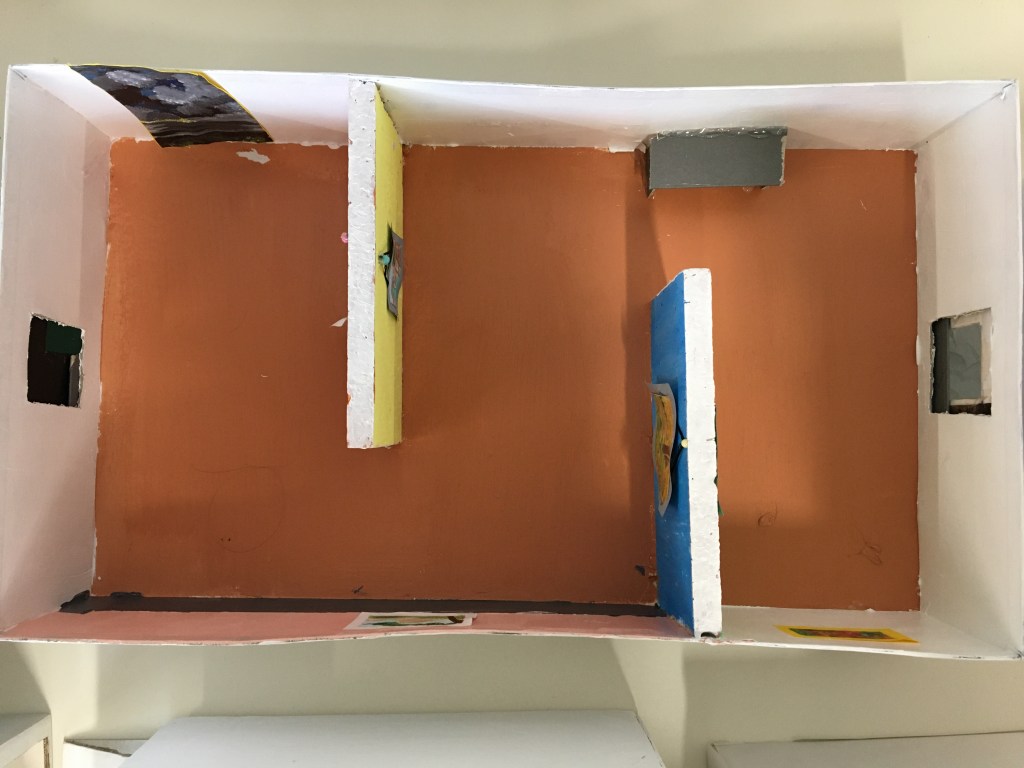
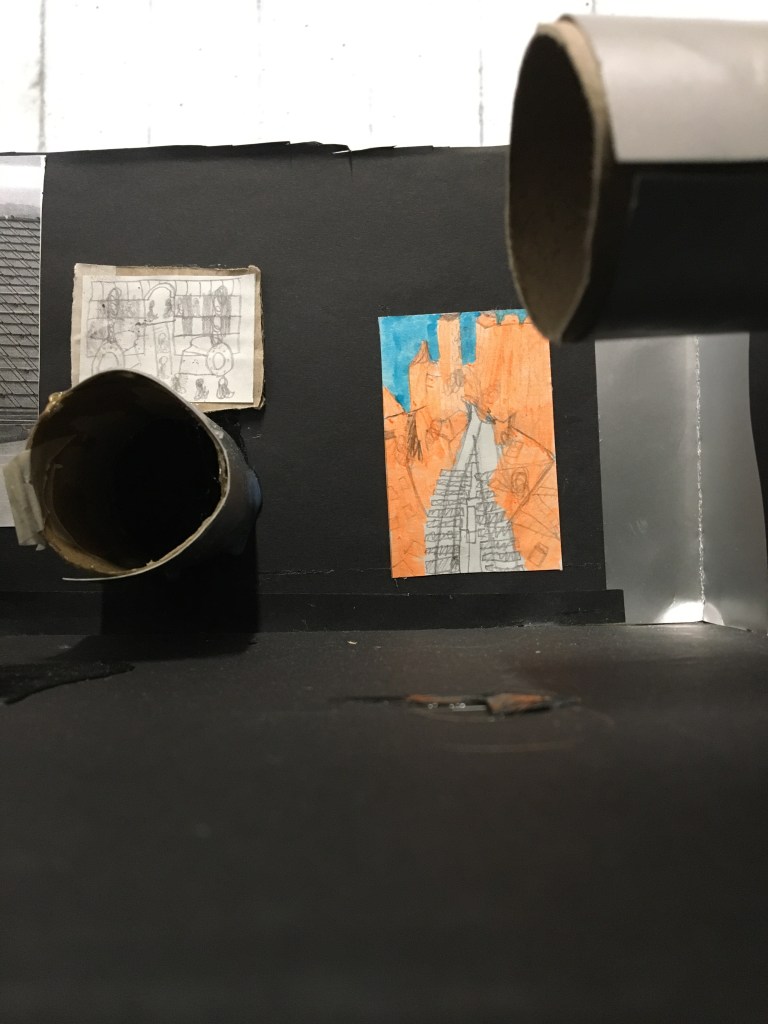
You can use this link to calculate your sizes https://www.ginifab.com/feeds/cm_to_inch/scale_converter.html - All the works must be within the box; the box must have an entrance and an exit
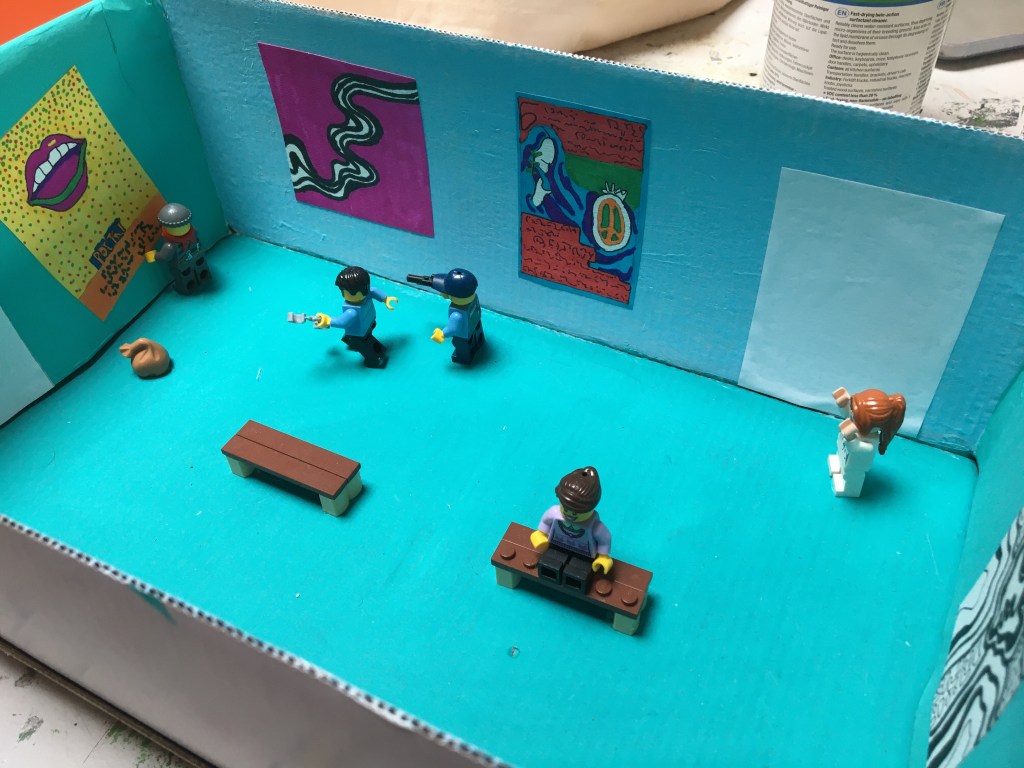
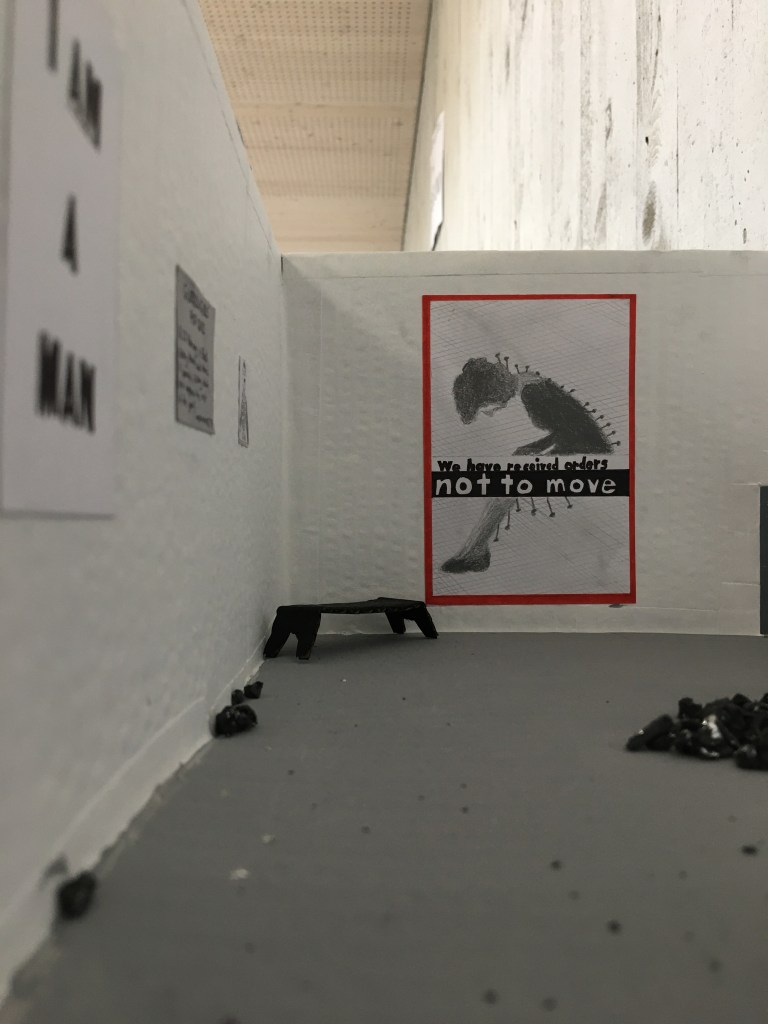
- Add details such as benches, frames, and people and make it look good!
For the texts:
- A 200 – 500 word curatorial statement explaining your exhibition
- A list of each work included in your exhibition, including citations and an image of the original work and an exhibition text
Citation format: Artist, Title, Date, Media, Size, Source
Learning and aims
What you’ll learn during this project
Through this project you will aim to:
- create and present art
- engage in a process of creative exploration
- understand the relationship between art and its contexts
- deepen your understanding of the art world
You will do this by:
- Looking at art through connecting concepts
- Researching art
- Writing about art, exhibition texts, and curatorial statements
- Curating your own exhibition
ATL’s you’ll need to do all this:
- Communication – you will communicate with your gallery visitors by curating your exhibition, designing your exhibition space, and writing the exhibition texts, and curatorial statements
- Research – You will research artworks and connecting concepts
Criteria:
For this project we are focussing on criteria A Knowing and Understanding, criteria B Developing Skills, and criteria D Responding
Lesson 1
During this lesson, you will choose your conceptual connection (theme) and select your works
Step 1: browse and research
Suggested sources:
https://artsandculture.google.com https://www.theartstory.org https://www.moma.org/learn/moma_learning/ https://wepresent.wetransfer.com
Also check the list of “sources and cool art websites” on schoology
- Browse these sites and see which works and themes you are attracted to, take note of these.
Rather than choosing a concept and then finding works that rigidly fit that concept, you can let your exploration guide you towards a concept. (you can have a look at “the ridiculously long art theme list”) - As you explore the art that is generated by your search terms begin looking for art that shares formal and conceptual elements. Remember to read the details of the works and any exhibition text for the images to gain better insight. As you search, you can continue to refine your search by adding other terms. For example, “power” may lead you to the idea of “enslavement” or “energy”. In the search field, you can add search terms by typing a comma between the words.
- In the Google arts and culture site, you can log in and save images of artworks into your own gallery. Otherwise you can save screenshots of the images and details.
Step 2: Curate Selection
You might have ended up with an enormous list of works (I had about 30 on my list!)
- Edit your gallery to a final 5 – 10 artworks that will form your curated exhibit
- Check if you have all the citations: Artist, Title, Date, Media, size, source
- Write a brief exhibition text, you can refer to existing exhibition texts of these works
- Check if the images you have are correct, make sure they are good quality
- Give your exhibition a title
- Add the information next to or under your image.
Tips for writing exhibition texts:
- Start with the citation: Artist, Title, Date, Media, Size, (Location)
- Then discuss biographical and contextual information, if relevant
- Present one to three essential points about this particular work to help your audience to look closer and understand more
- Word count: 30 –140 words maximum
- Questions that might help:
What is it? Why is it here? How was it made? How was it used?
What is the story or symbolism? What can I discover by looking more carefully?
Lesson 2
During this lesson you will create your exhibition
- Watch the videos on Schoology
- Collect your materials:
Needed: box, glue, pens/pencils, paper, scissors
Optional: paint/markers, tape, box cutter (be safe, have your mum/dad help you!!!!), extra cardboard, clay, wire, fabric - Make your gallery (follow the video): cut the entrance and exit, paint or glue paper the box inside and outside, to make the box neat.
- Add the title of your exhibition and your name on one side of the box, NEATLY!
- Create your artworks and place your works
Use the materials you have at hand to copy the works you choose. Make sure to measure them and scale them using this site: https://www.ginifab.com/feeds/cm_to_inch/scale_converter.html - Add details such as benches and frames
- Post images of your gallery in the discussion, respond to each other
Lesson 3
During this lesson you will write your Curatorial Statement
Congratulations curator! You have chosen the works for the exhibition, given it a title and made your gallery, now it is time to write a statement that will inform viewers about the show and make them excited to experience it.
Here are some guidelines:
- The text should be between 200 – 500 words
Grade 6 & 7: 200
Grade 8: 300
Grade 9: 400
Grade 10: 500 (don’t write a book!!!) - The initial paragraph should establish the overall premise of the exhibit, the main theme or concept of the show
- The middle paragraphs should describe detailed aspects about some of the artworks. Describe what they have in common and how they each illustrate the overall theme of the show.
- In the final paragraph, suggest the wider significance of your theme. Describe what you learned from putting the show together and/or what you hope the viewer takes away from the exhibit.
- As with any persuasive essay, think about your audience and any counter-arguments or opinions to your ideas and address one of them in some way.
- Beneath your text add the images of the work. For each image, include the artworks citation: Artist, Title, date, Media, Location
- Post it in the discussion and respond to each other
Guiding questions
Below are some questions to help you write your curatorial statement.
This is only for guidance, feel free to add, adjust, or change.
- What is the theme of the exhibition?
- How are the artworks connected?
- What do you want your audience to experience when they visit your gallery?
- What do you intend your audience to feel, think, experience, understand, see, learn, consider from the work you have selected for exhibition?
- Why have you exhibited the works in this way?
- How do the artwork work together to convey the meaning of the exhibition?
- How would your visitors walk through your exhibition (if it were life size?)
- How does the way you have arranged and presented your artworks support the relationship and connection between the artworks presented?
- How do specific artworks sit within the exhibition?
Lesson 4 (back at school)
During this lesson you will add the final touches to your gallery and exhibit your work
- Check your box
If you haven’t cut your entrance/exit, do that now
Make sure everything is neatly glued - Check your exhibition texts, look at the feedback you had, make changes if needed
- Check your curatorial statement, look at the feedback you had, make changes if needed
- Print out your texts
- Find a place for your gallery, make sure the entrances and exits connect. Use double tape to connect the boxes. Make sure your name and the exhibition title are visible
- Place your texts near your gallery


Making a mini gallery box step by step
Option A: you have paint
- Tape all the corners and cracks on the inside and outside of your cardboard box
- Carefully cut the entrance and exit of your gallery. Size: 5 cm wide and 6 cm high.
- Tape the edges of the entrance and exit
- Paint all the sides of your cardboard box, inside and outside. If you don’t paint all the sides, the cardboard will buckle (= go all wobbly and wrinkly)
- Let dry
- Add second layer if necessary
Option B: you have paper and glue
- Tape all the corners and cracks on the inside and outside of your cardboard box
- Carefully cut the entrance and exit of your gallery. Size: 5 cm wide and 6 cm high.
- Tape the edges of the entrance and exit
- Start with the floor of your gallery
- Put the box on top of the paper, trace along the edges of the box
- Cut the paper out just inside of the lines
- Glue all over the paper, make sure to get it on even, without chunks, and in the corners.
- Carefully lay the paper in the box, make sure it is flush with the sides of the box.
- Rub the paper to make sure there are no bubbles or wrinkles and that the paper lies smoothly on the floor.
- Next do the walls, lay the paper inside the box, trace the entrance/exit if necessary.
- Cut the holes, glue the paper neatly in place
- Repeat for all walls, inside and outside
Notes:
Your gallery walls can be any colour! You can cover your walls in coloured paper, wrapping paper, news/magazine paper. The walls don’t need to be white, your floor doesn’t need to be brown.
Be creative, think about what fits with your exhibition!
Curation goes beyond selecting art works, it is about creating an experience!