-
Light Painting in Savona with Fujifilm TX30ii
These photos are from a while ago. We travelled down to Savona, Italy for a short break in early spring 2023 to an Airbnb with a great few of the sea. We sat on the balcony wrapped in blankets eating pizza and olives for most of the days enjoying the view. We especially enjoyed the activity of boats refuelling at just off shore and smack bang in the middle of our view. At night the station lit up and I decided to experiment with my Fujifilm TX30ii and long exposures. Here are the results.
-
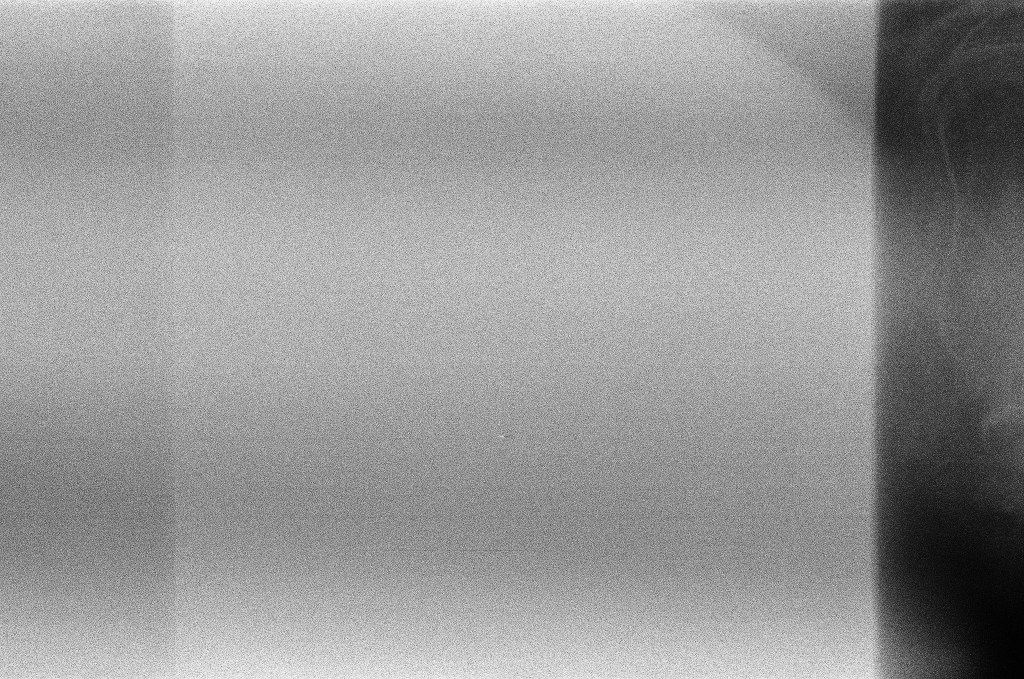
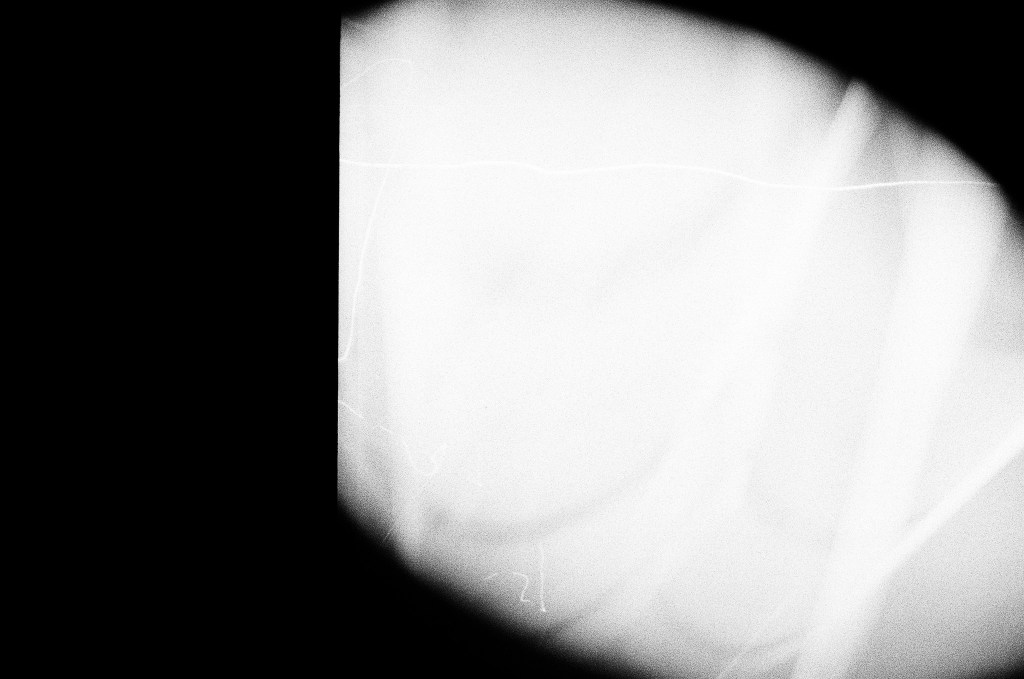
What happened to my film?!
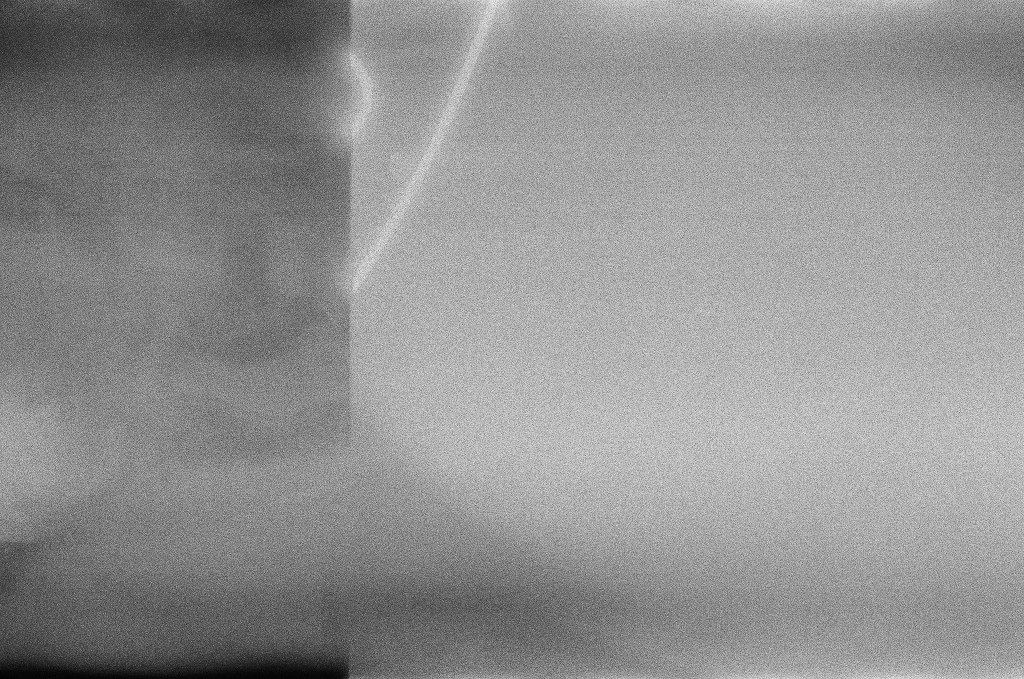
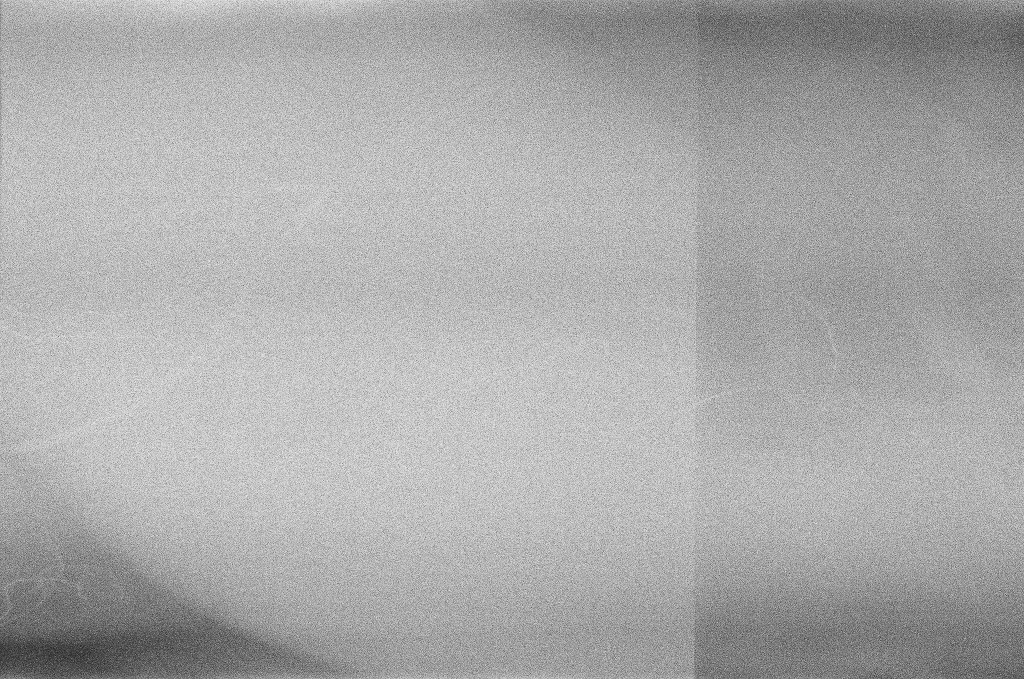
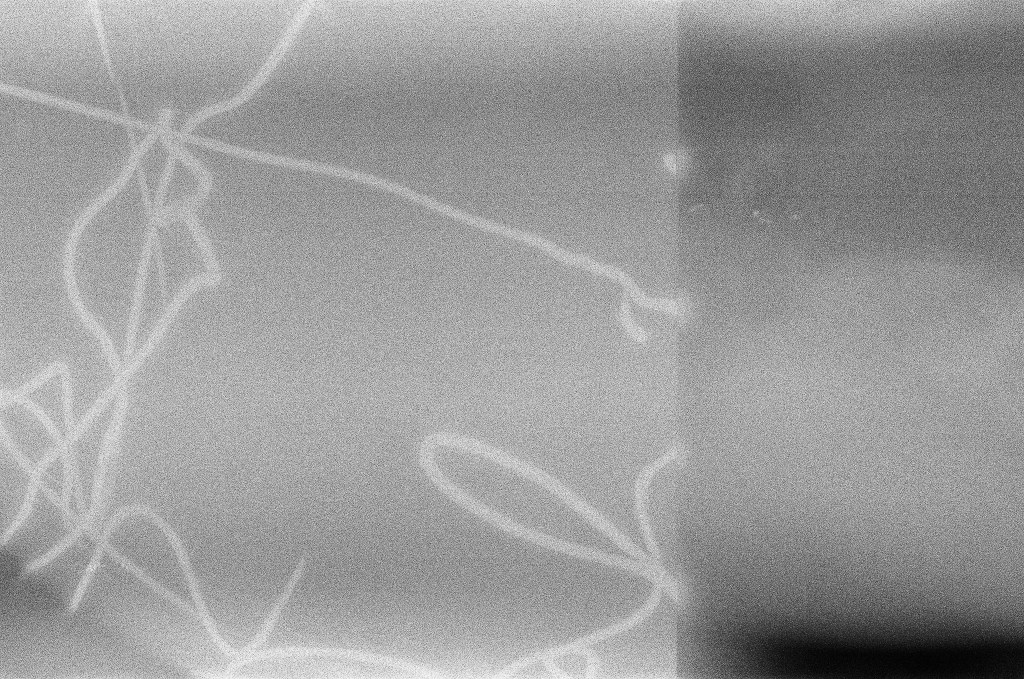
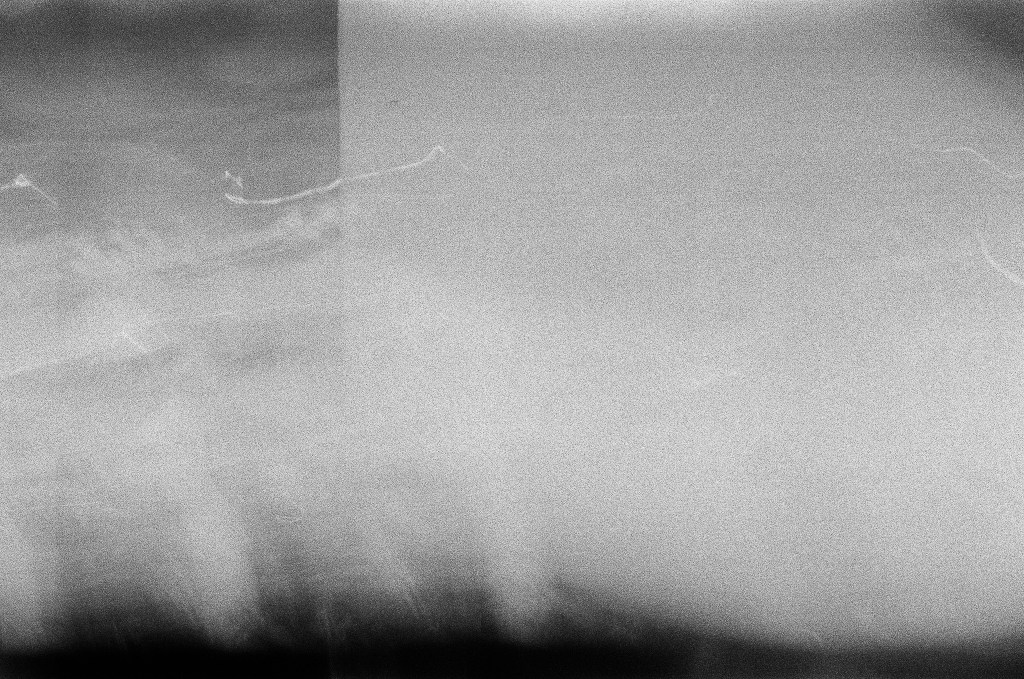
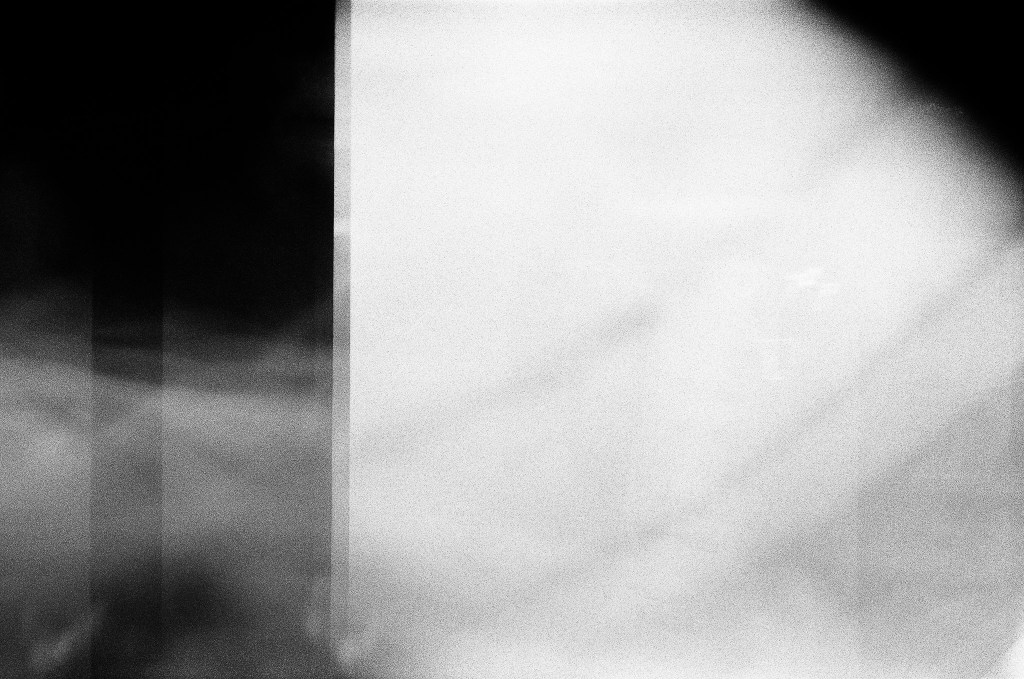
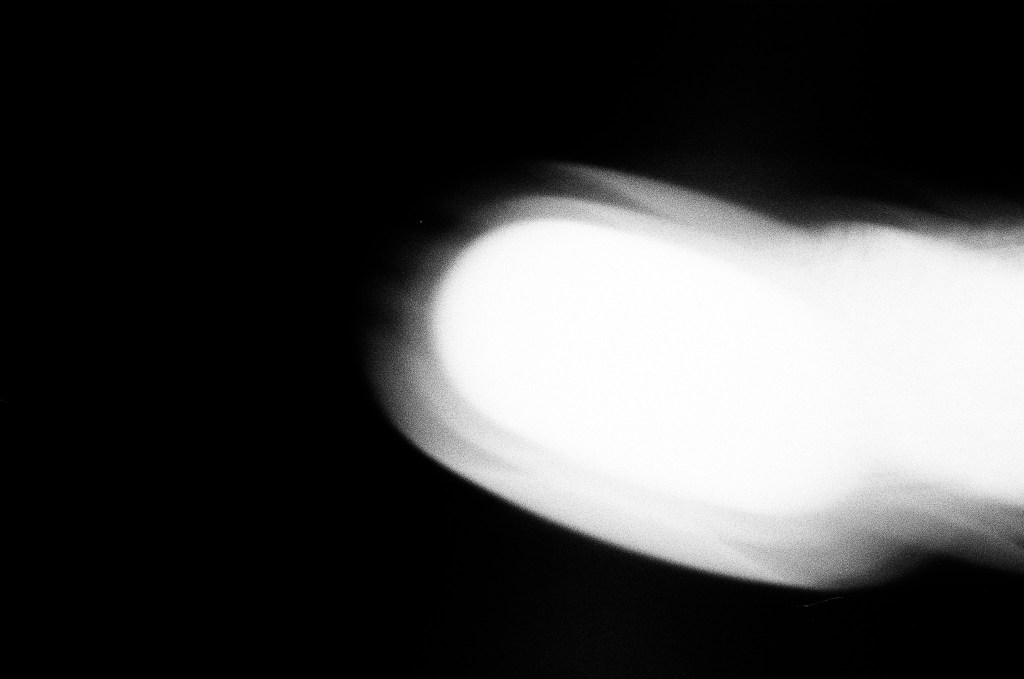
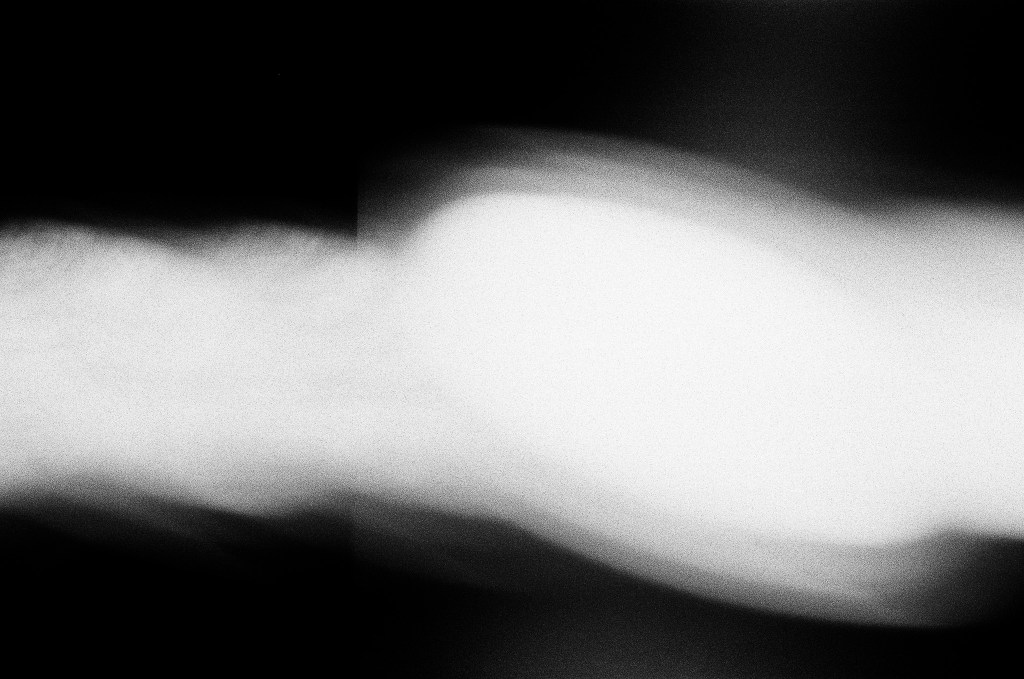
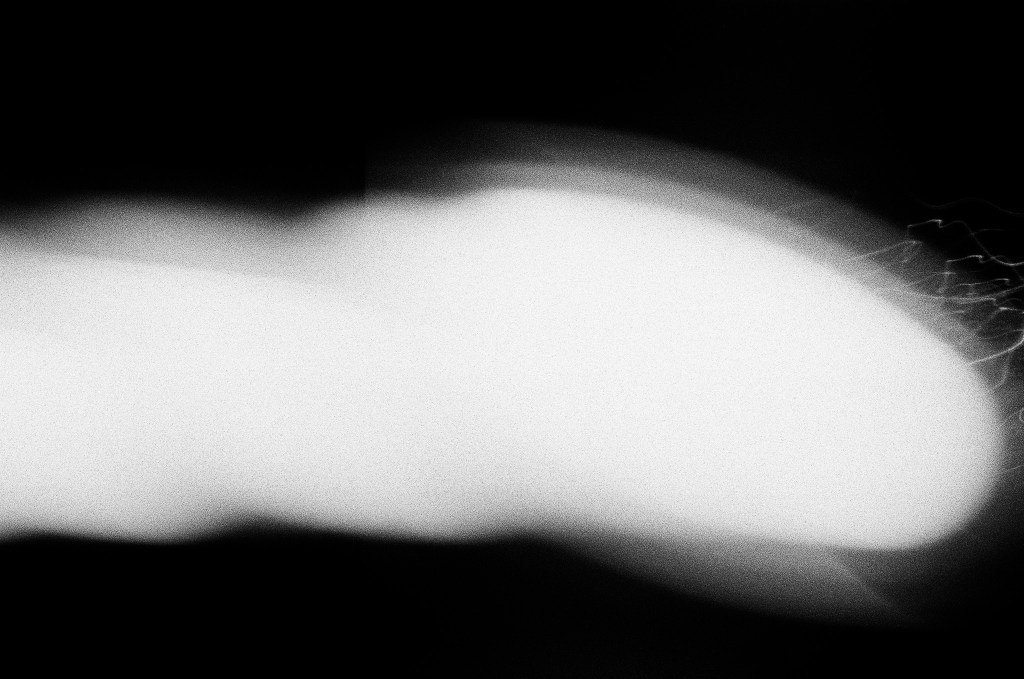
I originally thought I had shot this roll with my Diana Mini, but now I’m not so sure anymore. I had this roll laying around for quite a while and of course did not label it in any way, so I don’t know when I shot this roll or with which camera.
I assume it must have been a light leek, but not knowing which camera this film came from makes it difficult fix!
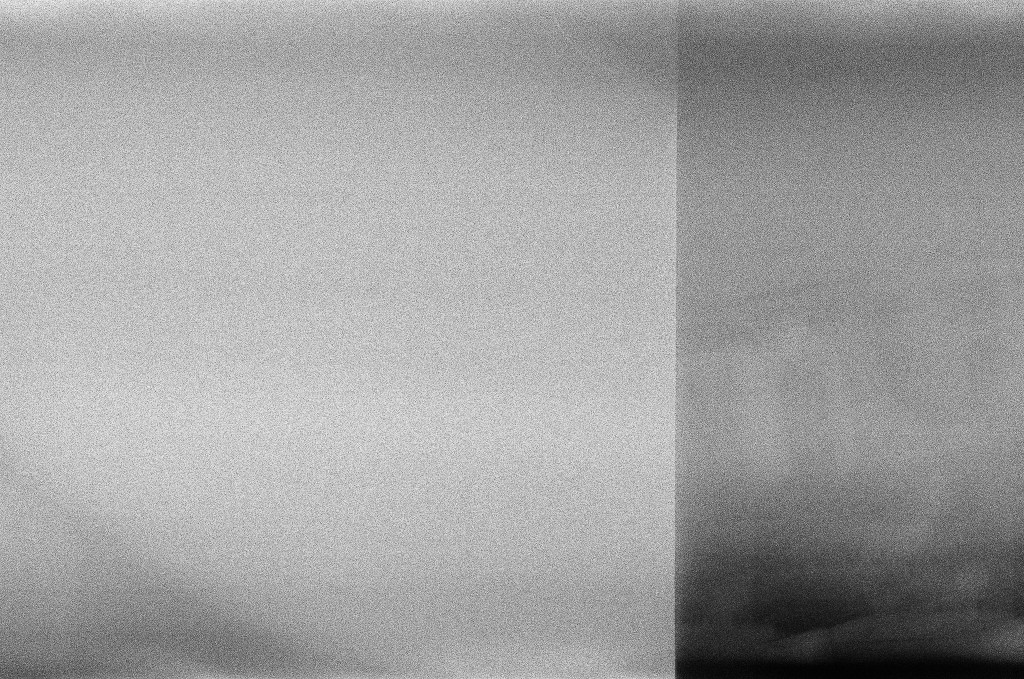
All photos turned into these strange abstract vistas that remind me of misty scenes from some dark period drama set in London. Although I kind of like these images, I mourn for all the photos I could have had.
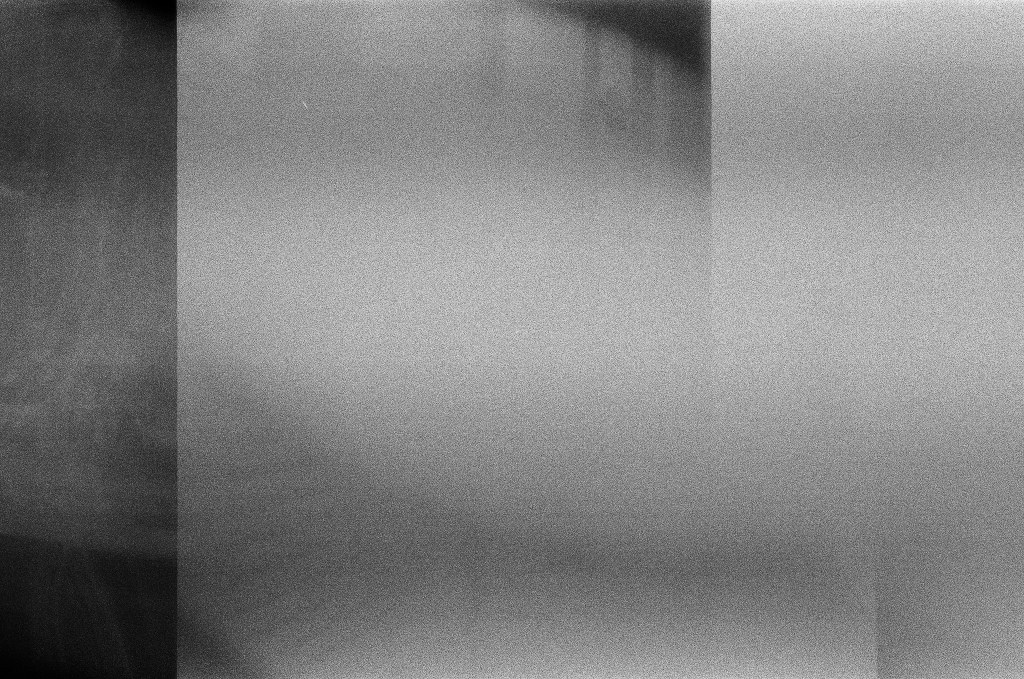

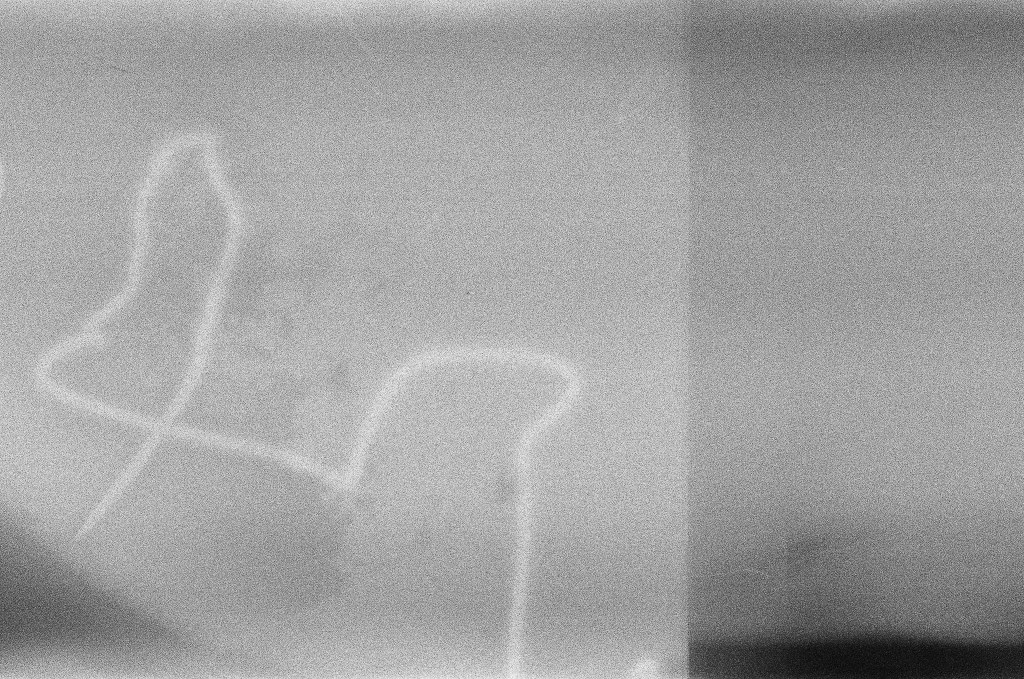
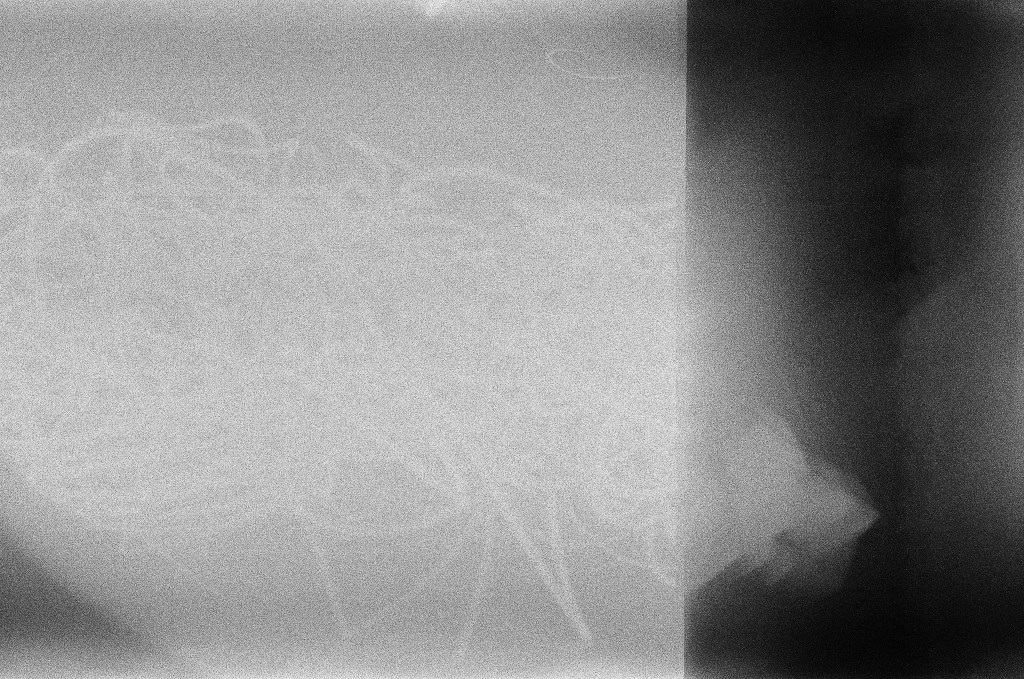
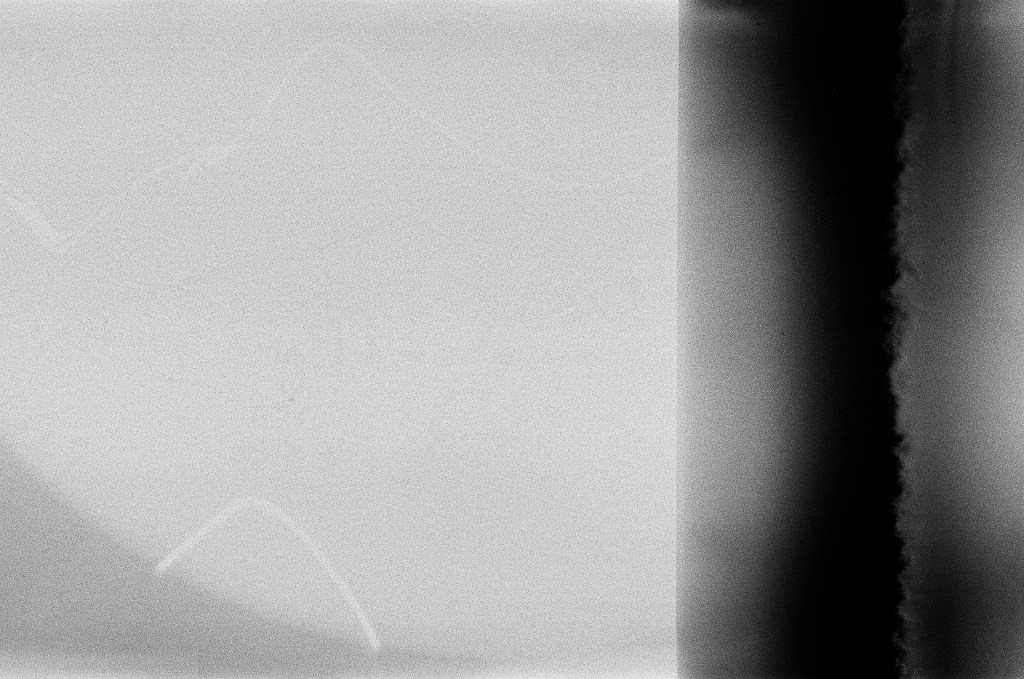
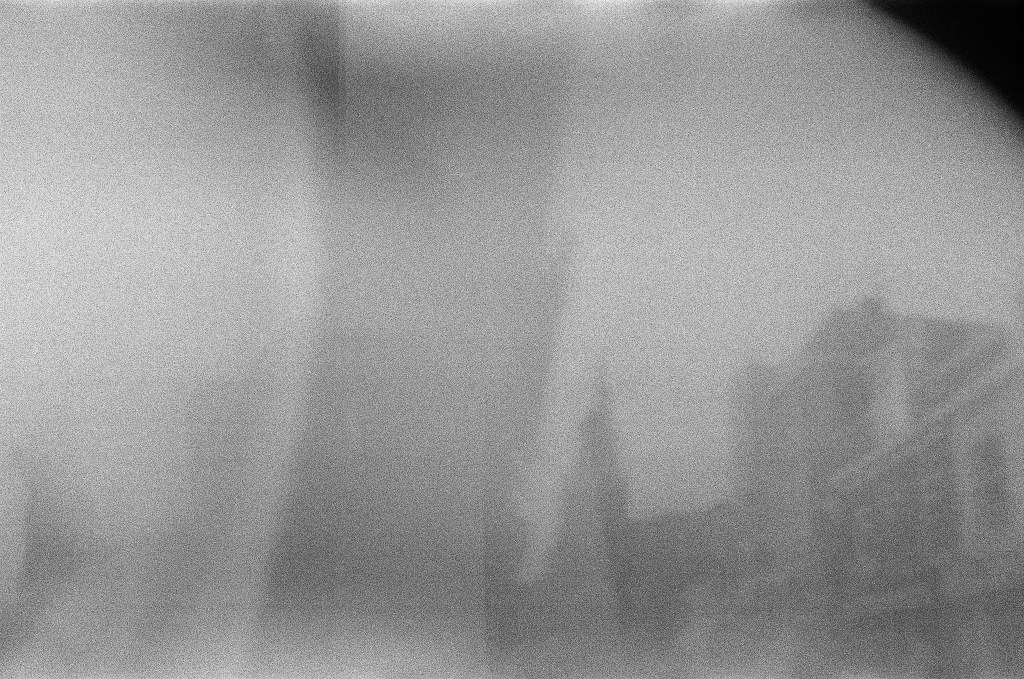
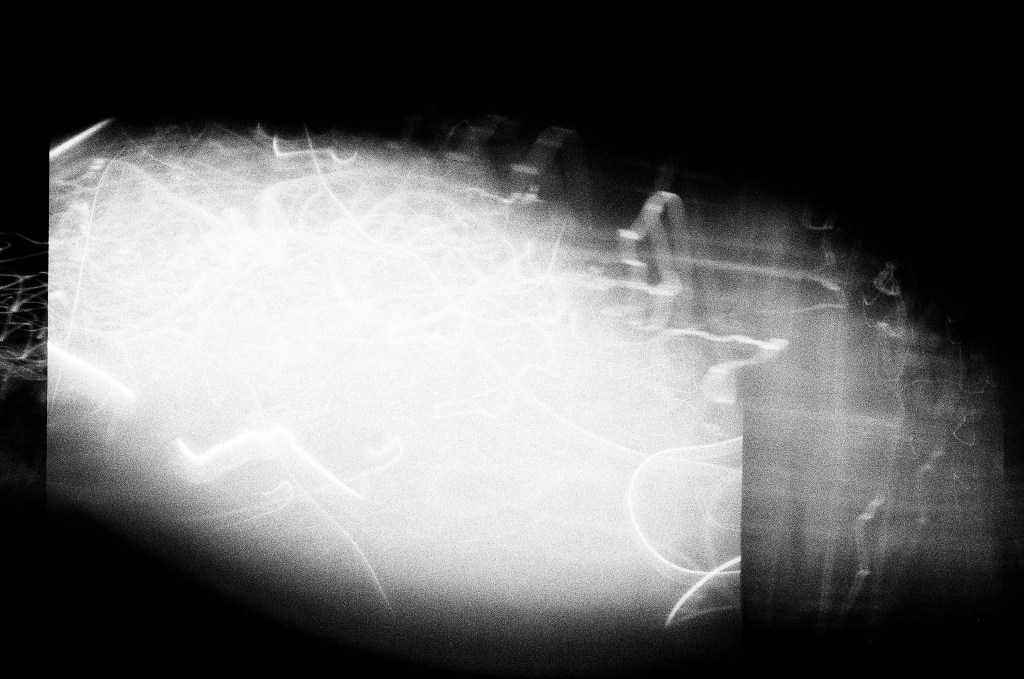
In the photo below I can see what looks like a row of houses. I think this might be a photo I took last summer of the street I grew up in. This was the fourth photo on the roll.
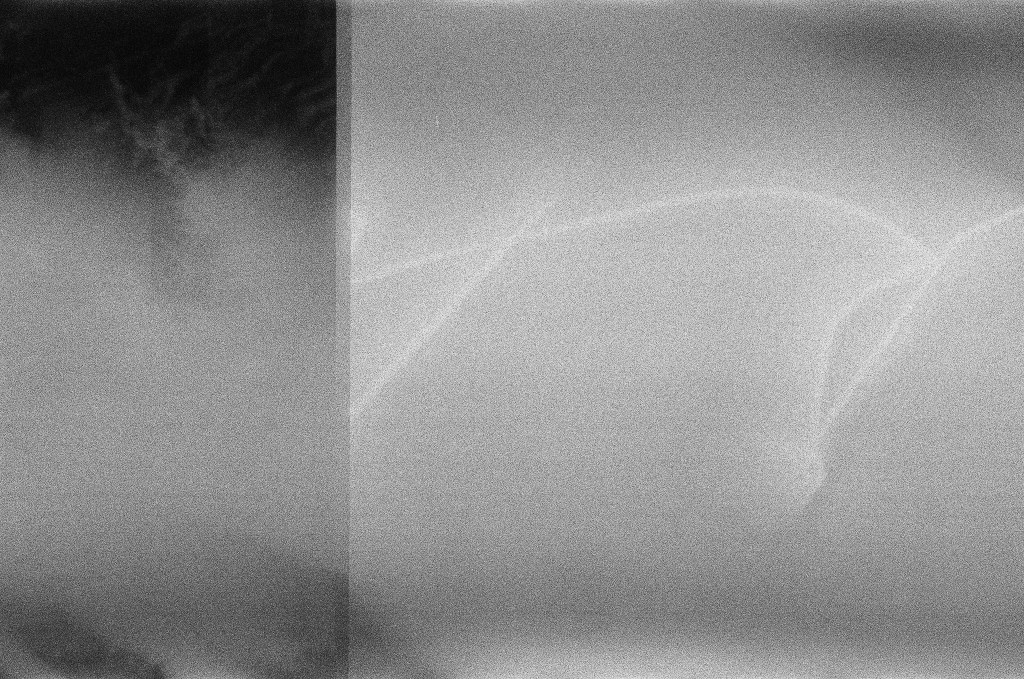
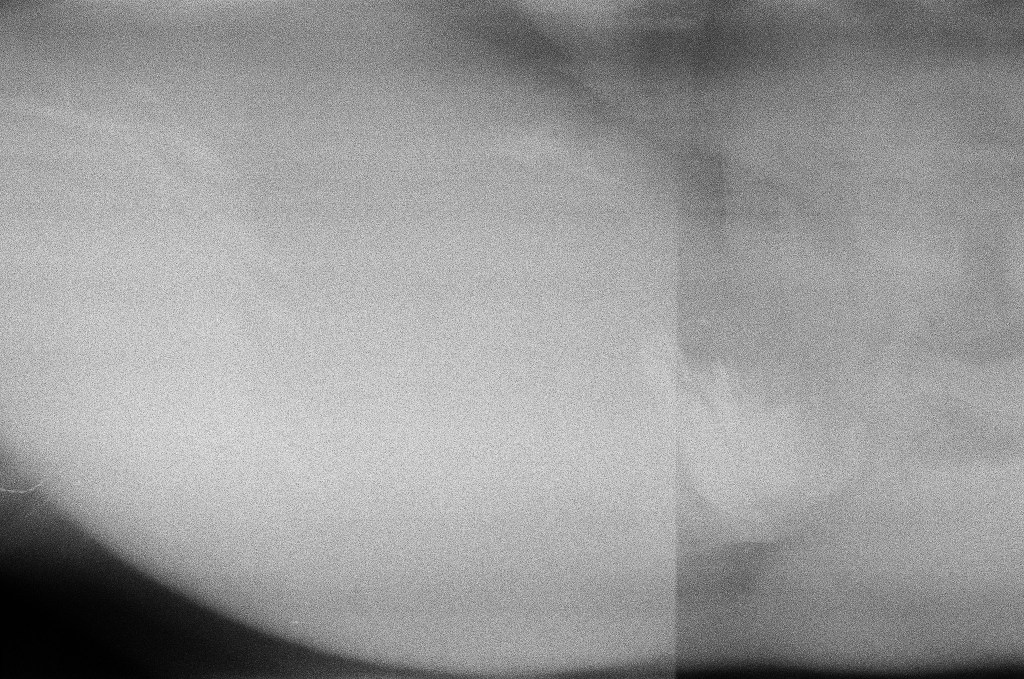
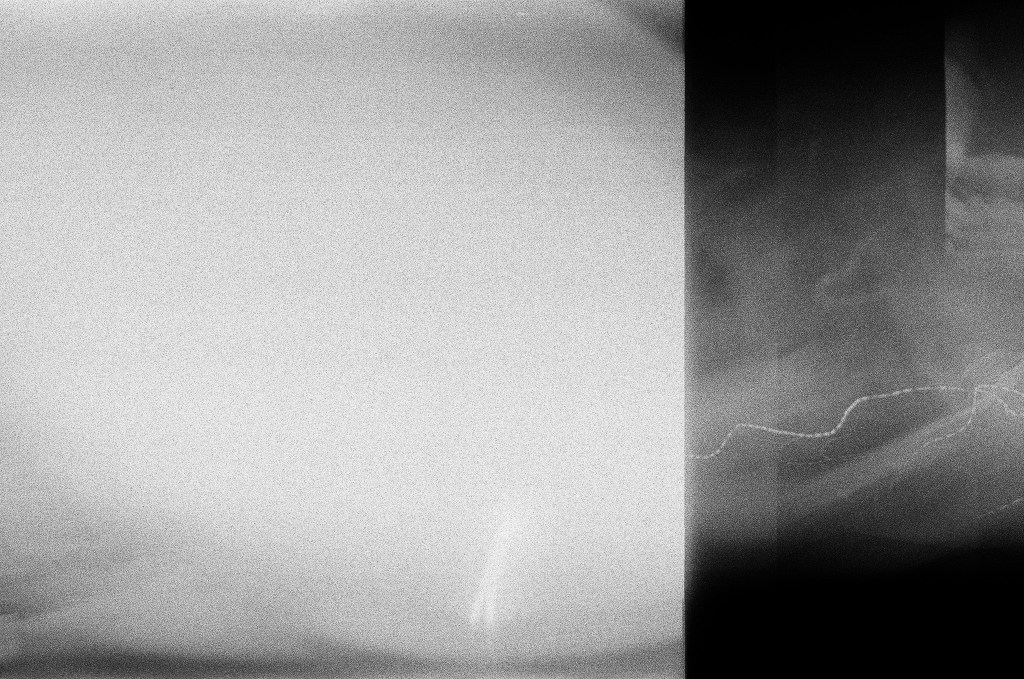
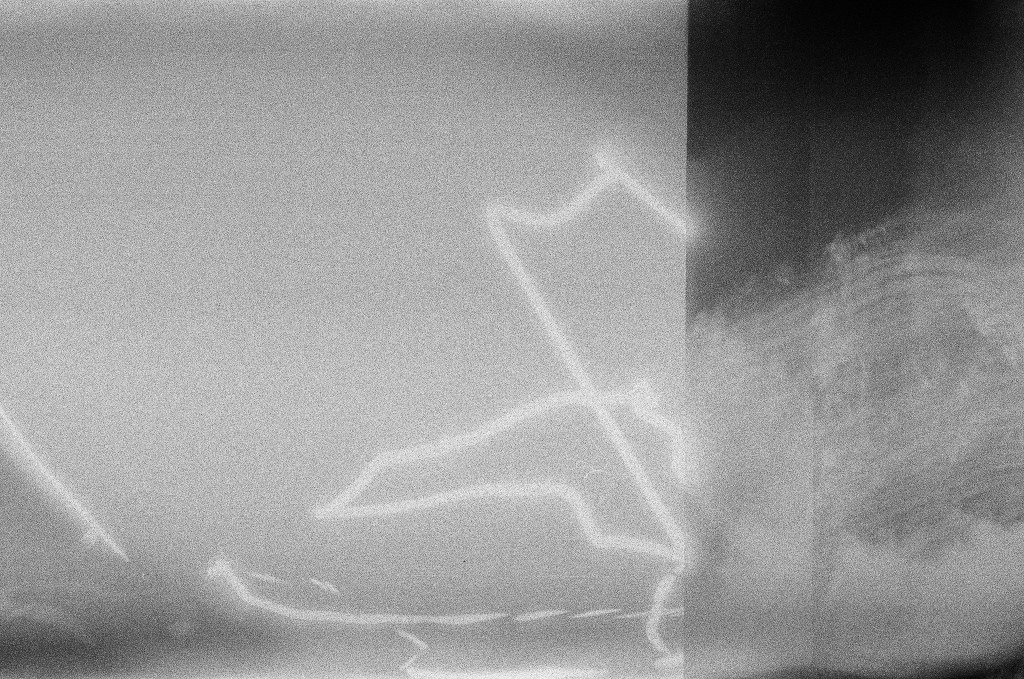
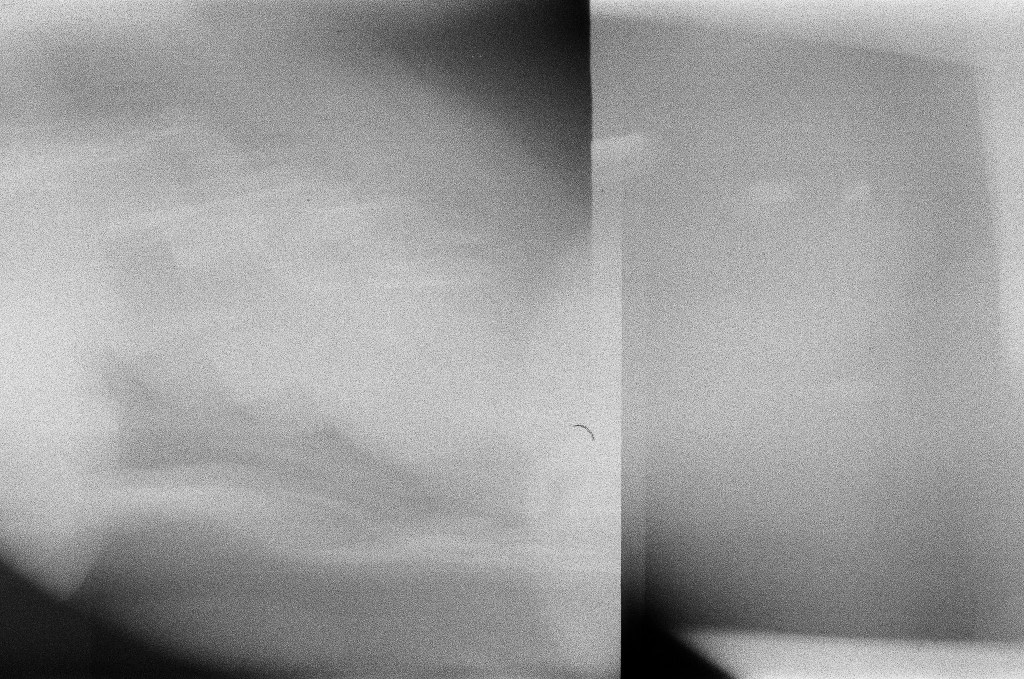
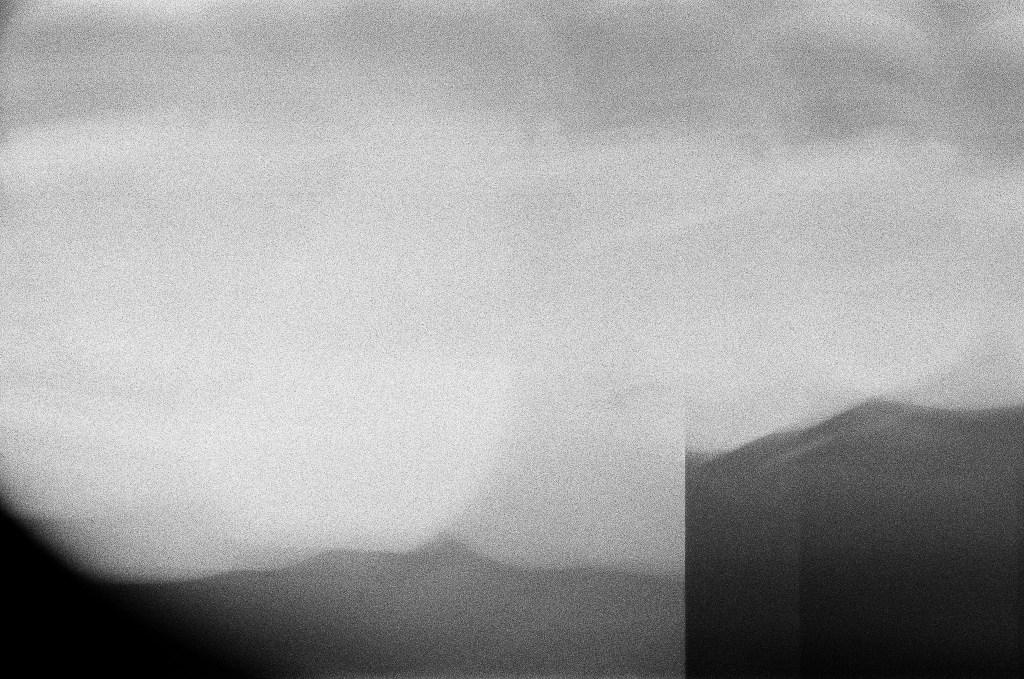
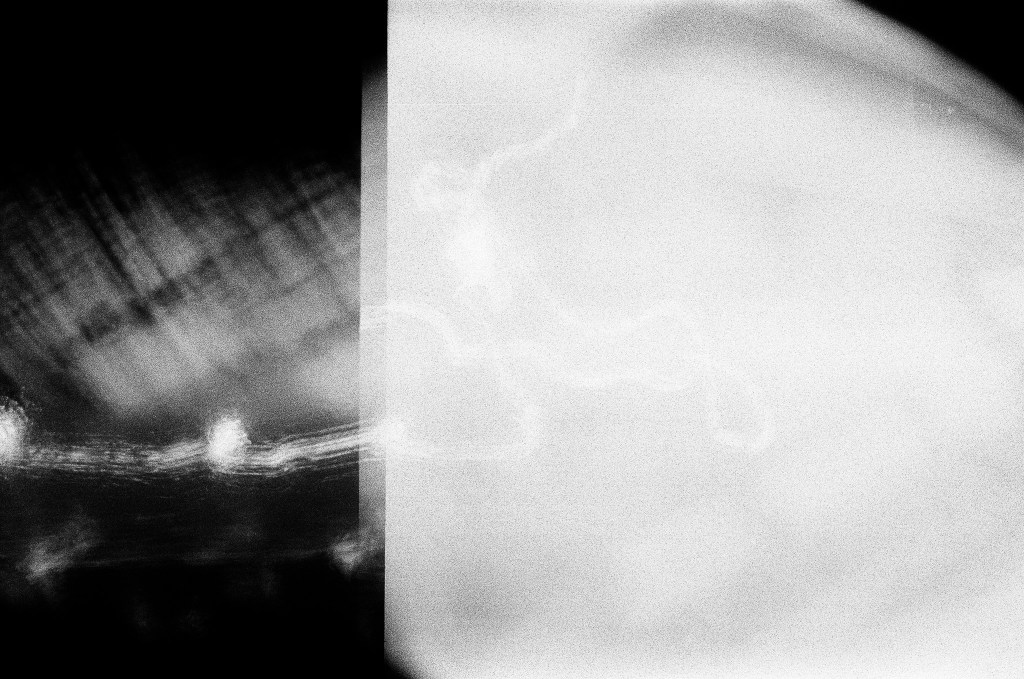
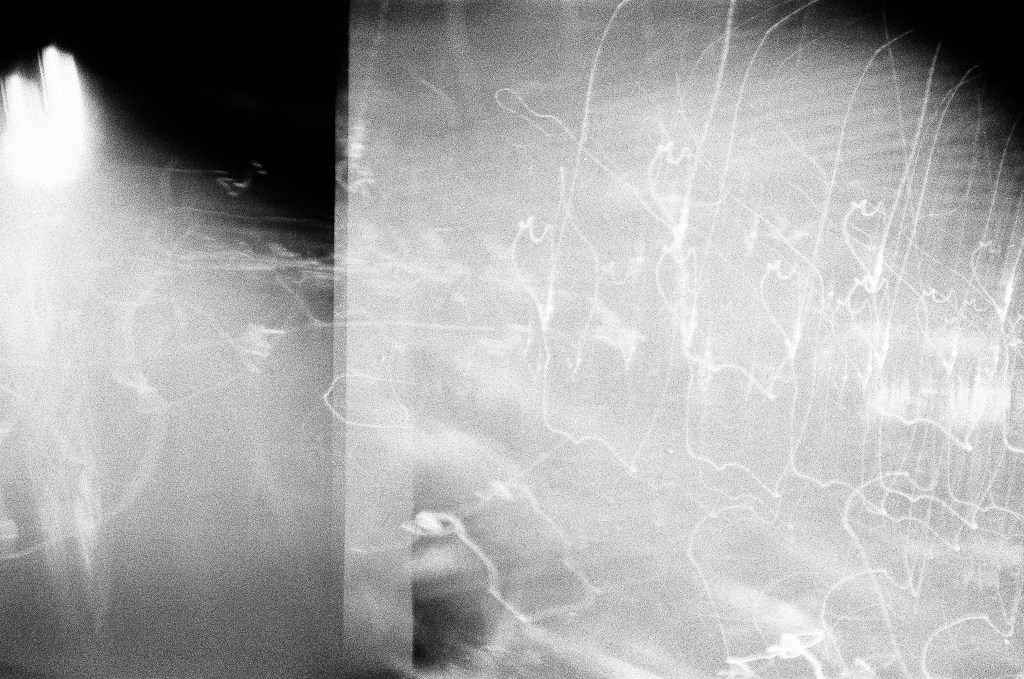
The rest of the roll has a much higher contrast and this light trail that spans several frames. In the first and second photo there is something of the scene, perhaps these could be lights in the distance.
I had my film developed and scanned by the photo lab, and I think perhaps the frames were not cut correctly, as it looks like the image that now spans photo one and two should be one image.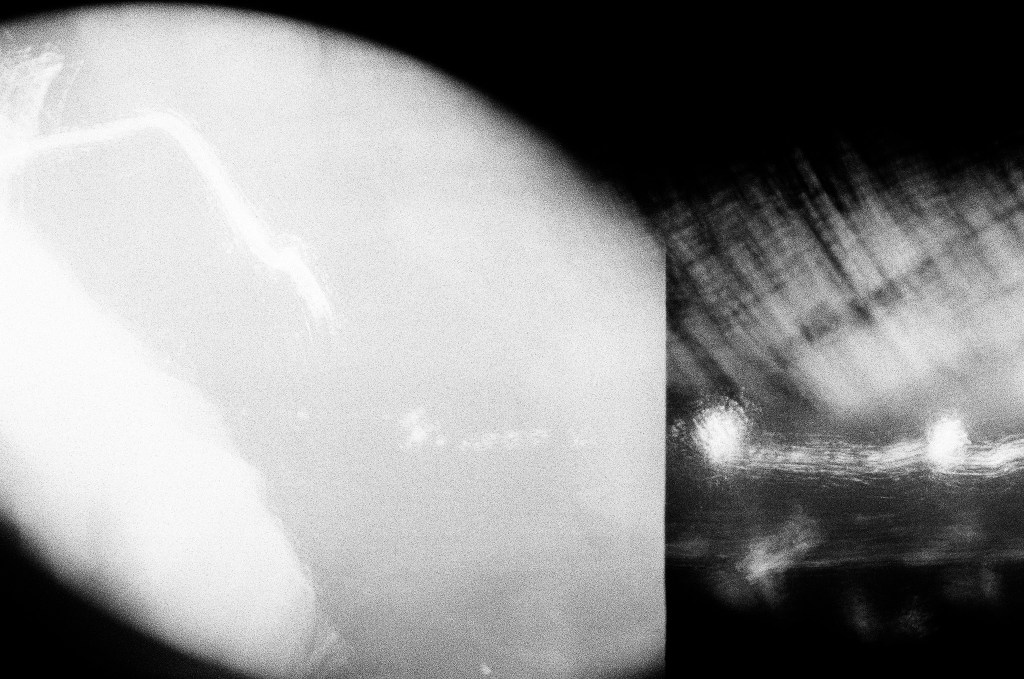
I don’t know what I’ll do with these photographs, perhaps I can draw over them or use them for an animation background.
If anyone has any other ideas besides a light leek to what might have caused all this, let me know!
-
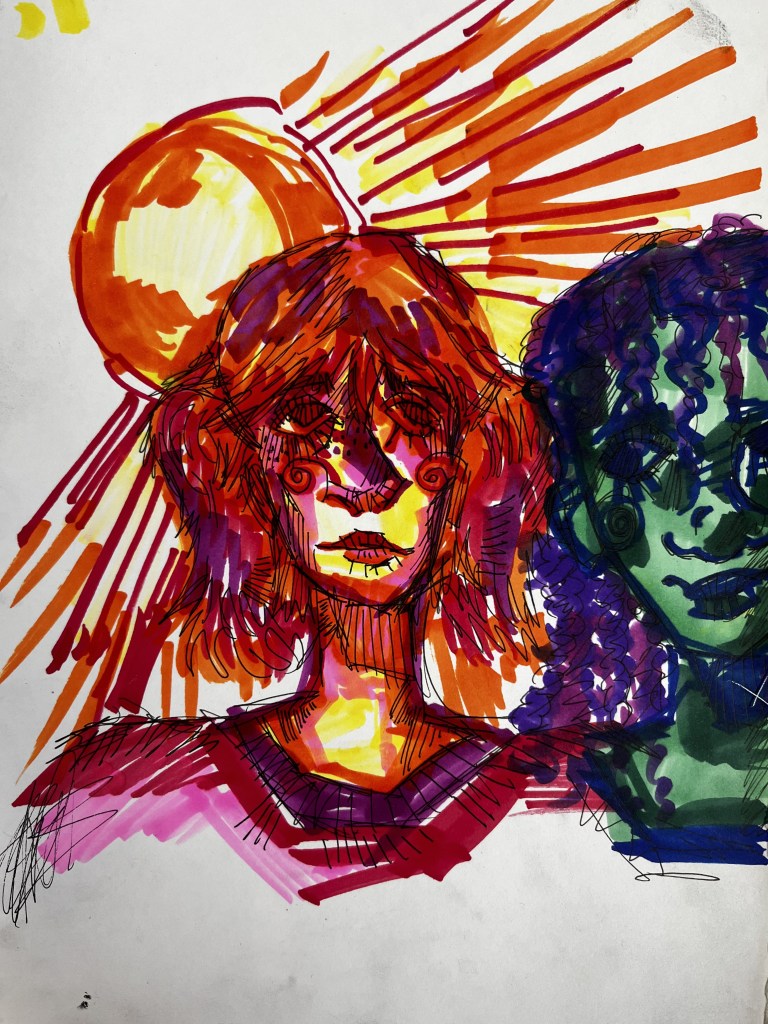
More versions of me
Another set of photos I made for my Coursera course! It seems all I do is post about my photography endeavours, but I do more than that! I promise!
For now though, just a few more photographs.
The task was to create a photograph in which the effect of a flash or strobe light was clearly “central to the creative or documentary content”, that included well balanced visual elements and that showed a composition based on “one or more of the pictorial structures for organisation of visual elements, such as Symmetry, Asymmetry, the Golden Mean, Pattern, Perspective”
I decided to build on my earlier experiments with blurred action where I followed similar procedures but with a flashlight. I was also thinking about Marcel Duchamp’s Nude Decending a Staircase No. 2 and early photographs depicting movement. I love Futurism and these experiments in photography.

Marcel Duchamp, Nude Descending a Staircase No 2, 1912, oil on canvas, https://en.wikipedia.org/wiki/Nude_Descending_a_Staircase,_No._2 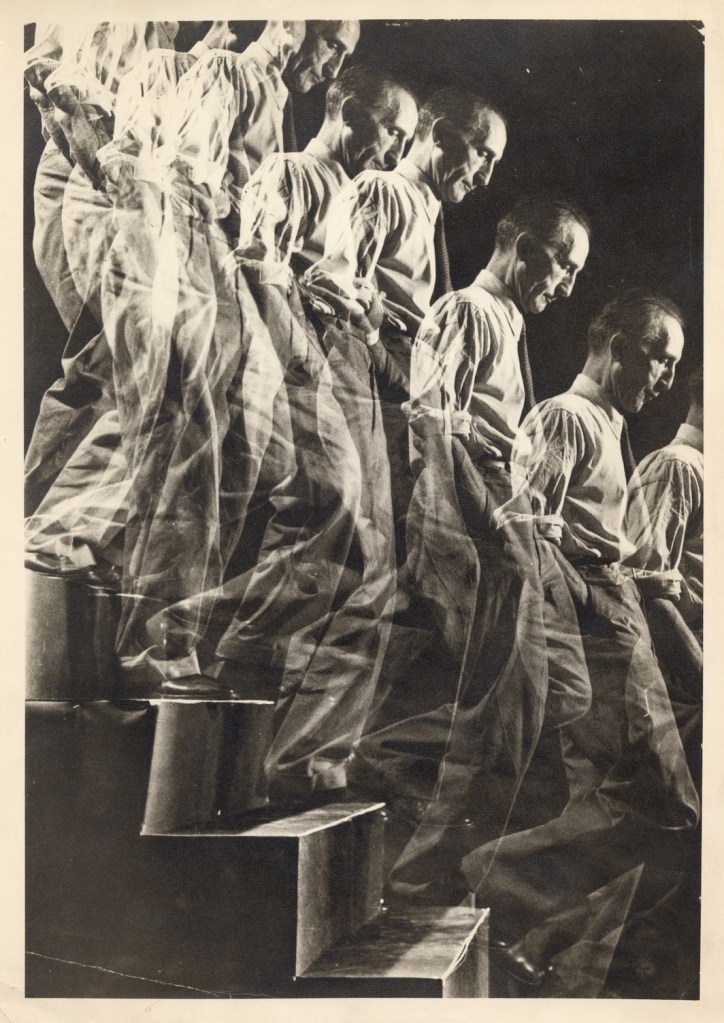
Eliot Elisofon, Marcel Duchamp descends staircase, reproduced in Life magazine, April 28, 1952. Photo: © Eliot Elisofon/The LIFE Picture Collection via Getty Images. Courtesy Marcel Duchamp Archives, Paris. https://www.artforum.com/books/taking-a-page-from-duchamp-s-master-
plan-87664Looking at these works reminded my of the work of Francis Bacon and the images he collected and how he distorted his figures and I wondered how far I could push these ideas of motion, stop action, and distortion in my own photographs.
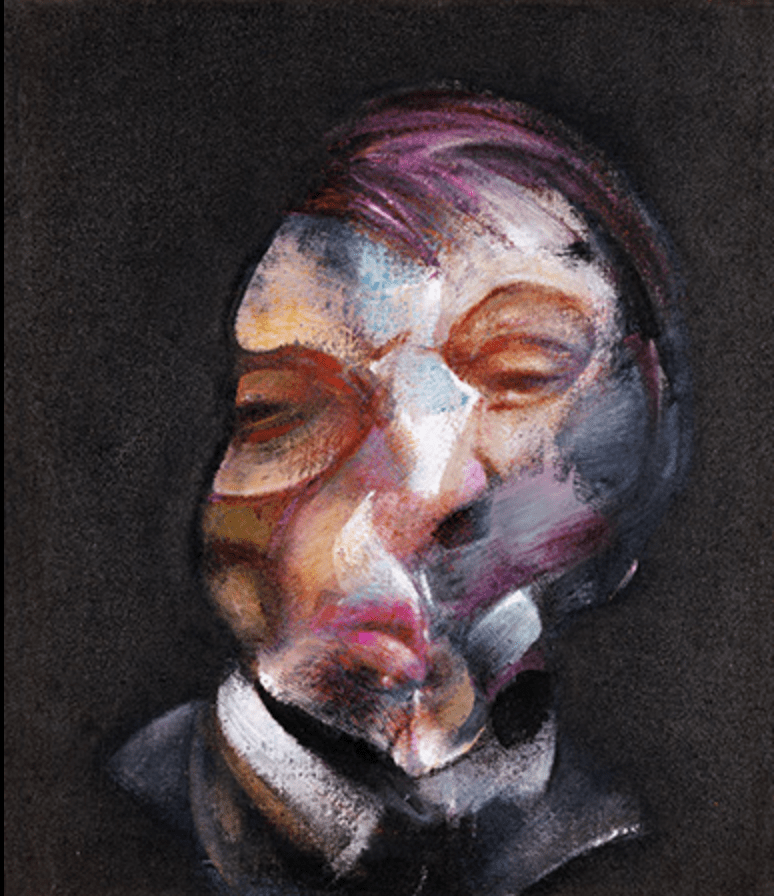
Francis Bacon, Self-Portrait, 1971, oil on canvas, https://www.francis-bacon.com/artworks/paintings/self-portrait-5 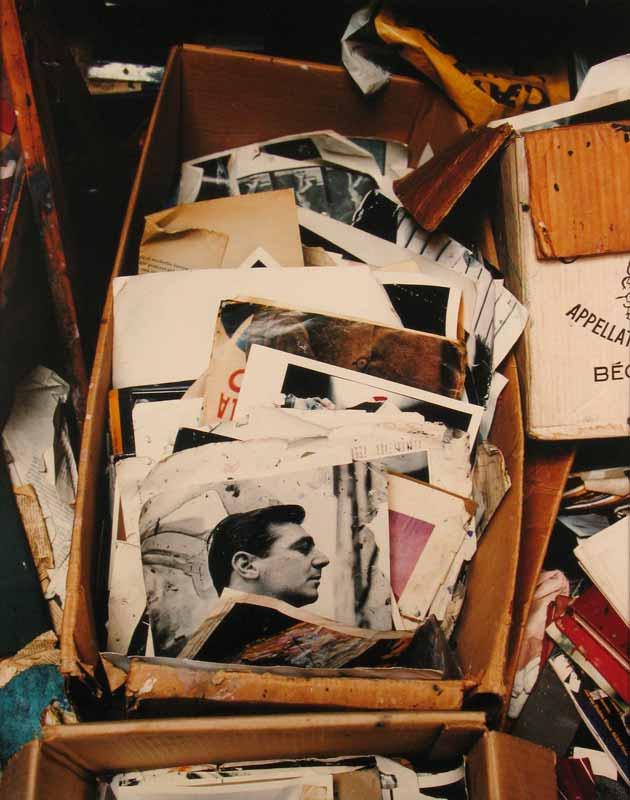
A box with photographs and magazine clippings in Francis Bacon’s studio https://www.artandobject.com/articles/skeletons-francis-bacons-studio.
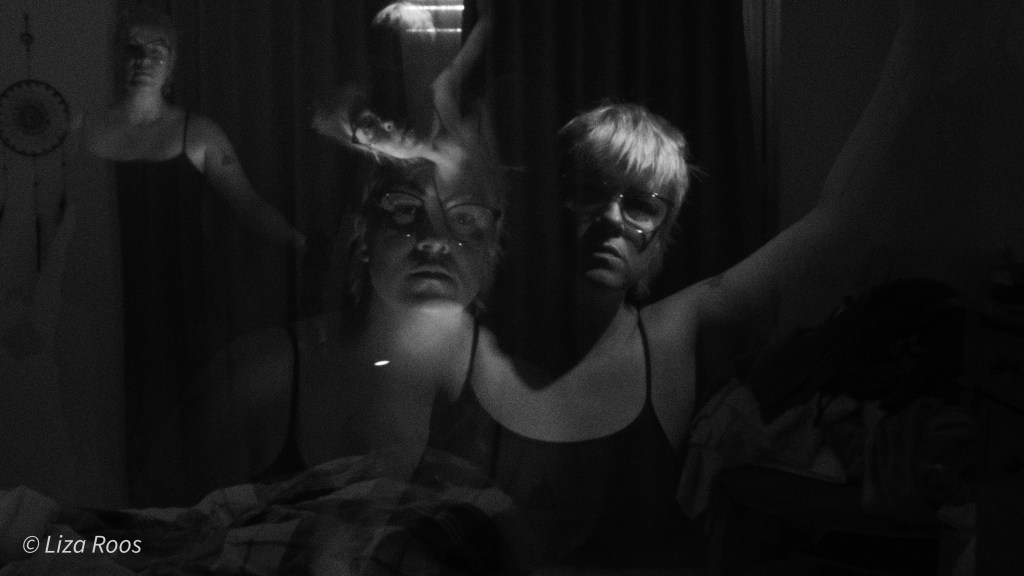
I darkened my bedroom and set up my camera on a tripod. I had found an old hot-shoe flash, which I set off manually as I moved through the room. Initially I set my camera as follows: ISO 80, F/22, which resulted in a 30 second shutter speed. I used the FUJIFILM app on my phone to release the shutter. The photograph above is the best from the first set.
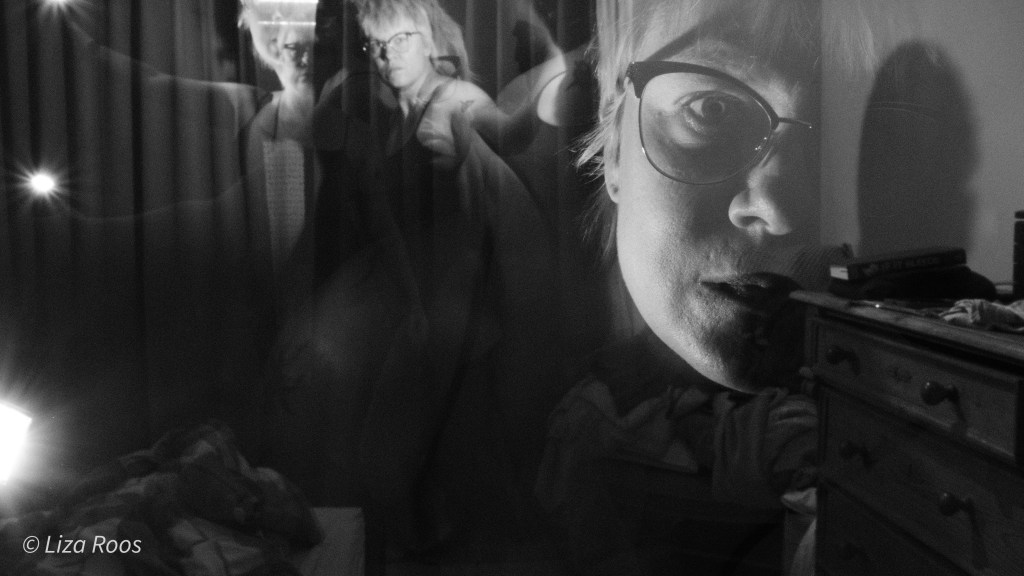
I felt the images were slightly too dark, so I changed my ISO to 500. I also tried to create a sense of more space by moving farther and closer to the camera. I’m quite pleased with the final image, but next time I will make sure to hold the flash so it faces away from the camera. The bright points of the flash distract the eye from the rest of the image.
-
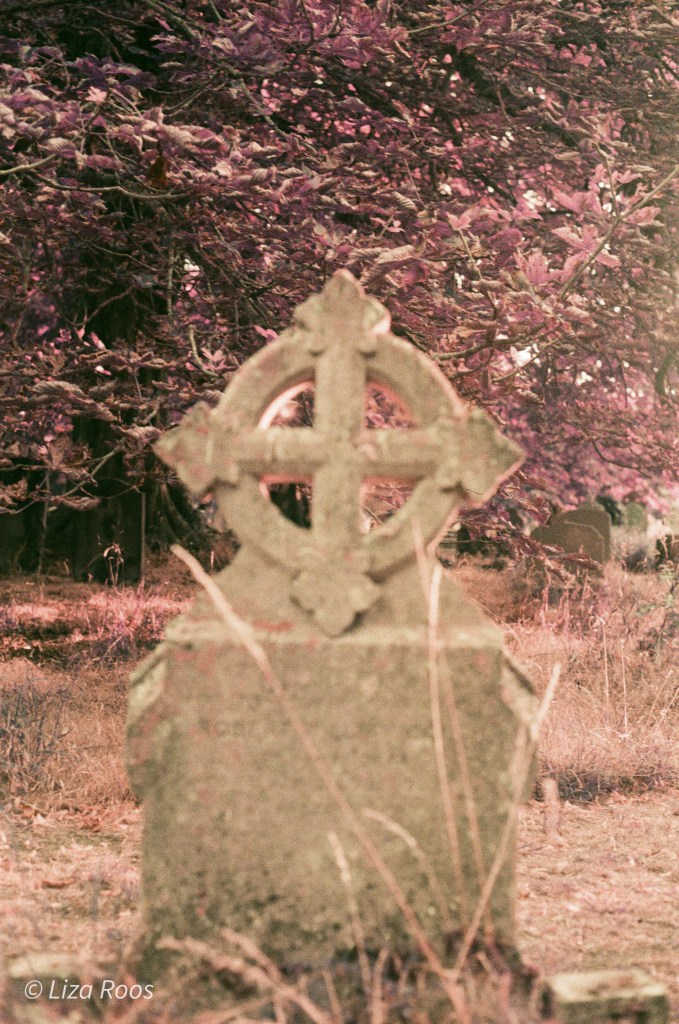
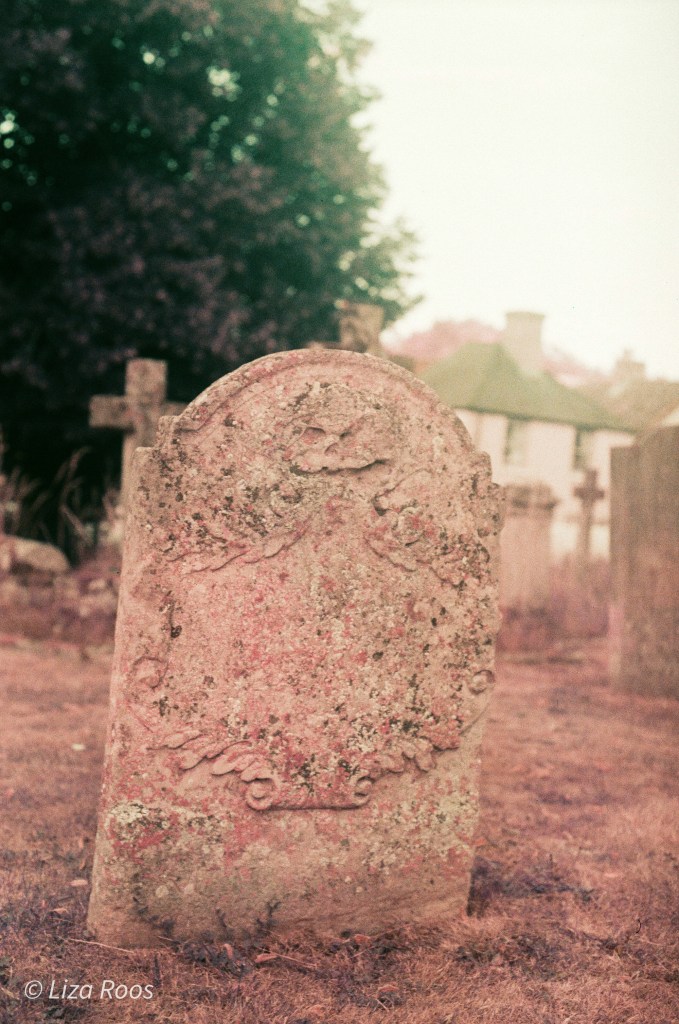
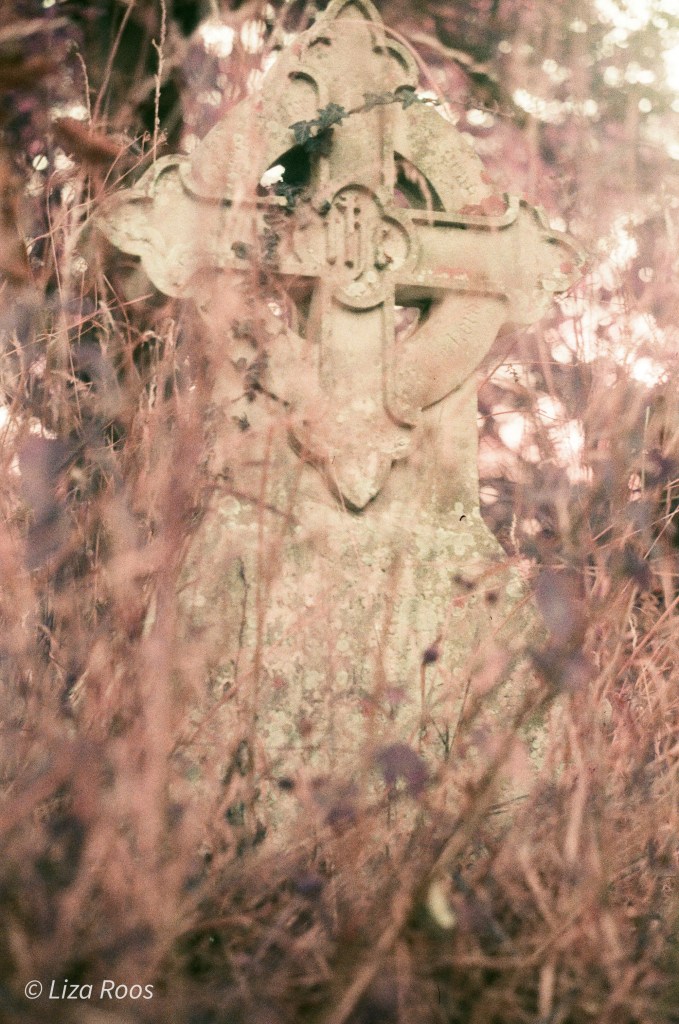
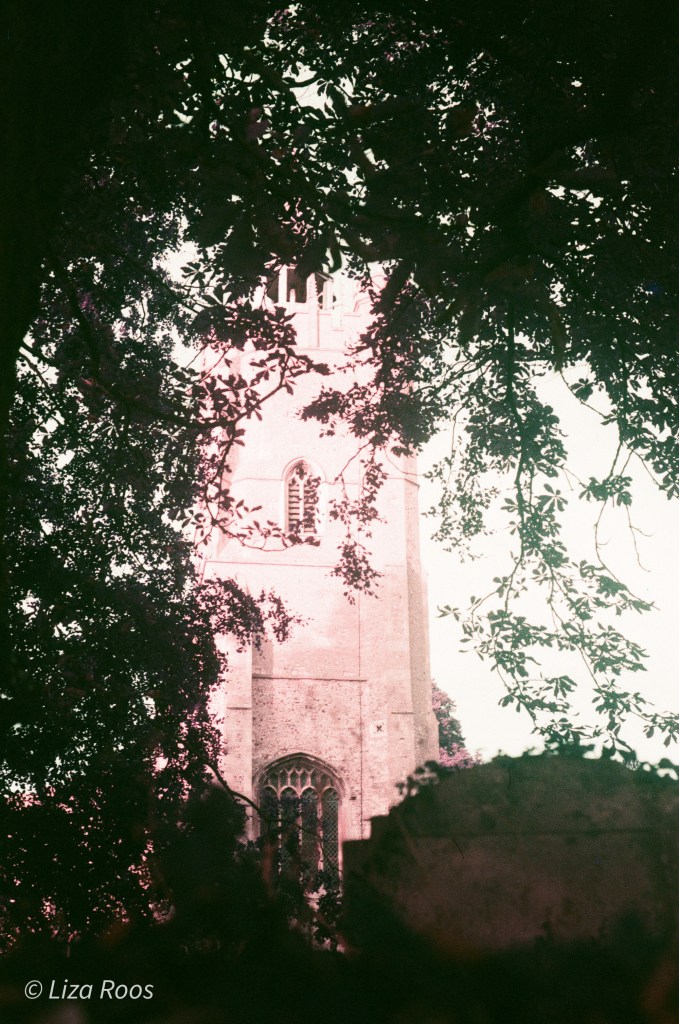
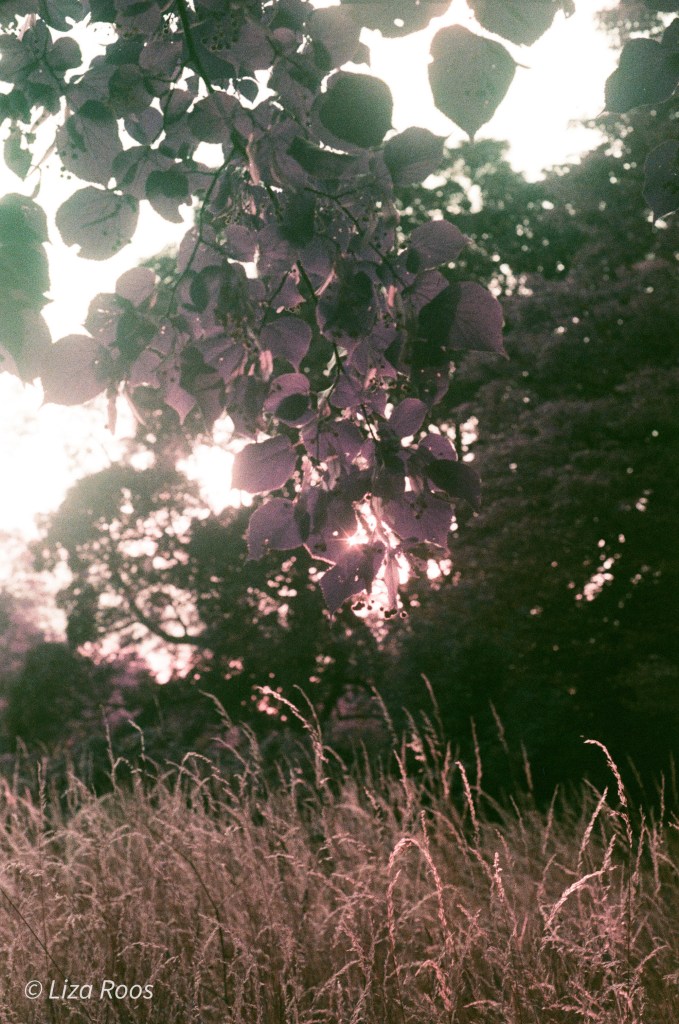
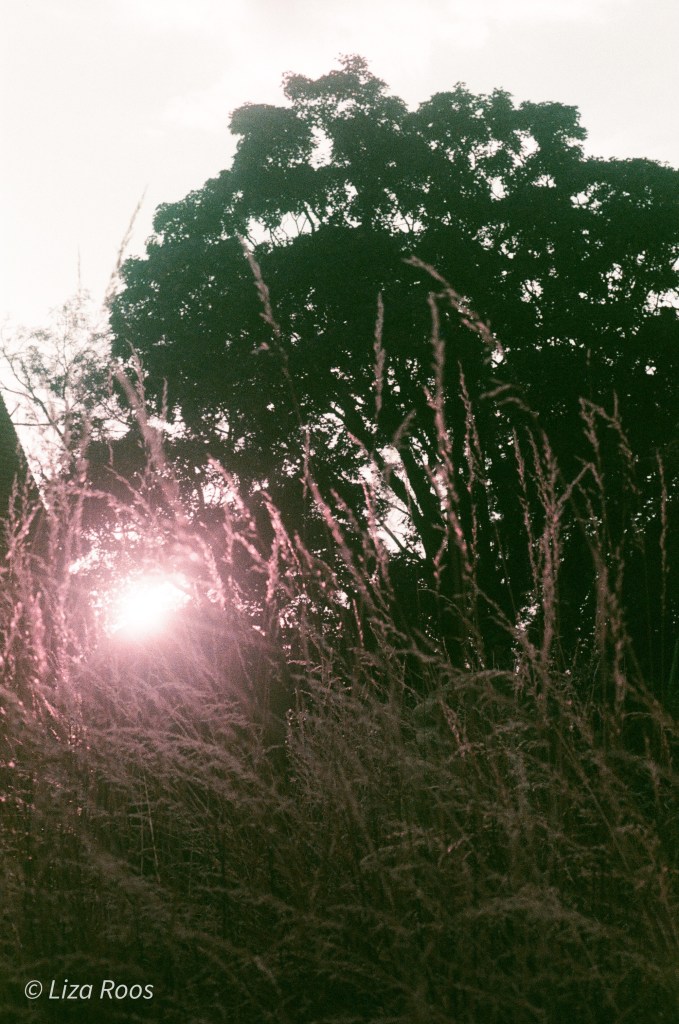
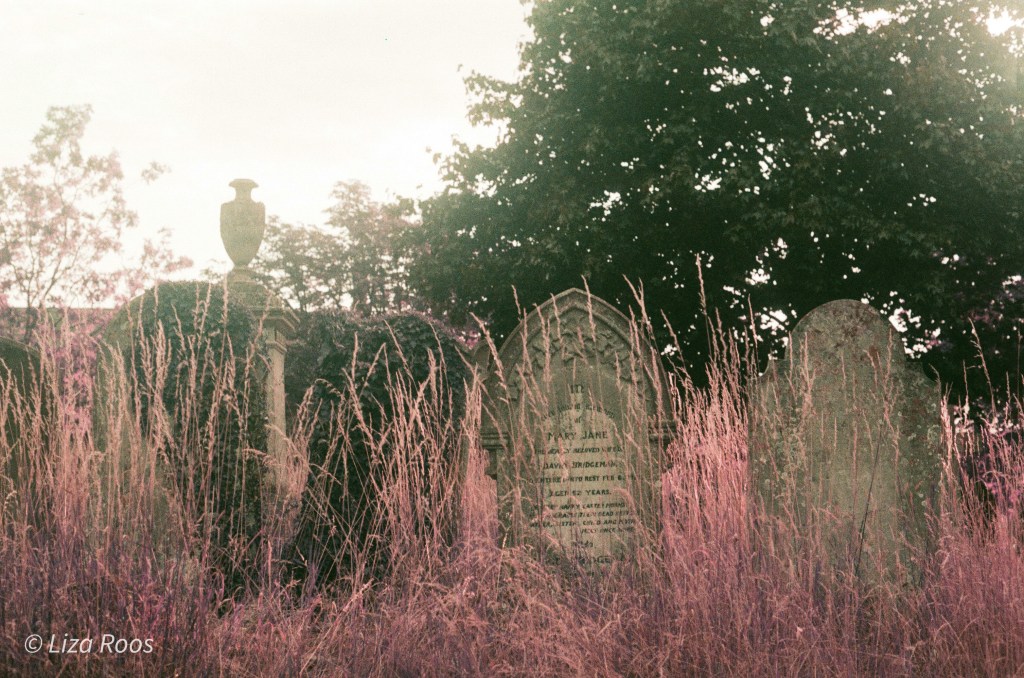
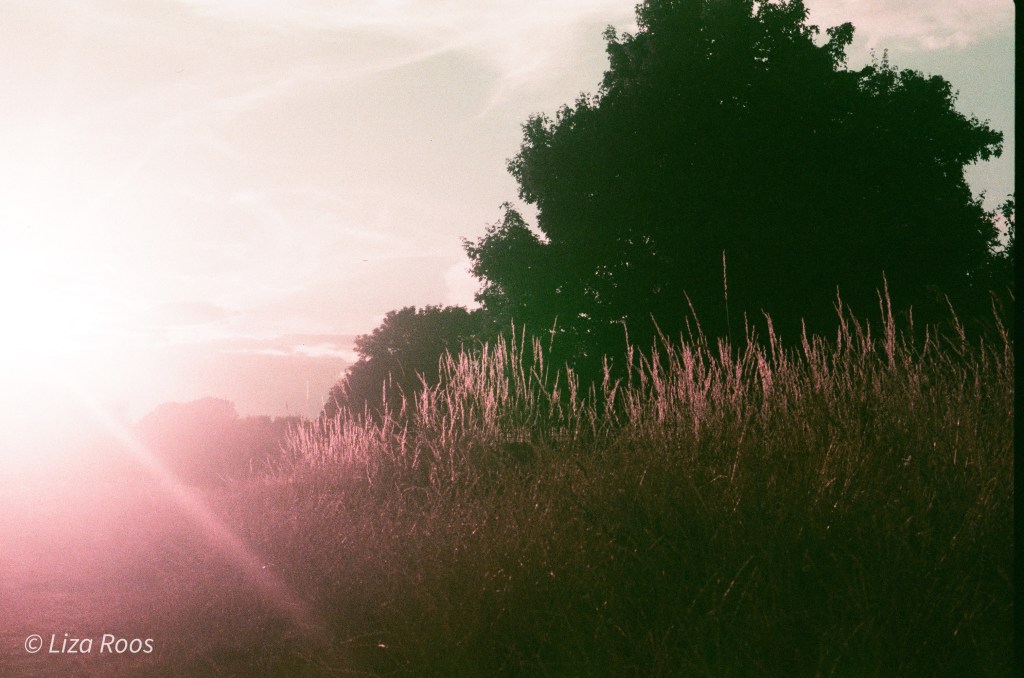
Walk amongst the graves in LomoChrome Purple
Last summer, I went on a walk one evening and ended up at the graveyard. The light was absolutely beautiful slanting in creating soft light and long shadows. I had my Pentax Super A and SMC Pentax A 50mm lens (produced mid 1980’s) with me. Out of my camera collection, this is still my favourite. My dad gave it to me for my 18th birthday and every time I use it I think of him, especially now that he’s gone.
Anyway, I tend to mostly shoot automatic with this camera, so I can just enjoy looking for photographs. Although it might be time to try some more experimental works, but that’s for another time. Shooting in automatic has always produced good images with this camera, no matter the lighting conditions. I also find the slit image focus aid clear and easy to work with.
In each photo I tried to capture the light and create interesting compositions by including clear fore-mid- and backgrounds. Some shots were more successful than others. I can see here and there, that I didn’t take enough time to focus or frame the composition, but I also see that there are some real treasures in there! I didn’t have to do any tweaking in Lightroom either!
I finally got around to trying out Lightroom, and I love it! And will definitely try to push the limits with this programme. That, again, is for another time though.
The film I used is 35mm LomoChrome Purple (ISO 100-400) by Lomography. I love this film! Depending of the lighting conditions all the colours shift creating these otherworldly images. The film is developed using the standard process, so no need to worry about any of that. This is definitely a film I will use again.
Enough talk now, here are my graveyard pics!
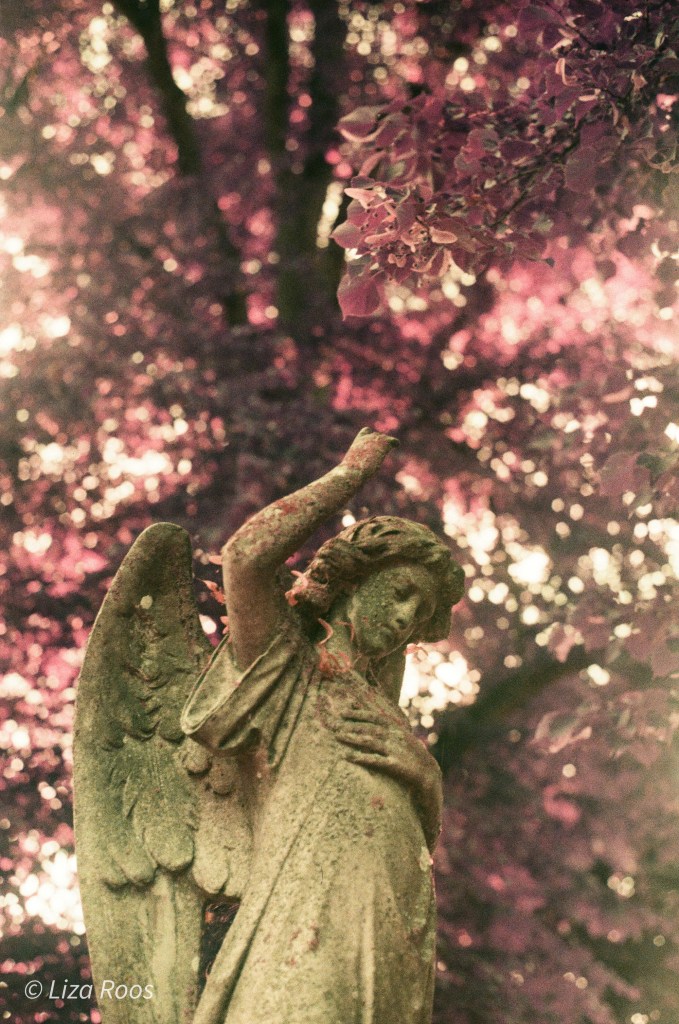
This angel, covered in moss, with a background of green leaves turned red is one of my favourite shots form the roll
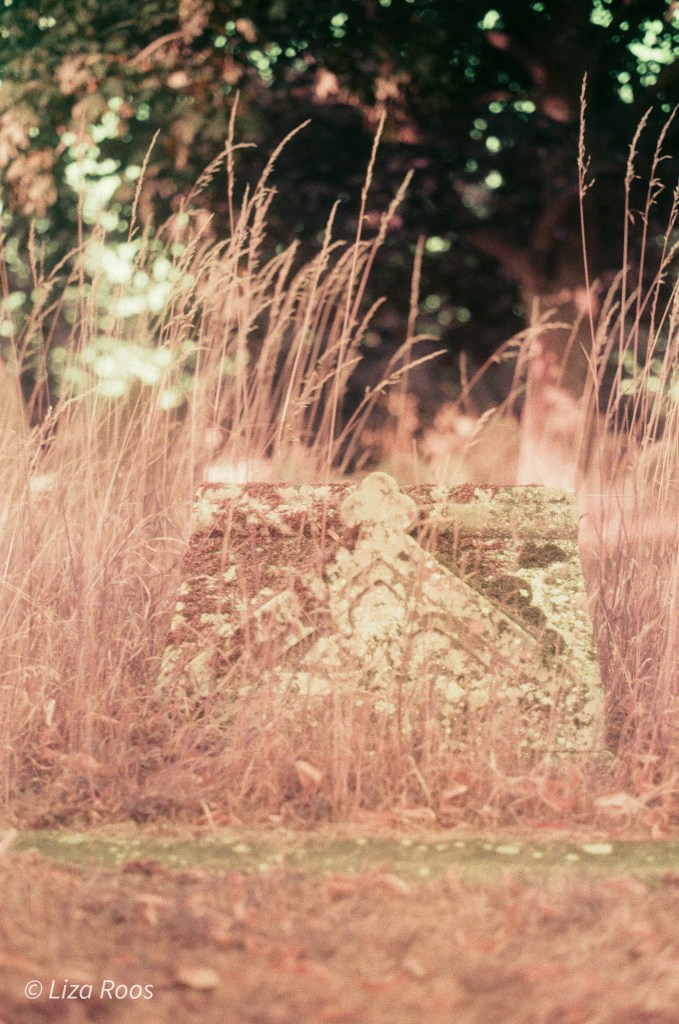
In some shots I feel the light is either too soft with not enough contrast, and in others there are too much dark values making the images rather heavy.
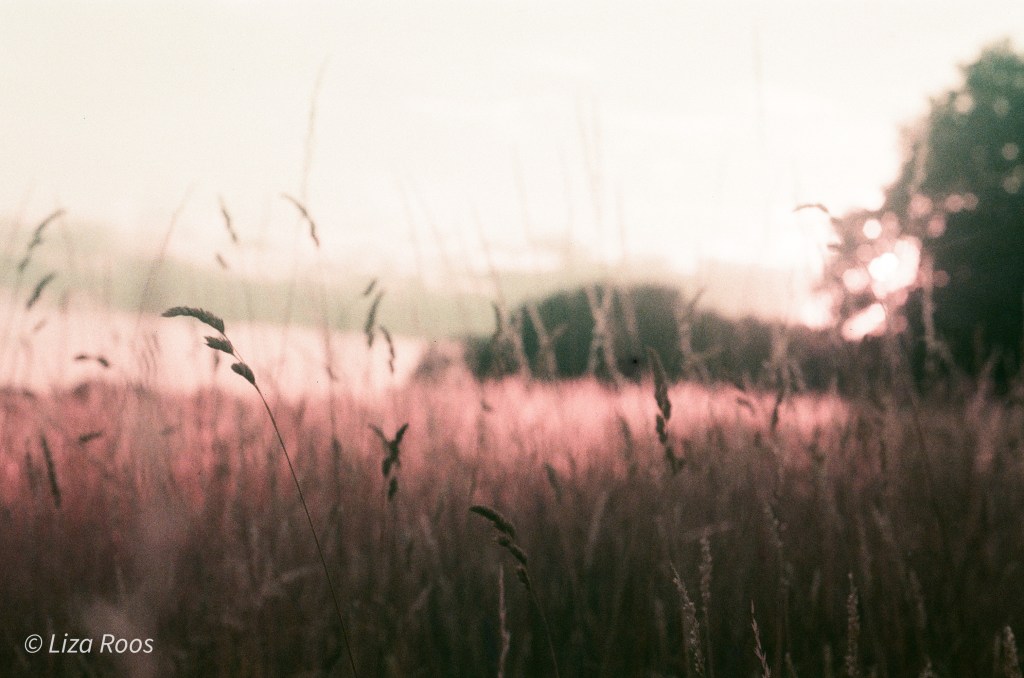
I’m so happy the photo above worked out! I took it against the light and honestly wasn’t sure at all if anything would show up. My fear was that if the photo would be completely overexposed. Looking at it now, I could say it’s actually slightly under.
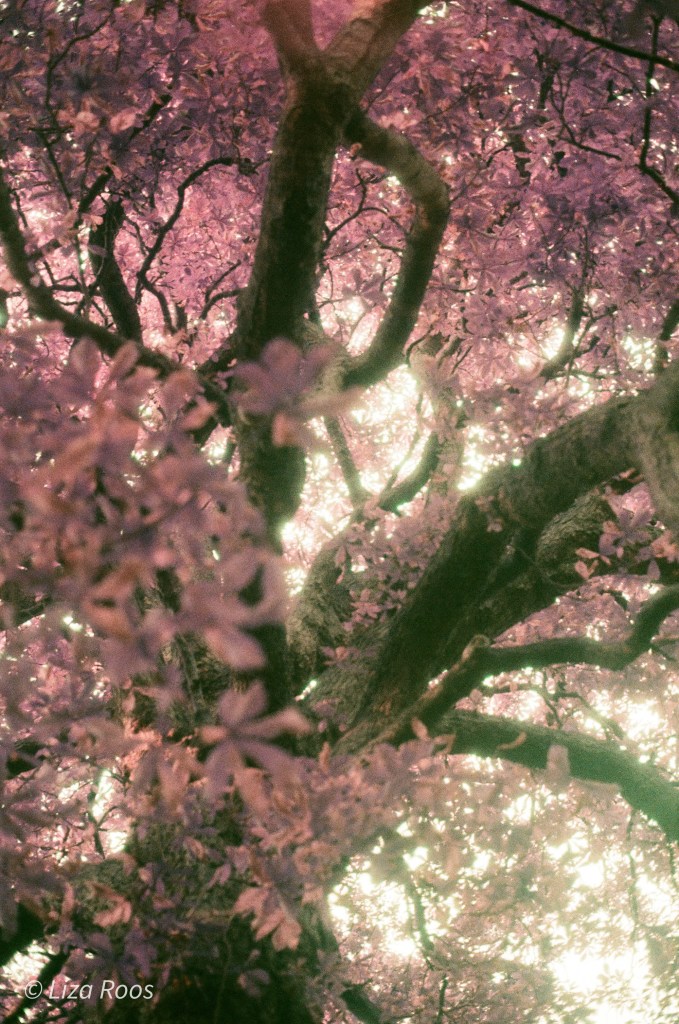
And finally, upon exiting the graveyard, there is this massive chestnut tree. It was the last frame of the roll, a good ending to this evening of wondering amongst the graves.
-
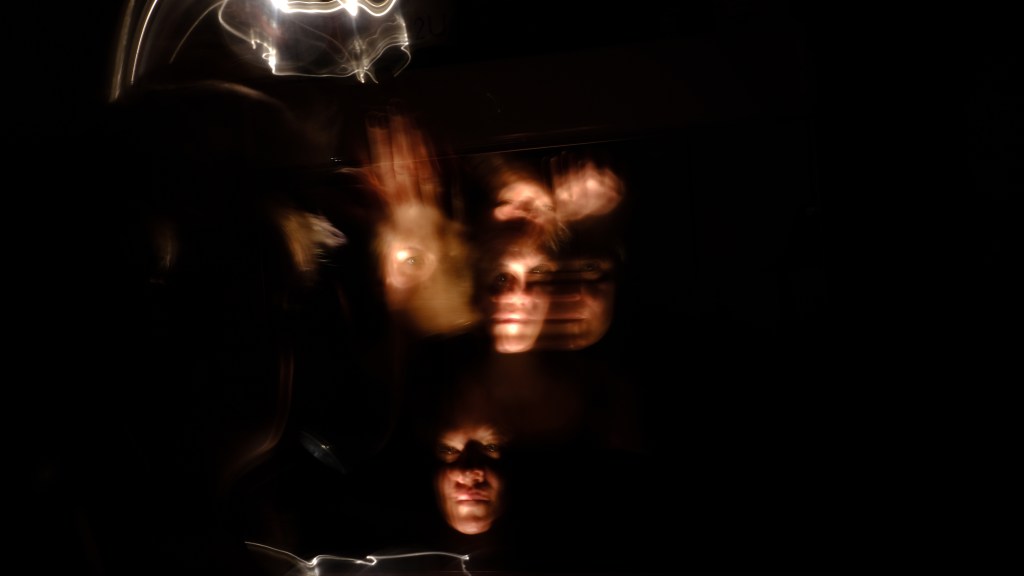
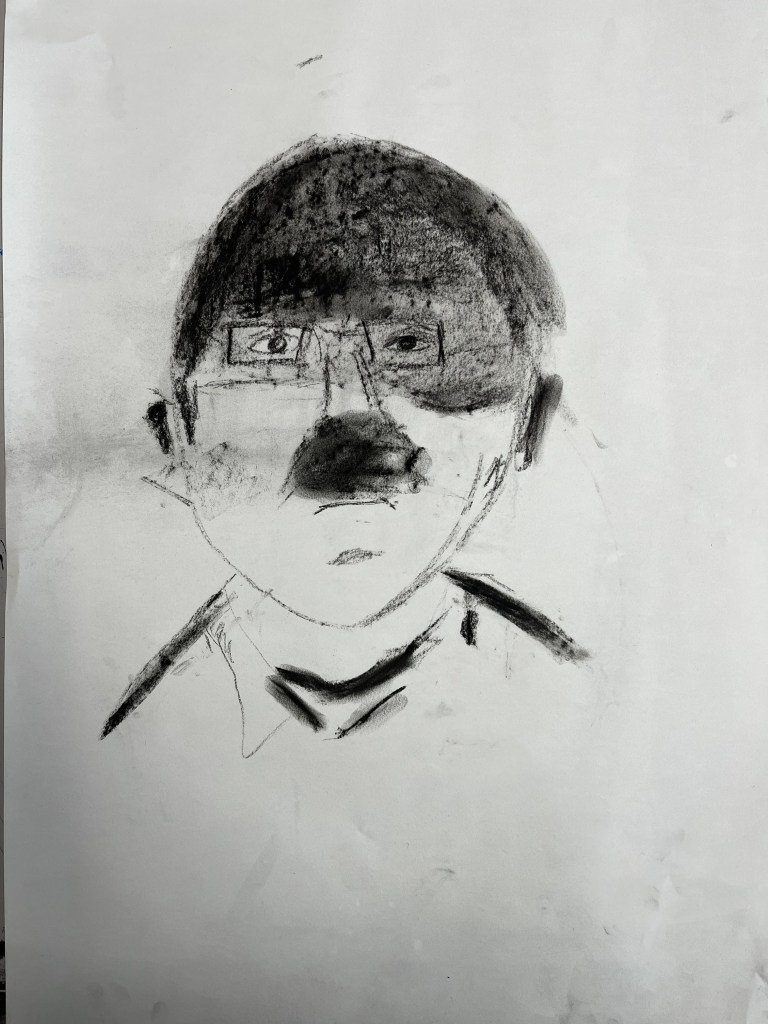
Versions of me
Grade 11 and I have been exploring chiaroscuro in the last few weeks. We started with looking at ourselves in mirrors, but they were so small, it was hard to work with. So we moved to taking black and white photographs and then worked to create large self portraits in charcoal and ink. we made sure to use strong lighting so we could study the effect of different distances and angles of lighting.
For my Coursera course I had to use mobile editing tools to create new meaning for an old photo. I used my chiaroscuro photo, which of course wasn’t very old, but I still decided to use it for this project.
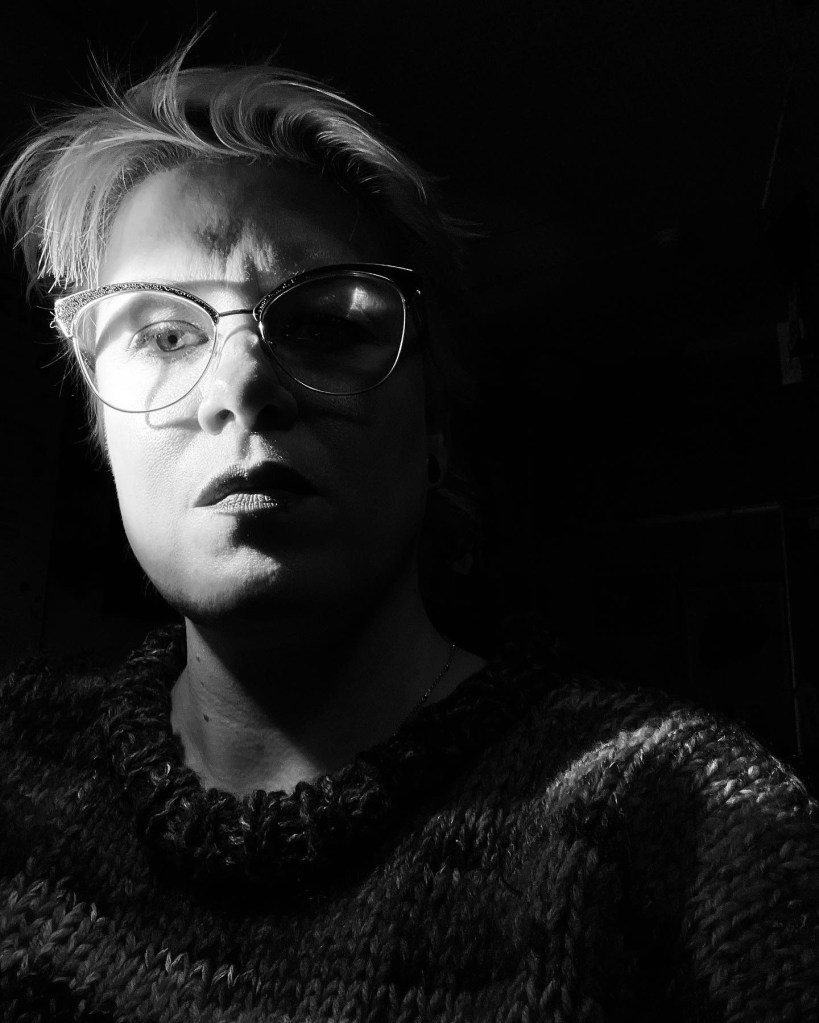
Original Above is my original photo. I took it with my iPhone set to noir.
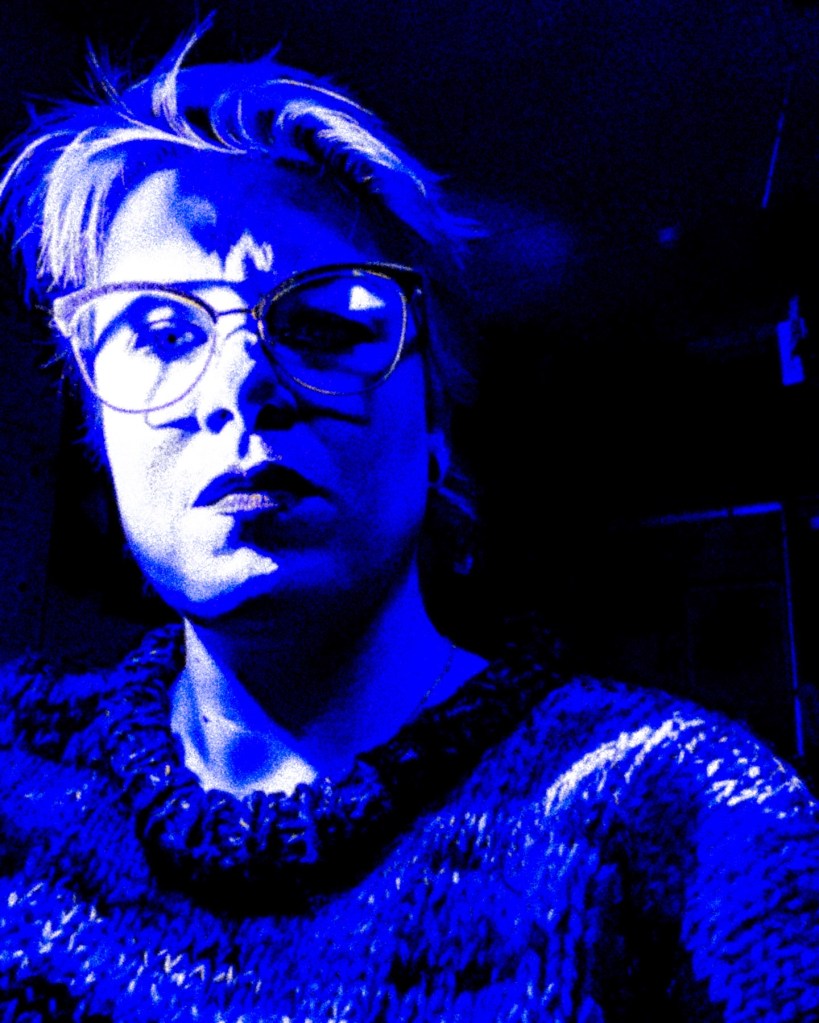
Stage 1 To edit the photo I started by editing in the Lightroom mobile app. I added a lot of noise to create the grainy texture, then lowered the contrast to make more of my sweater and the side of my face visible. Editing the saturation and vibrancy gave me a coloured image.
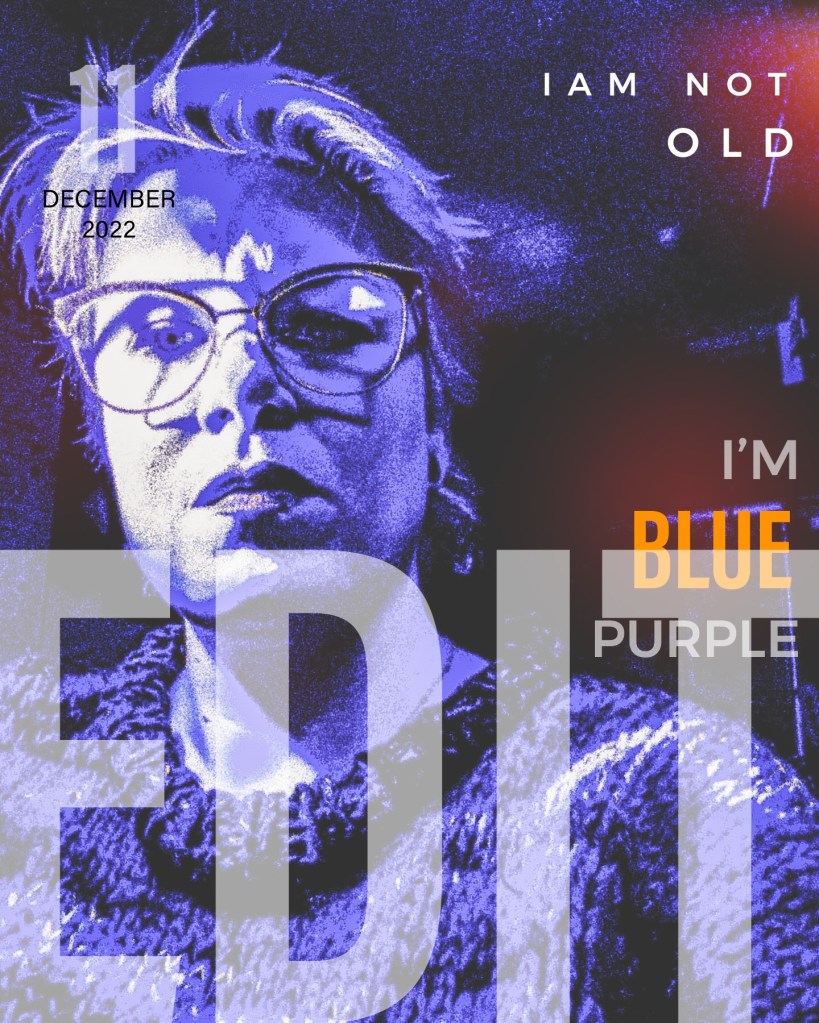
Final In the Photoshop mobile app I added the text and the orange light leak effects. I was thinking about jazz albums and imagined myself singing songs about not being old! I’m quite pleased with the end result!
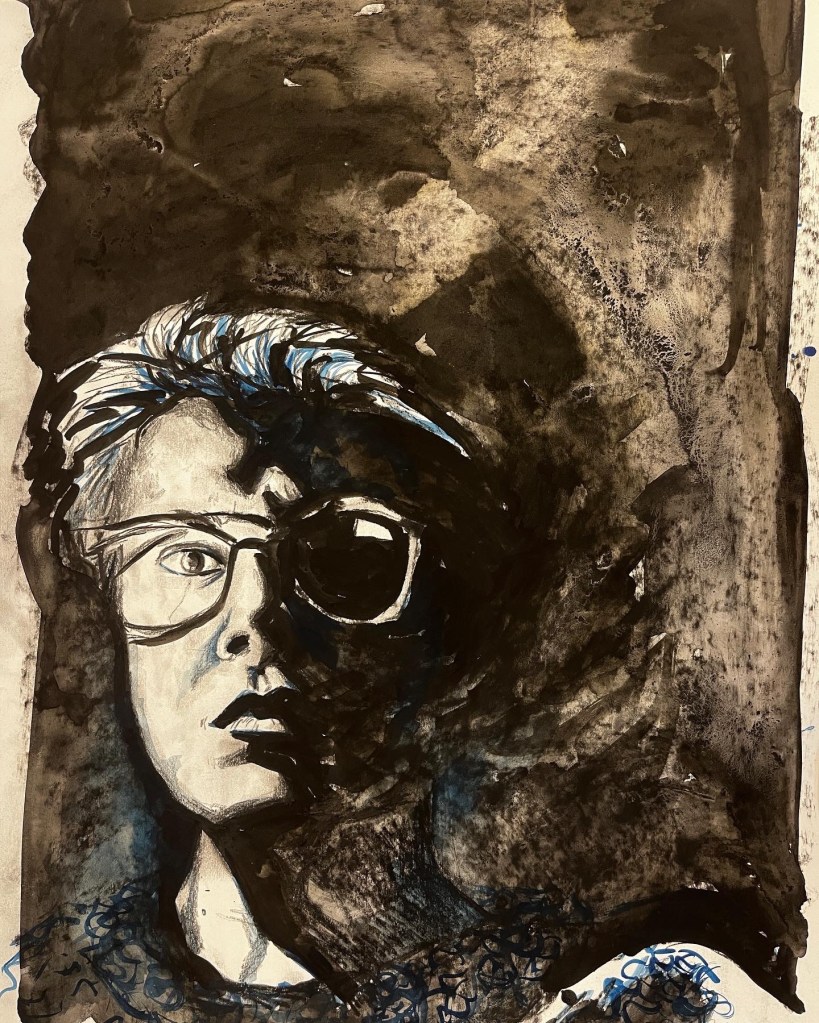
Work in progress Here is my chiaroscuro drawing in progress. I still need to tweak some angles and proportions. I started with charcoal and conté which I then added water and Indian ink to. I also added some patterns in blue watercolour paint. It’s not done yet, I have some vague plans for what might be hiding in the darkness behind me. When it is done, I’ll post about it!
-
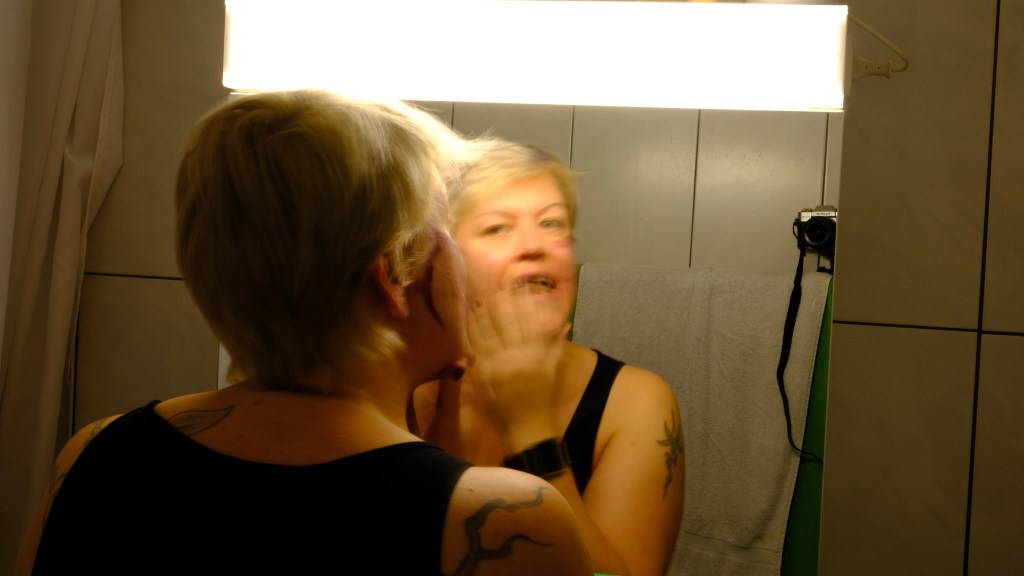
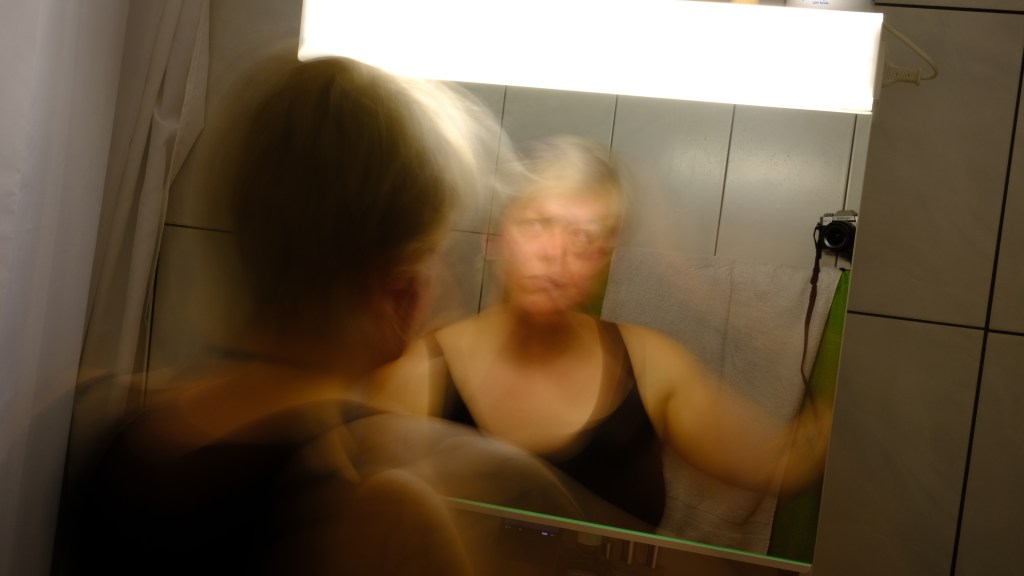
Blurred Action
Here is another set of photos for my photography course Photography Basics and Beyond: From Smartphone to DSLR Specialization.
The task was to “share a single photograph that reveals a new content in your world that results from blurring a moment in time as evidenced by movement of things in front of the camera, or movement of the camera, or both!”
I attached my camera to a tripod and stuck it behind the towel rack. One of the cool things about the FUJIFILM TX30ii is that you can control it from your phone. You can see what the camera sees and adjust the settings right in the app. So I had my phone in front of me and didn’t need to touch the camera anymore.
In the first set I left the bathroom light on and set the camera to aperture priority, F22, ISO80. This resulted in a shutter speed of about 8 seconds.
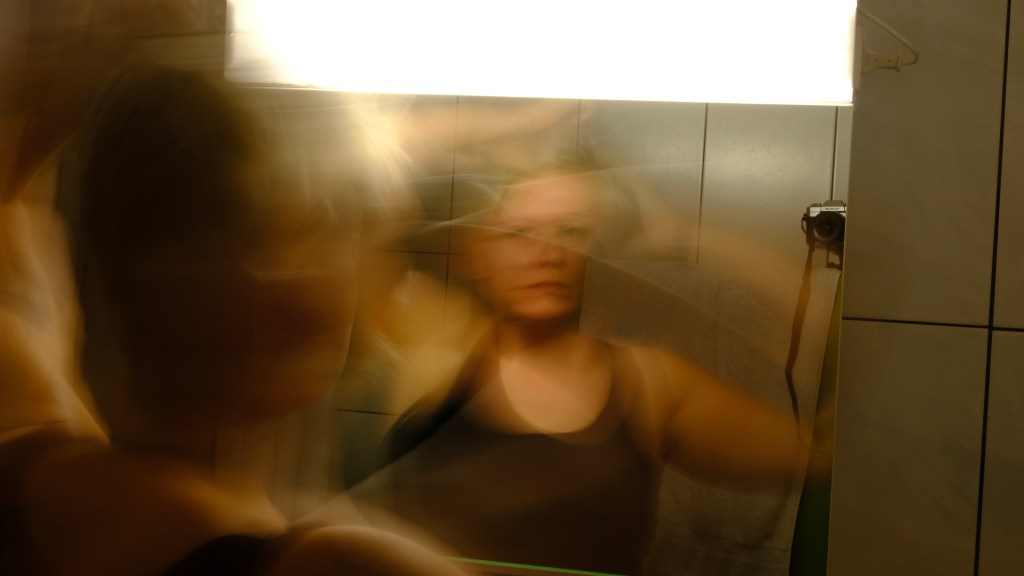
In the second set I turned off the bathroom light and used a flashlight as the only lighting. I left the camera settings the same, this resulted in a shutter speed of about 30 seconds.

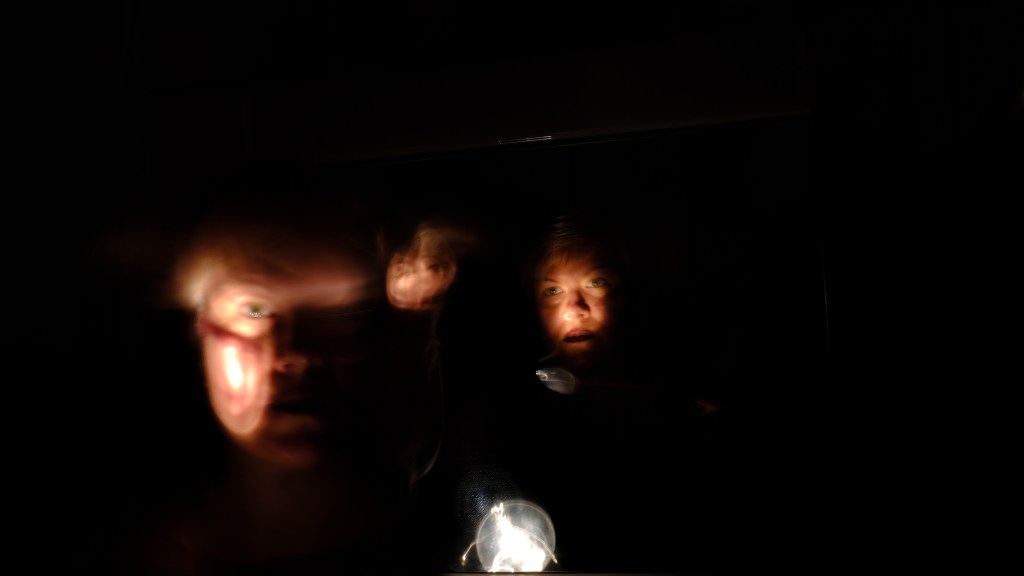
I’m so happy with how the photos turned out and I will definitely continue to experiment with blurred action and light painting.
-
Coils with grade 6
A while ago grade 6 practiced working with coils! I keep forgetting to post about it. Our current unit is all about using ceramics to express ourselves. We discussed different artist to see how they handled coils. The works below were especially inspiring to the students.
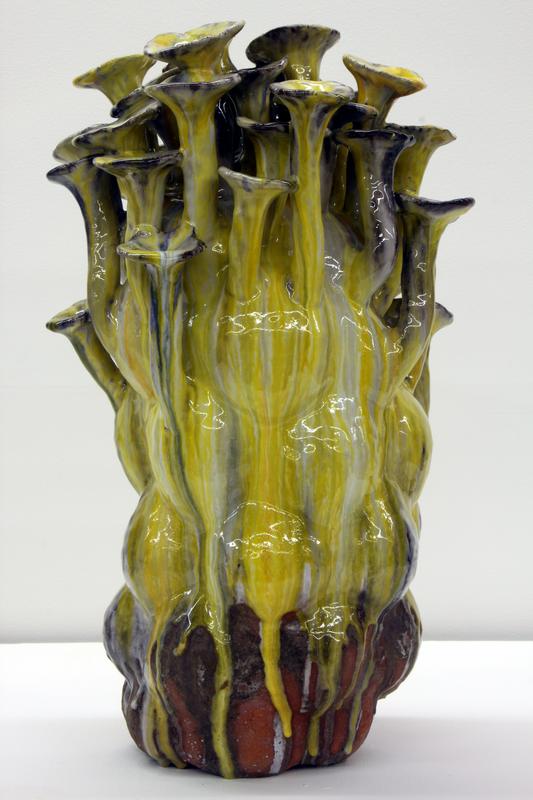
David Hicks,
Flora (yellow melt), 2012
Glazed Ceramic, 25 x 15 x 14 in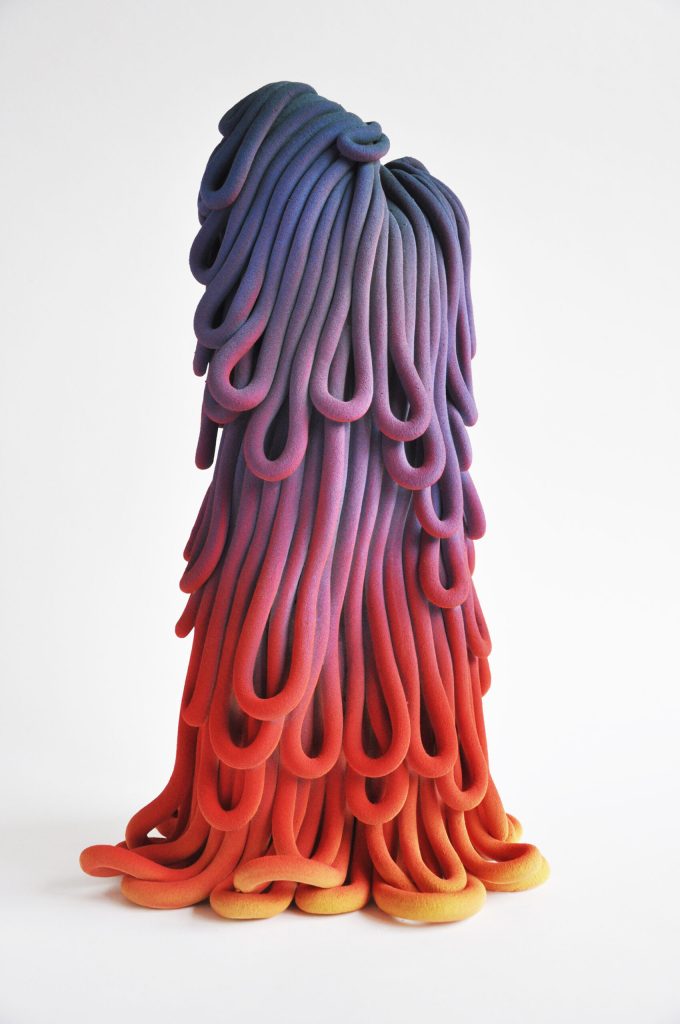
Claire Lindner, Overflow n°1
H 48 x 28 x 28 cm
Photo 12WYK Gallery
Zhu Ohmu, Coil pots 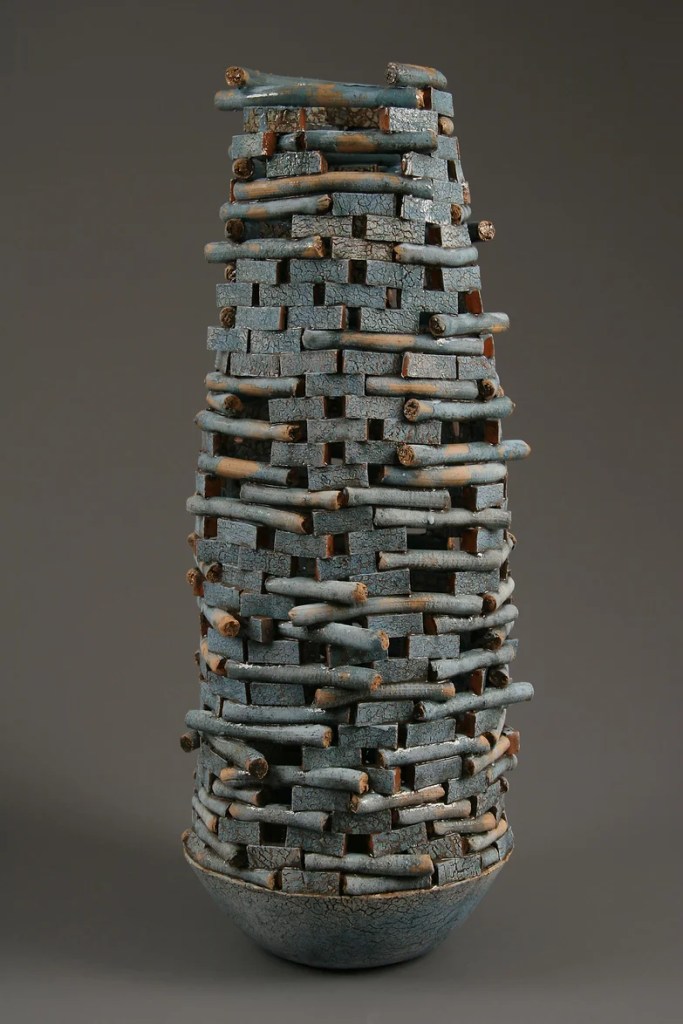
Jim Kraft, Blue Keep, 29x10x10 Everyone got to work very quickly after a brief demonstration on how to score & slip and roll even coils. The only instruction I gave them was to build as big as they could in two lesson periods.
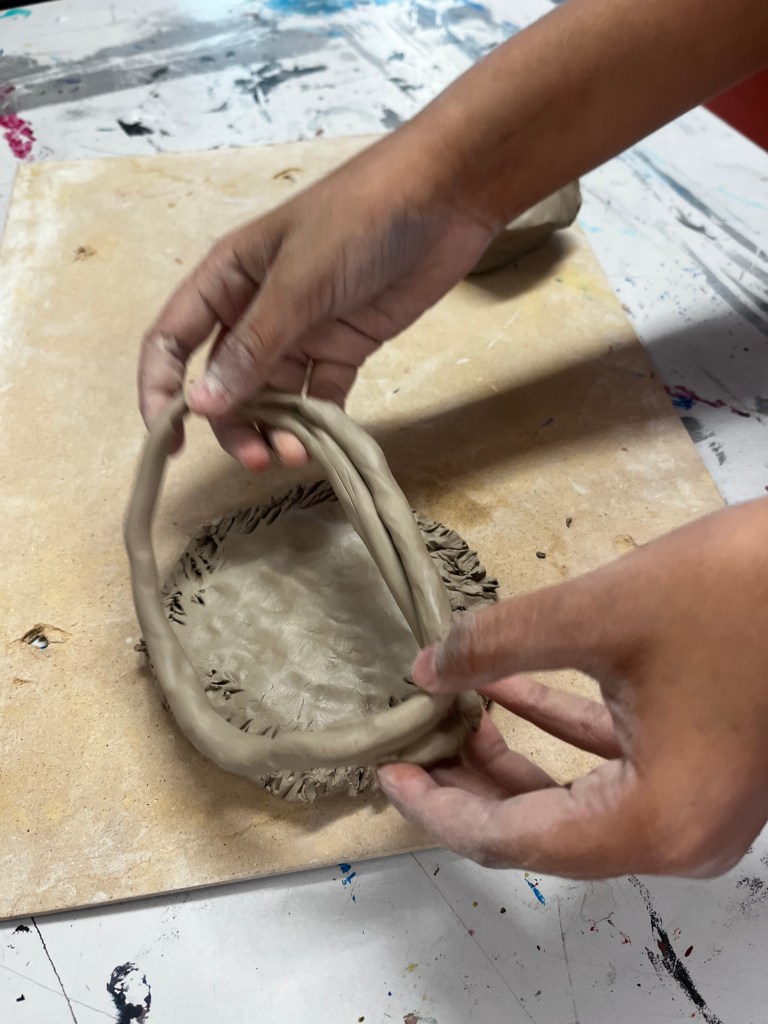

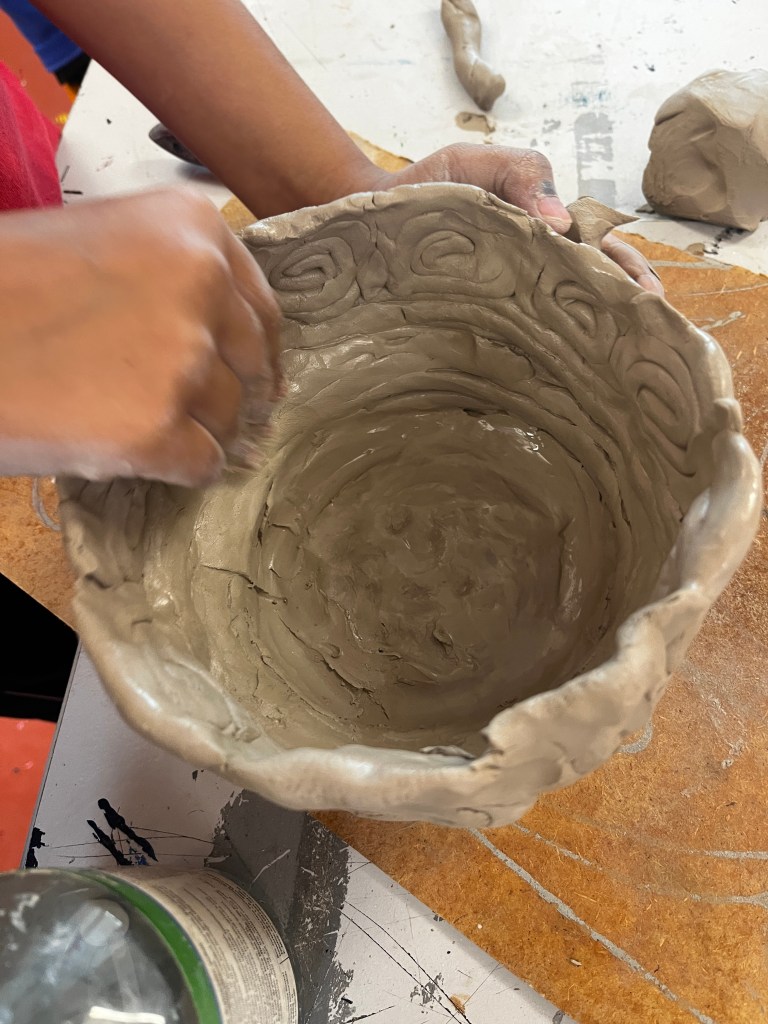
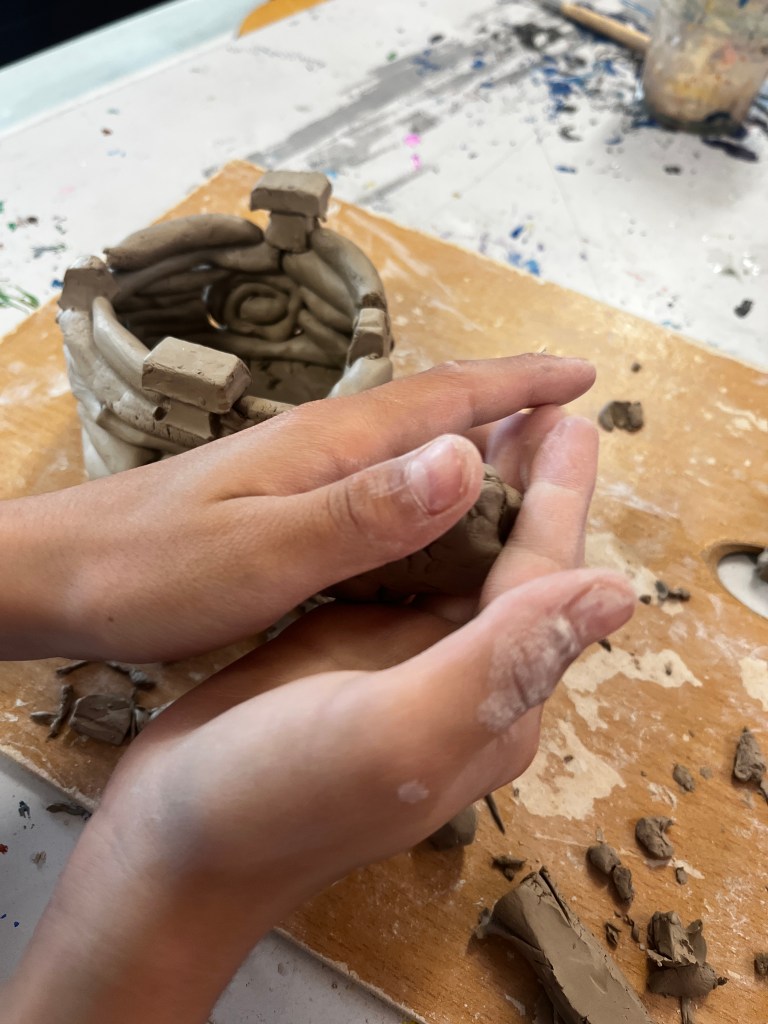
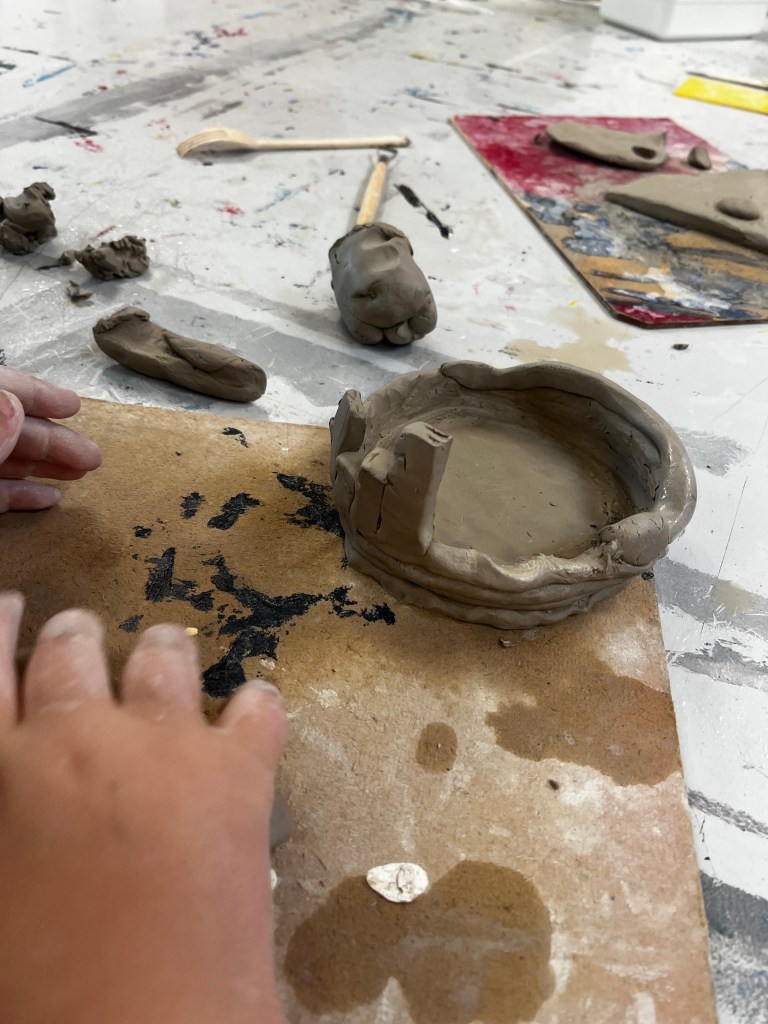
I love all the different approaches students took to building with coils. These lessons are really about experimenting and getting familiar with clay and different building techniques.
I’ll post the final results soon!
-
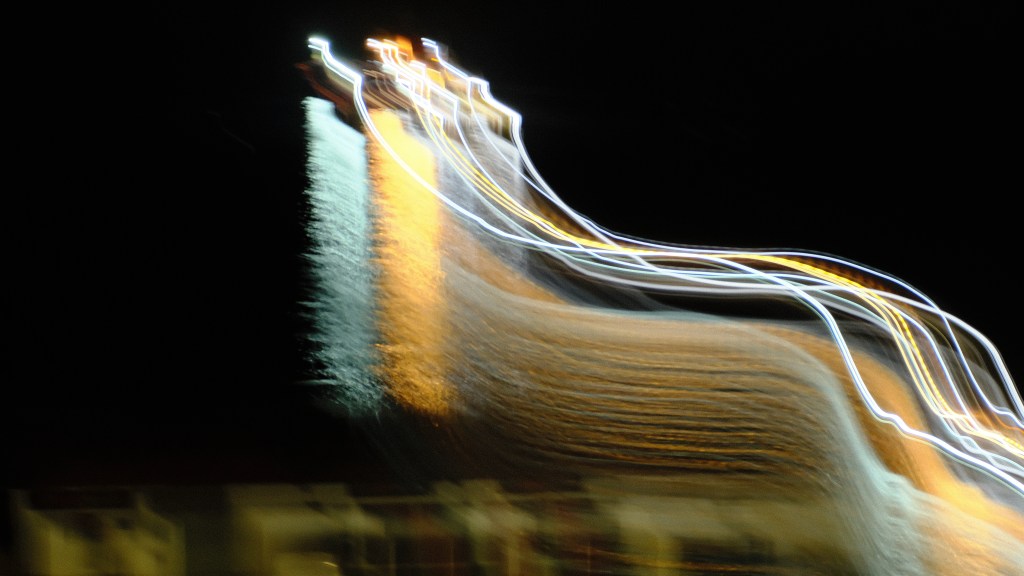
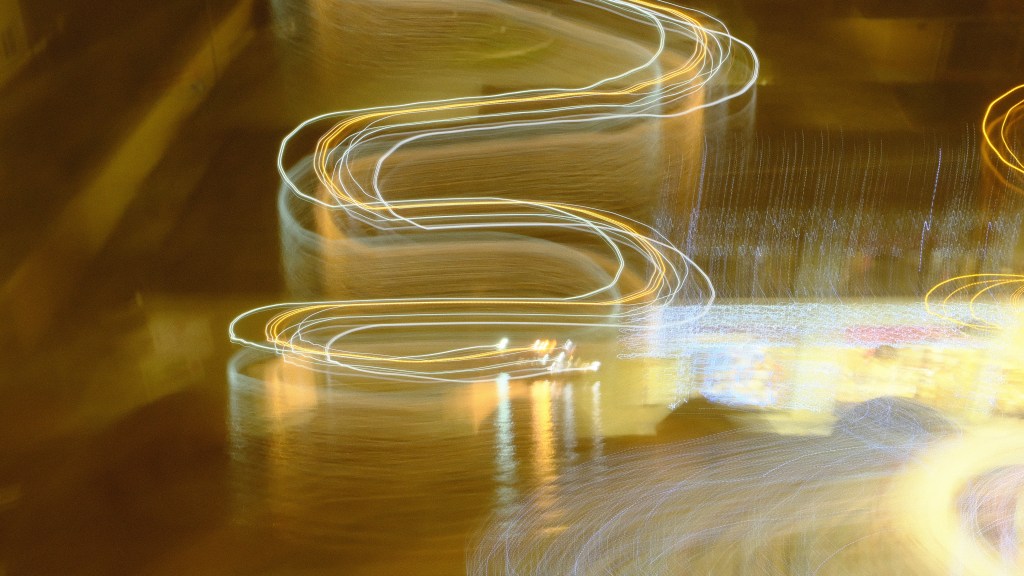
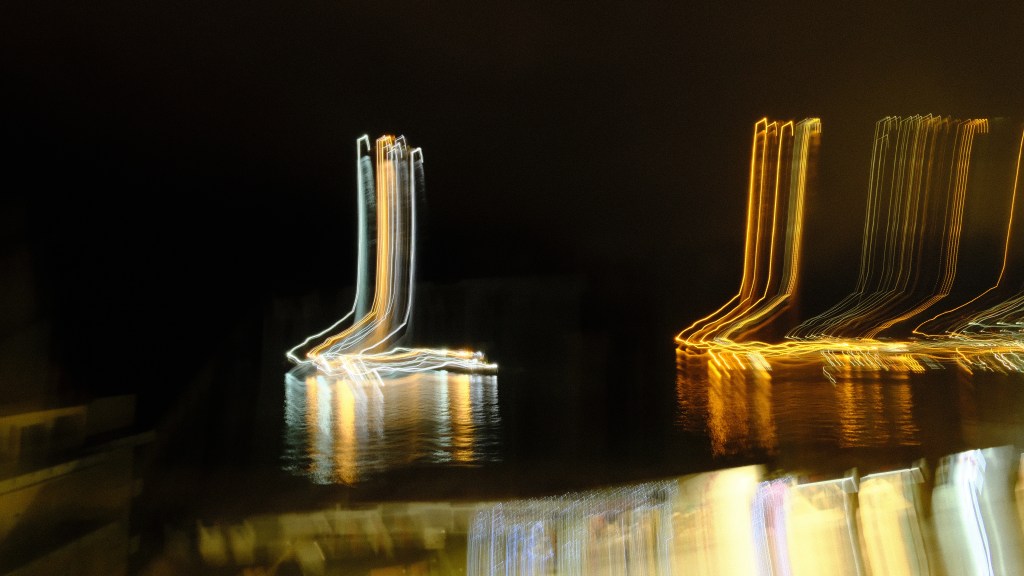
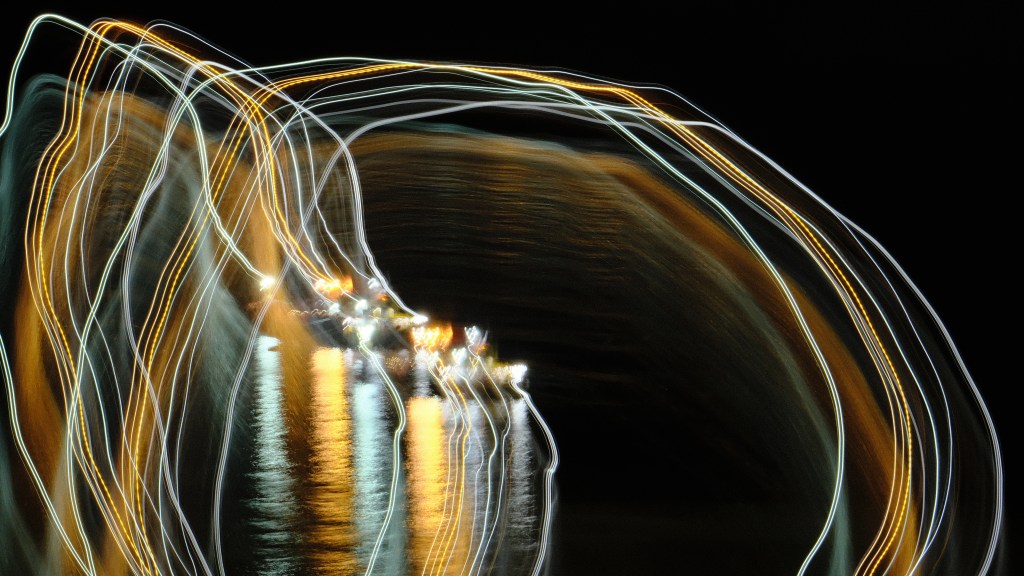
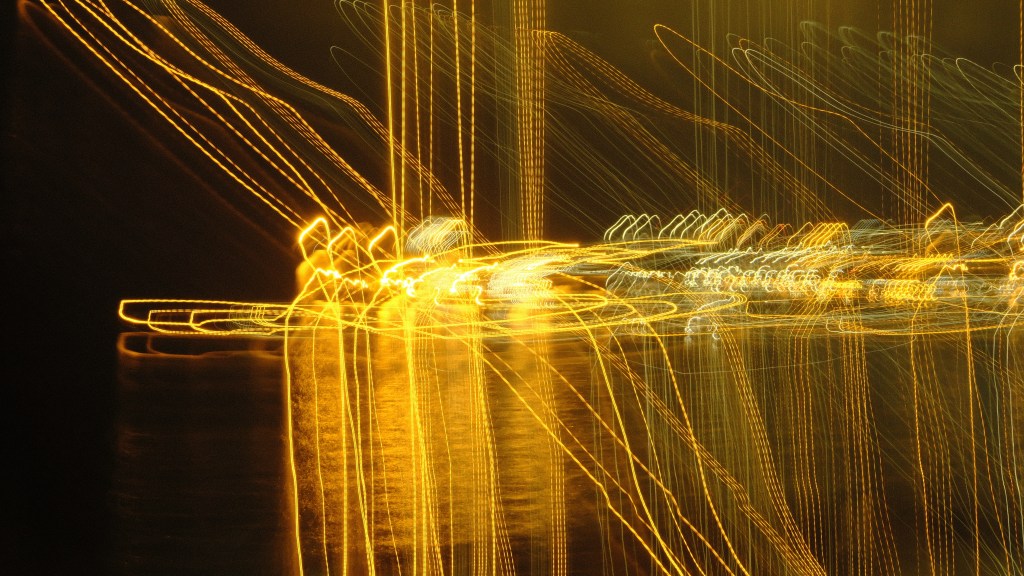
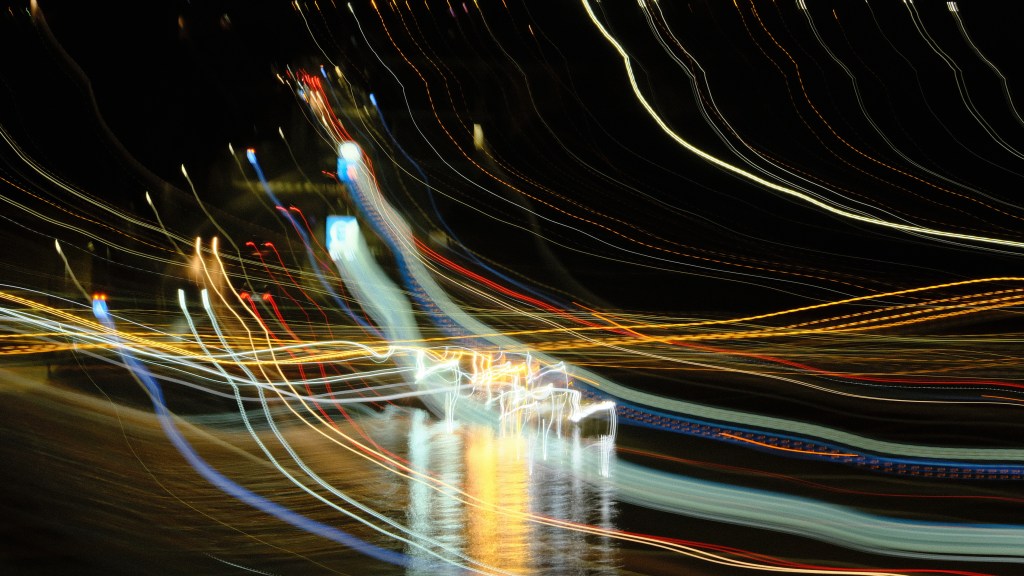
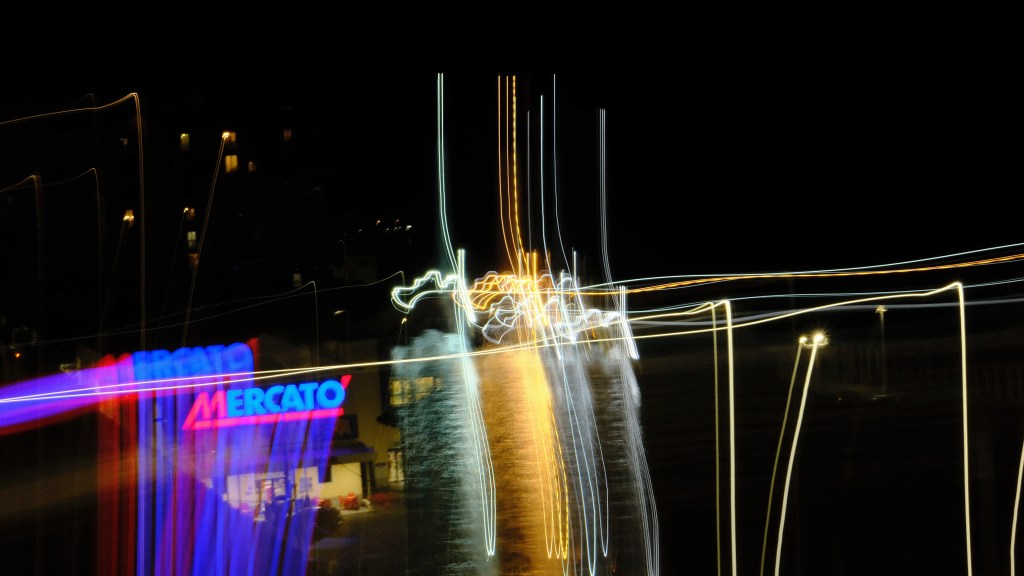
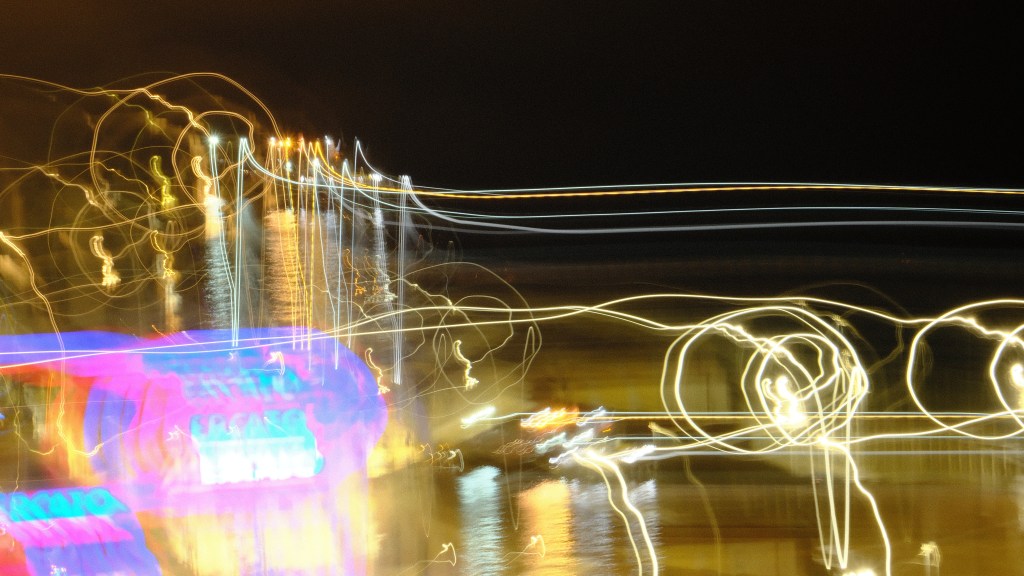
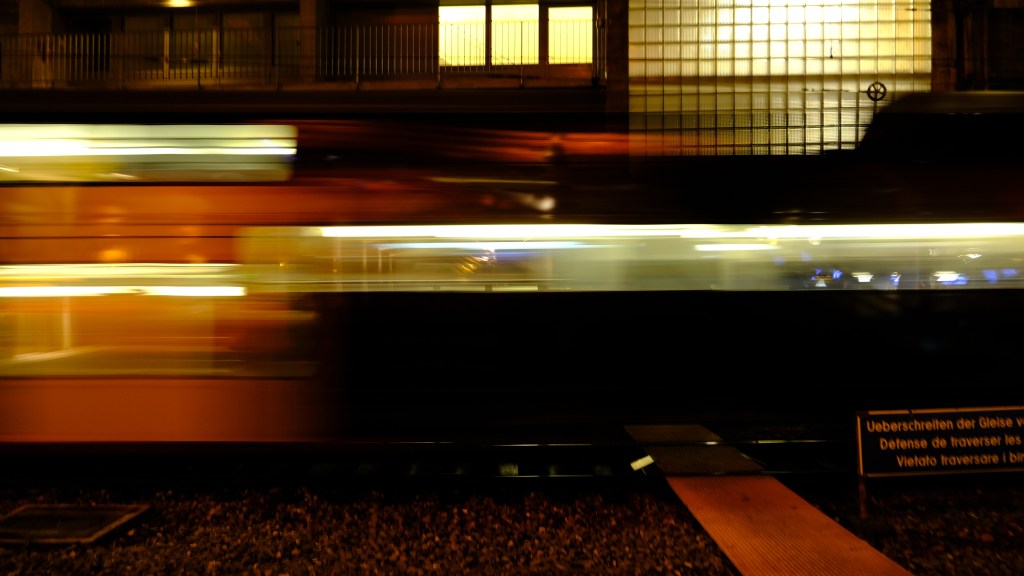
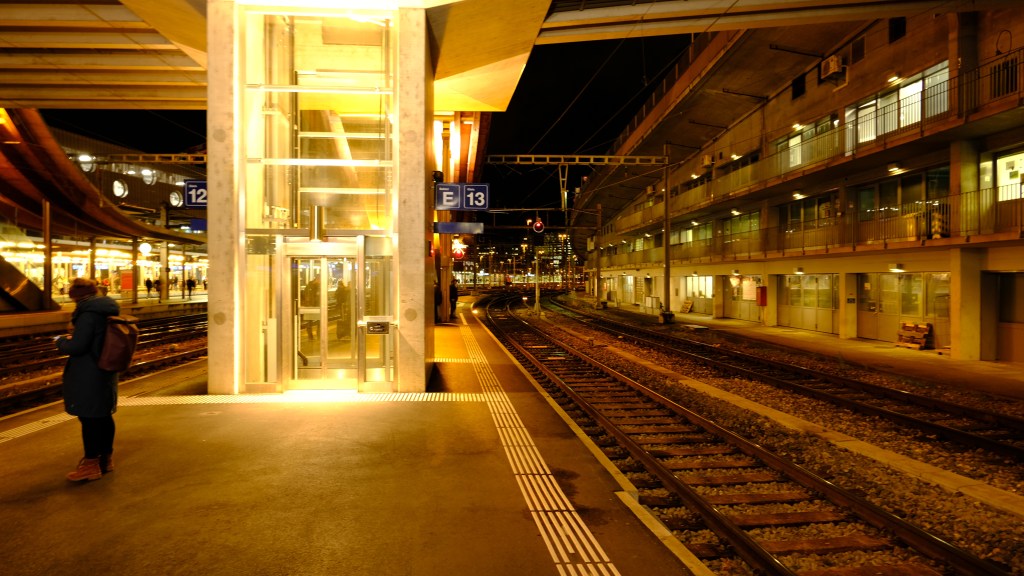
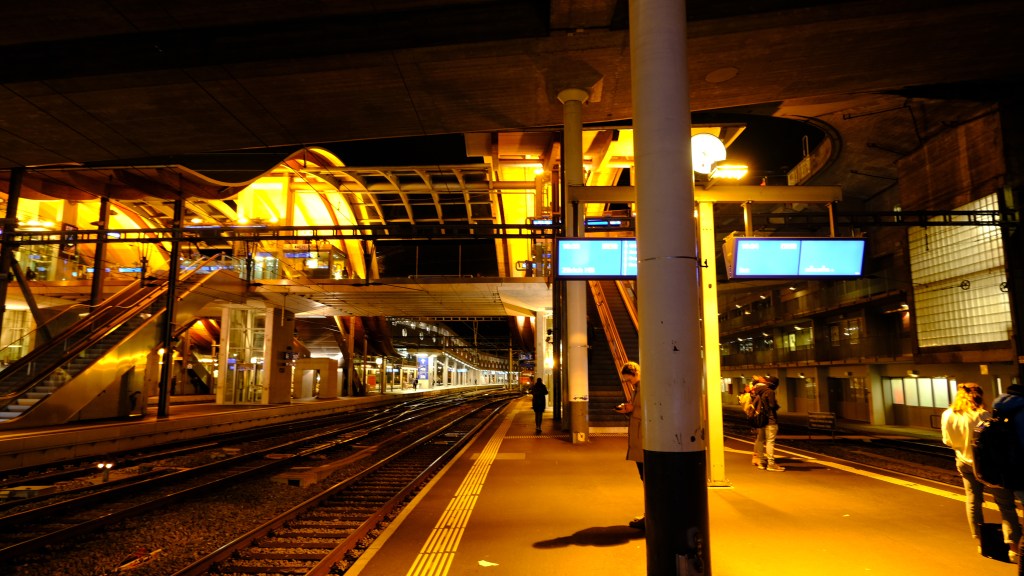
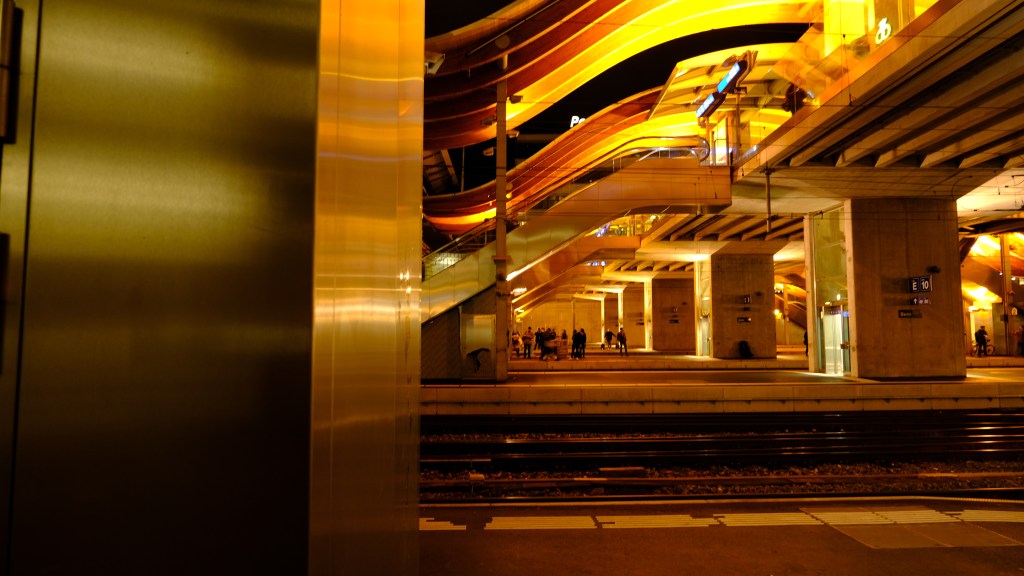
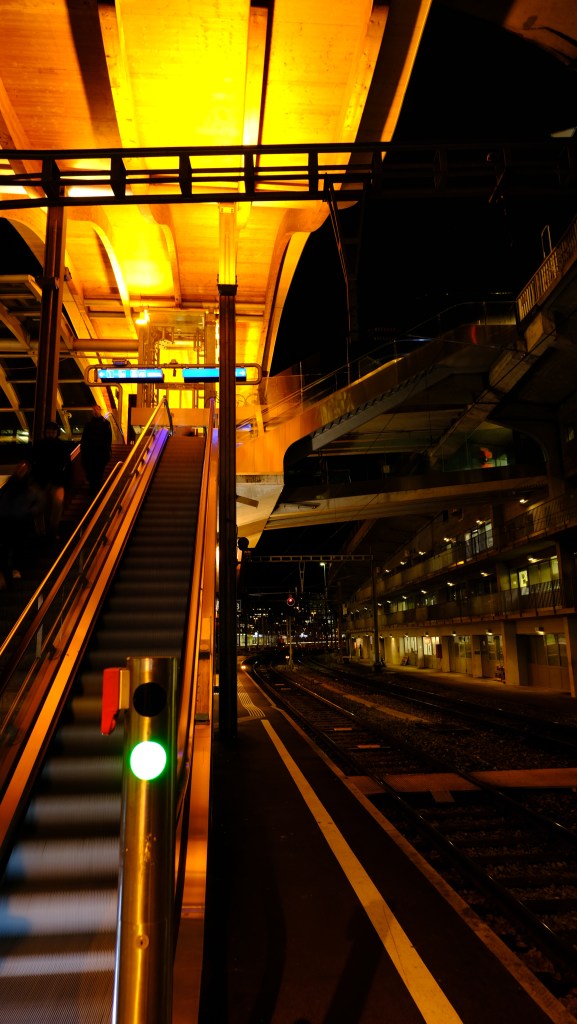
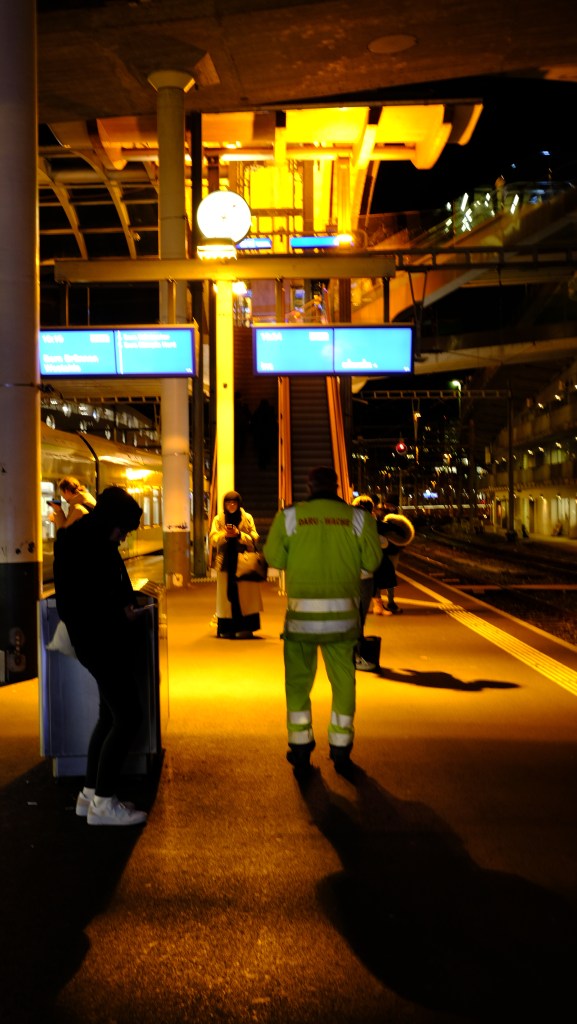
A Night at the Station
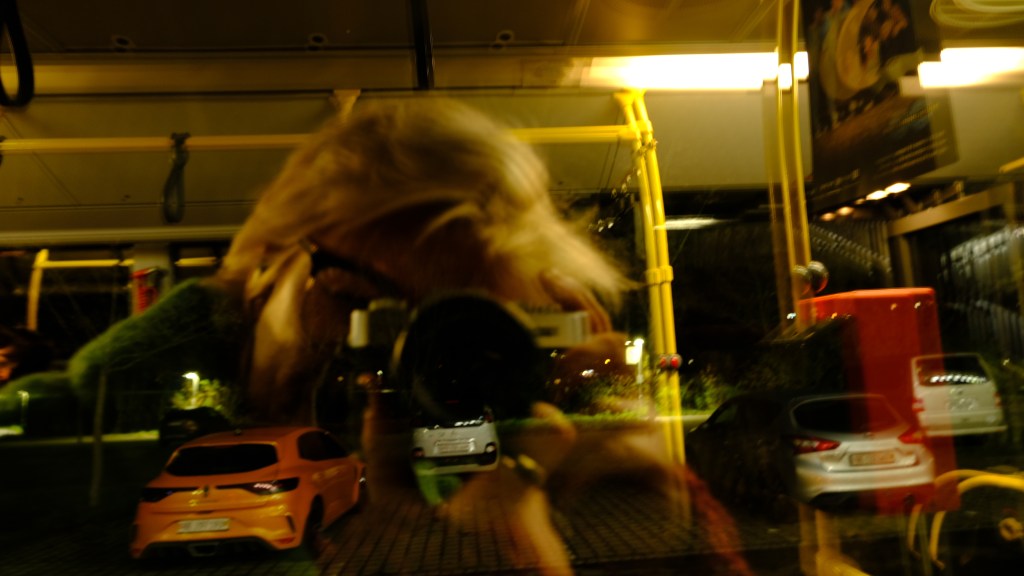
I’ve recently gifted myself a new digital camera, the Fujifilm TX30ii, and I’m in love! It handles very similarly to the old-fashioned analogue cameras and it looks just as stylish.
To get to grips with my new baby and to improve my photography skills and knowledge, I’ve enrolled in the Coursera course Photography Basics and Beyond: From Smartphone to DSLR Specialization. The course is five months long, and almost every week ends with photography assignments which are a culmination of the week’s learning. The course is great and I’m learning a lot, even though I sometimes have to rush through the material and the assignments, because… life.
So far, I’ve completed two out of the five courses and have realised that I keep returning to specific subjects and visual elements. I’m drawn to street and night photography. When I make photos, I tend to look specifically at colours and lines and how these lead the eye around the image.
Last week was all about composition, with a special focus on symmetrical and asymmetrical compositions. I talk about composition a lot in my classes, so I felt confident in my understanding of the concepts, but translating this into successful photographs is an entirely different matter. Here is the assignment: “Show what you have learned as you convey your own content interests through 1 photograph composed clearly with the principles of Symmetry, and 1 composed clearly with the principles of Asymmetry (specifically the Golden Mean, Golden Ratio, or Rule of Thirds)”.
I adjusted my ISO, white balance, and shutter speed so I could capture the true colours and atmosphere of the station.
Initially, I felt rather uncomfortable taking photographs in public with people in them, but no one seemed to mind or even notice much. I made many photographs, not all of them were successful, but there are a few I’m very pleased with.So, without further delay, here are some photos I took last week!

A Night at the Station -
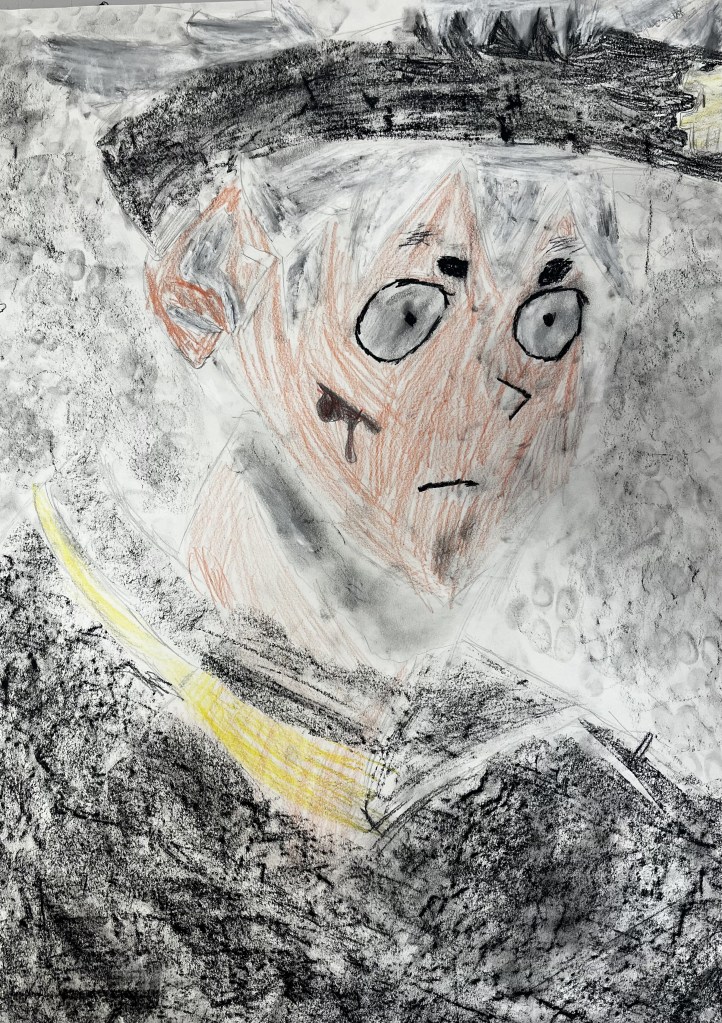
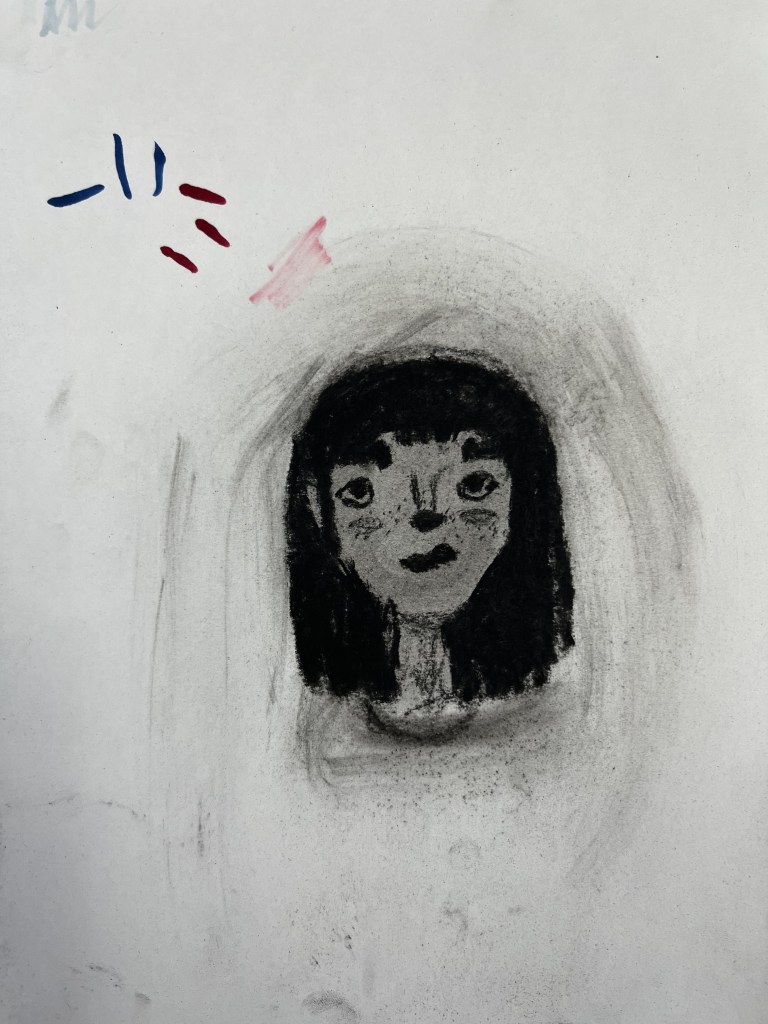
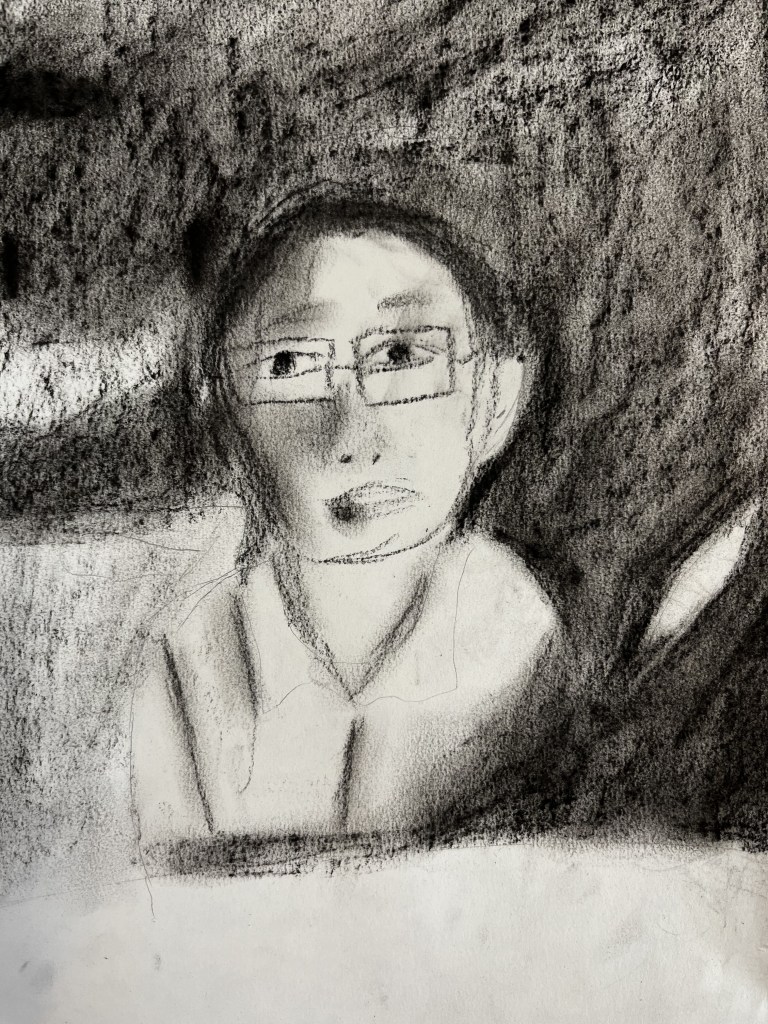
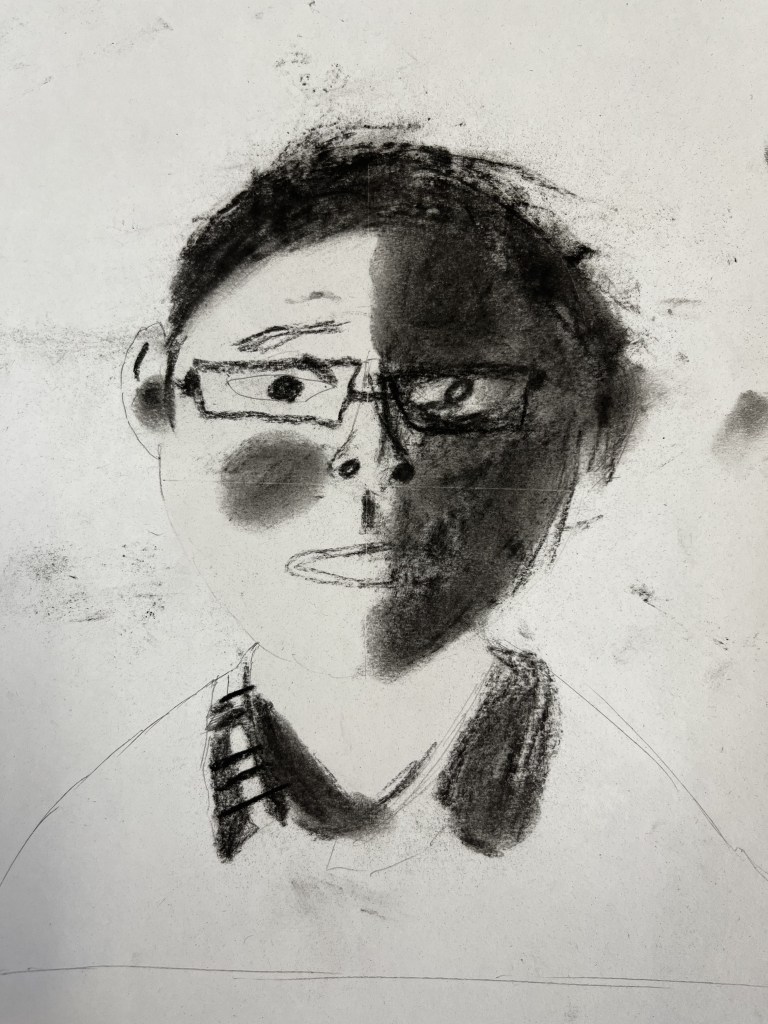
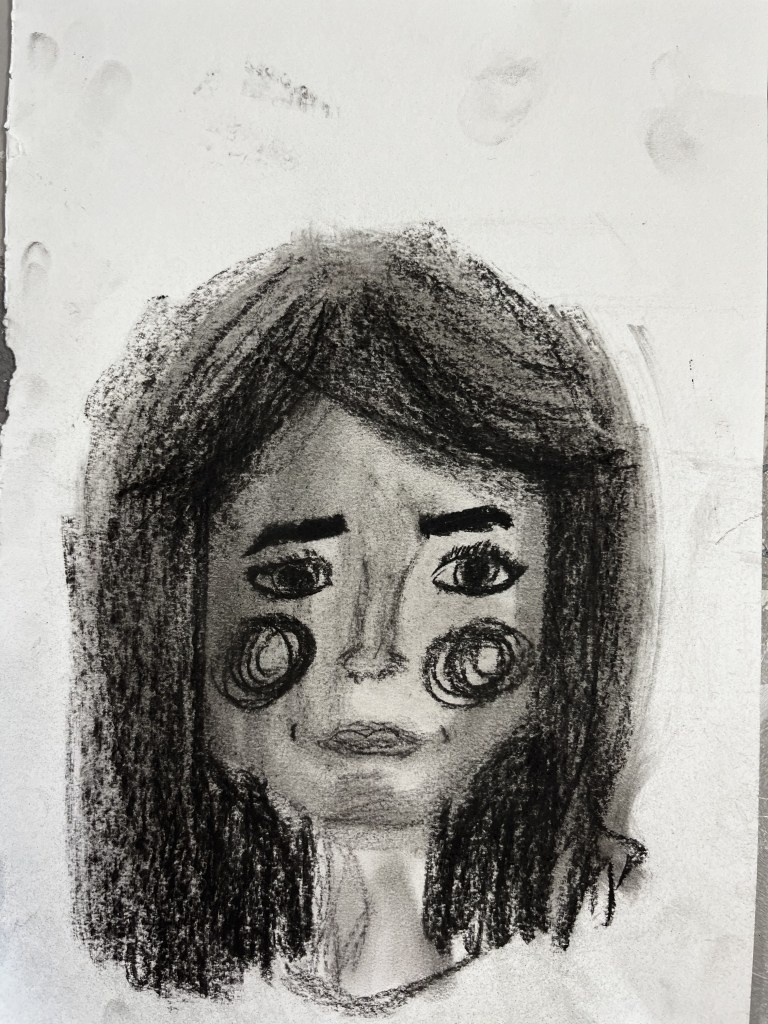
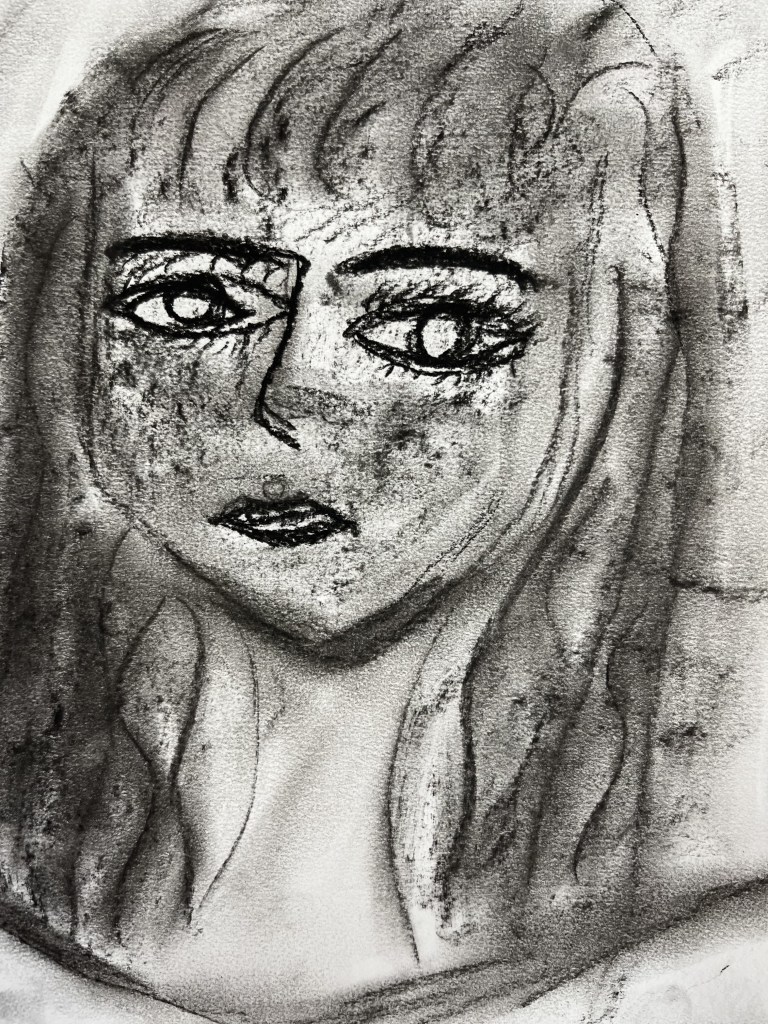
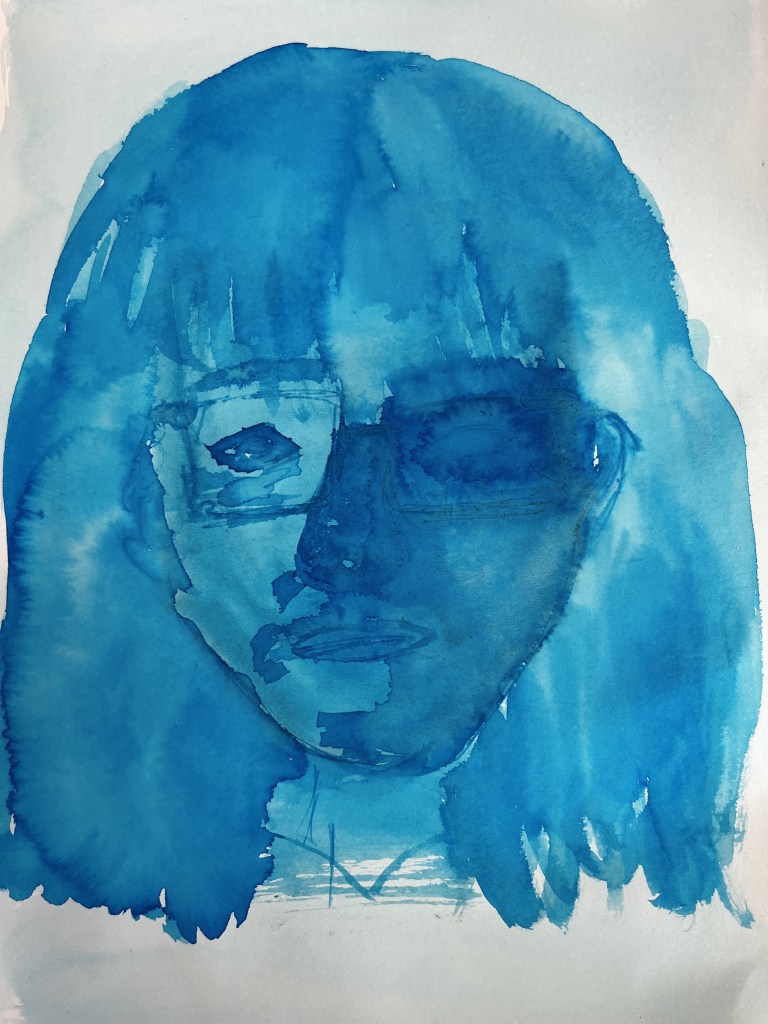
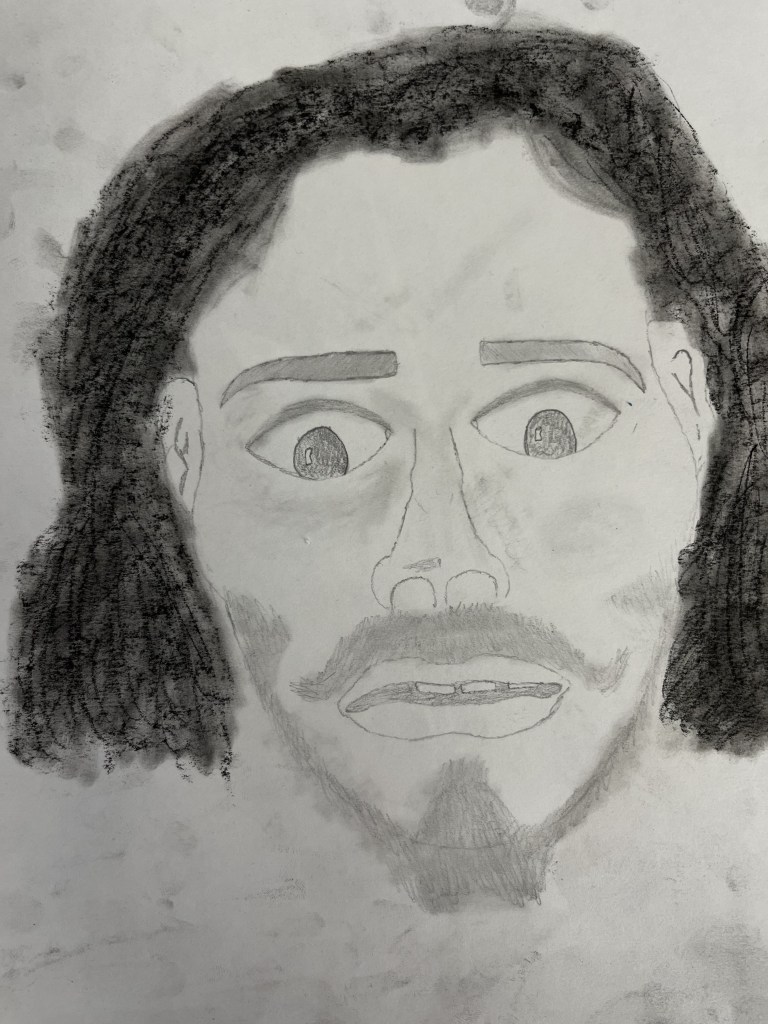
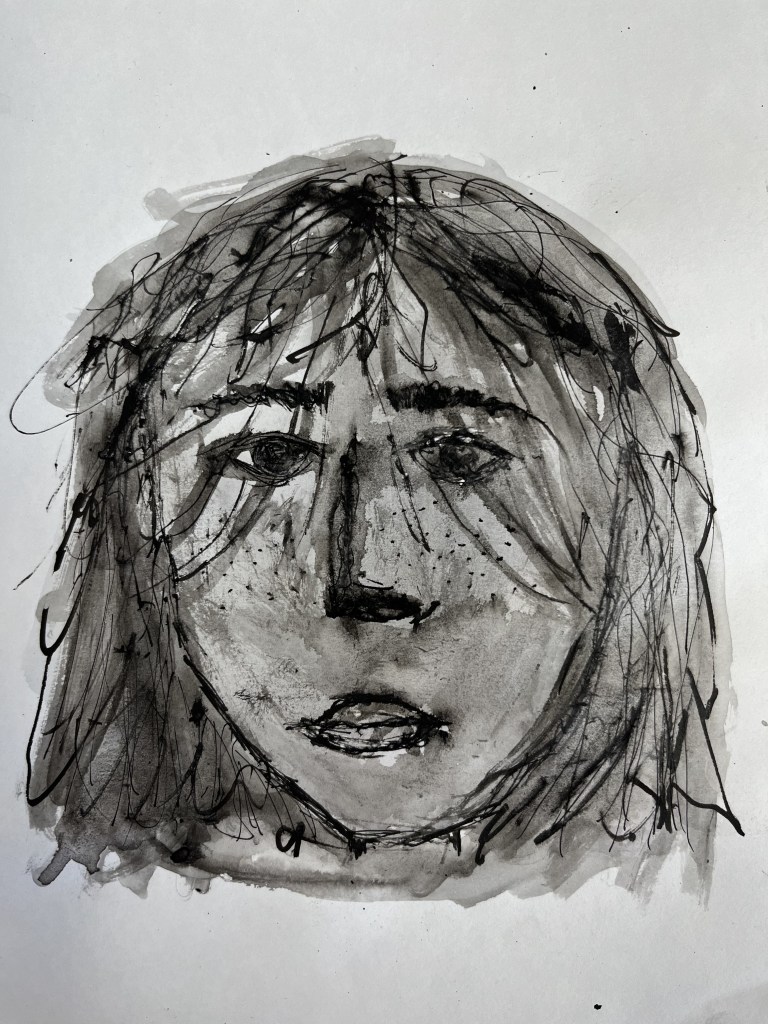
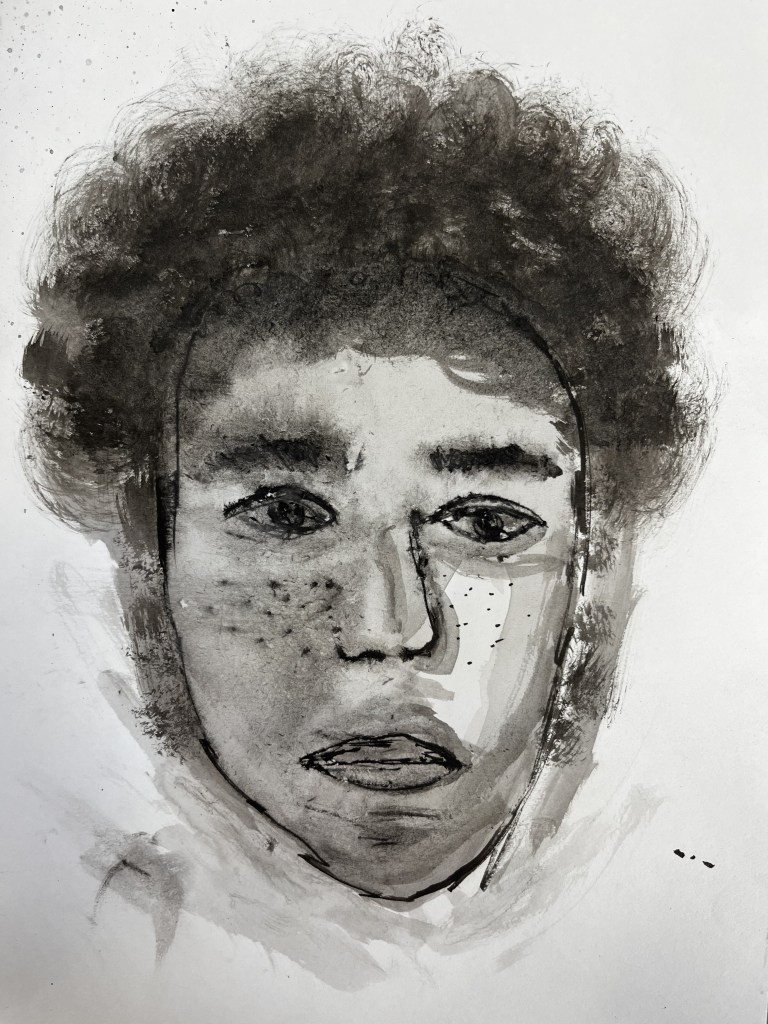
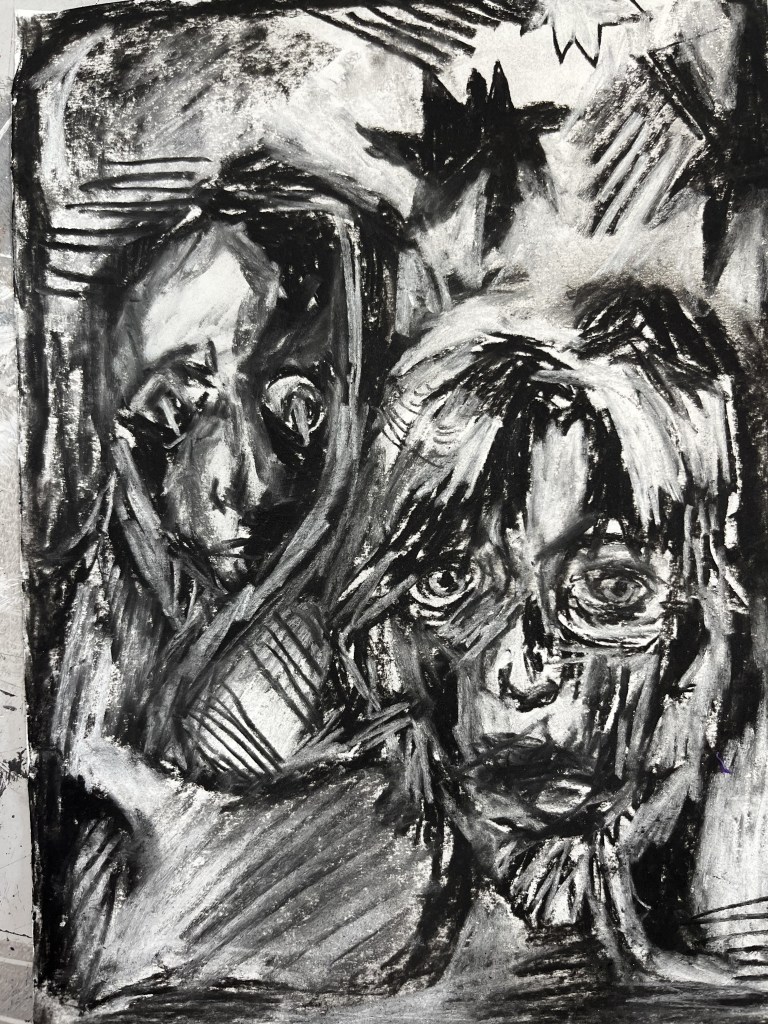
Looking at lighting with grade 9/10
This week grade 9 and 10 studied light and how it affects our portrait images for our Identity unit (for more info, see earlier post Ink Wash Portraits)
First students used spot lights in a darkened classroom to create dramatic lighting on each others faces, and took photos to capture the effects. Then we used compressed charcoal on large (A2) white paper to draw from the photographs, focussing on the shapes the shadow made. Working this large was new to many of them, so we discussed moving from the shoulder, standing, and being brave!
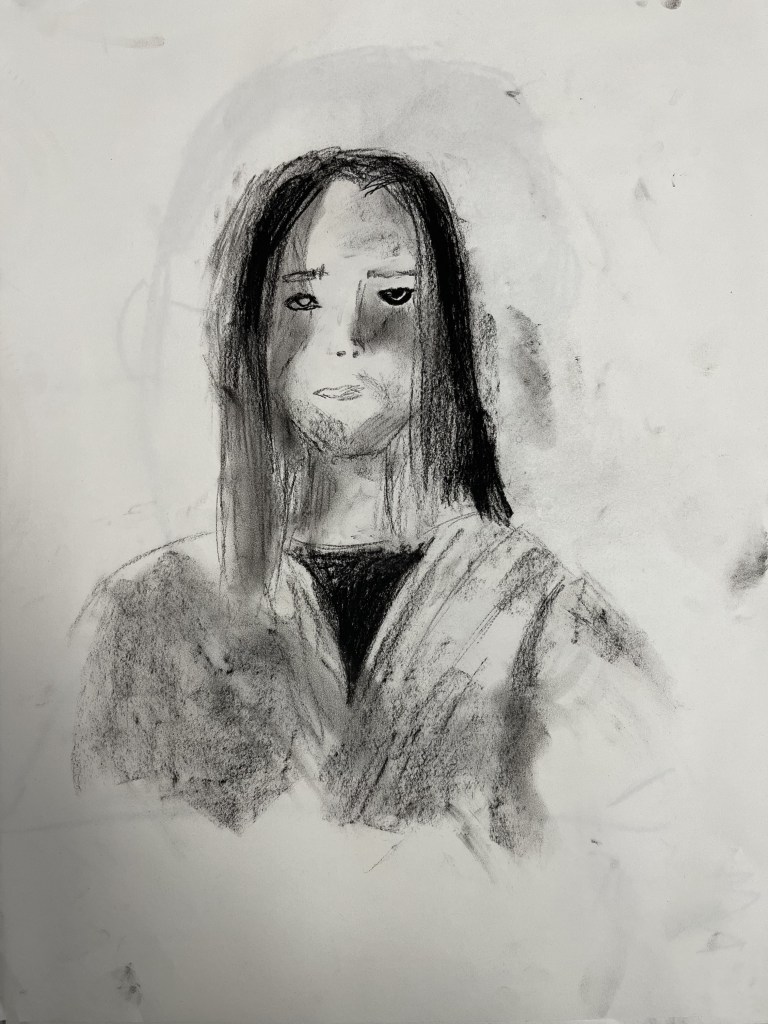
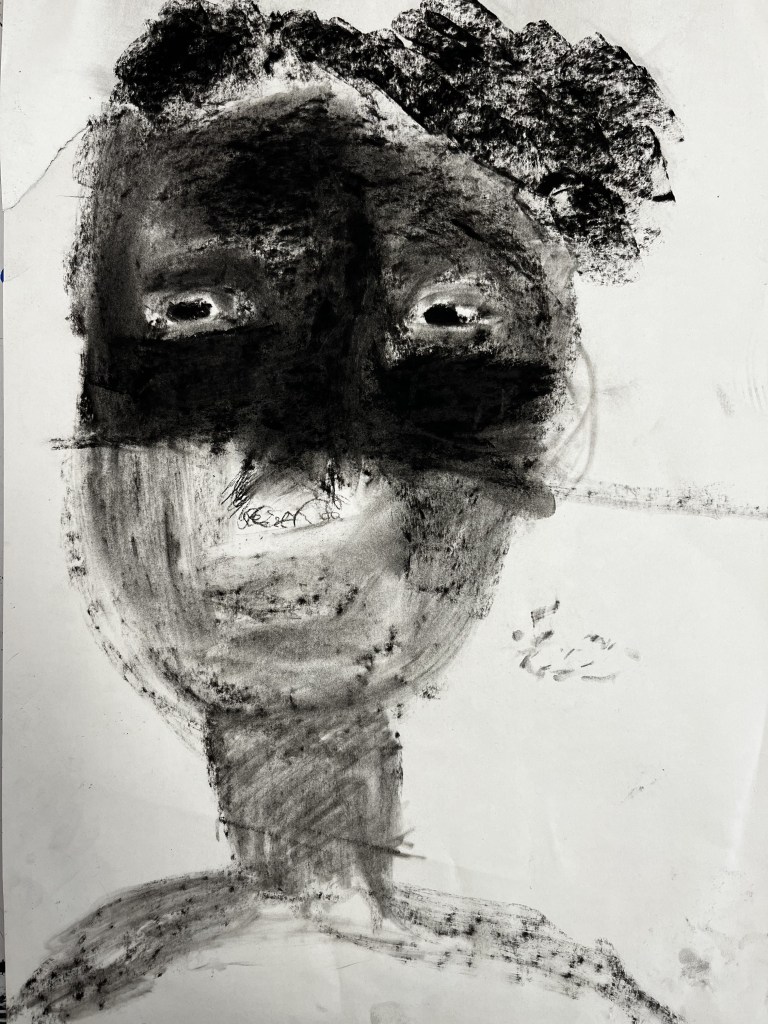
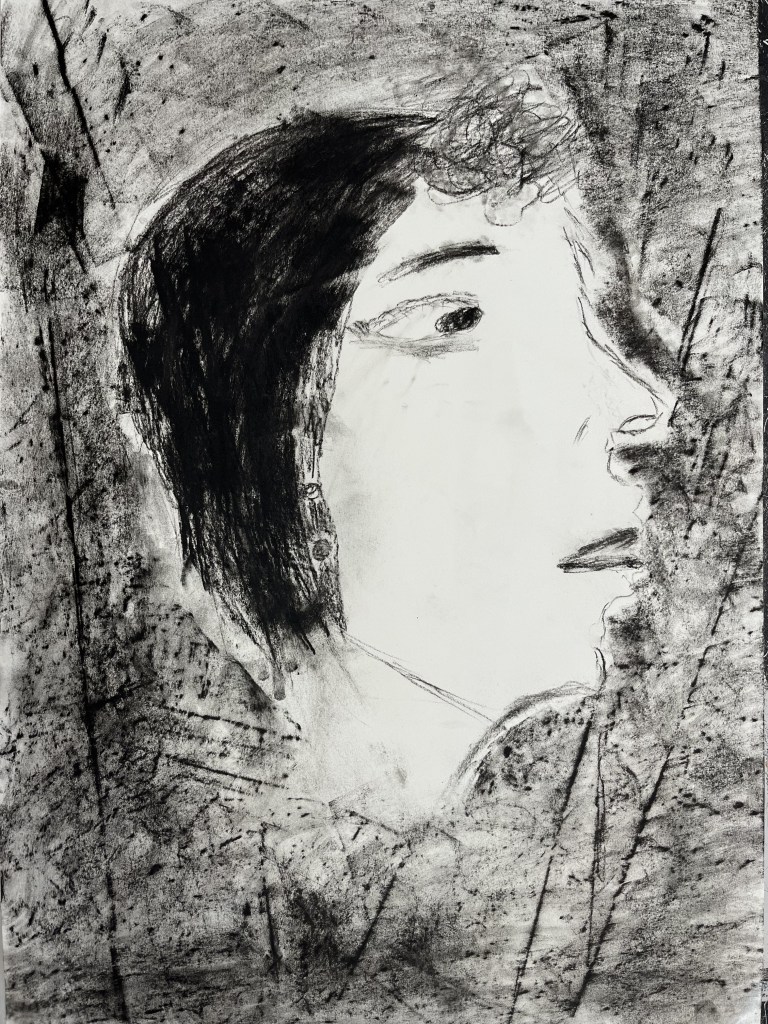
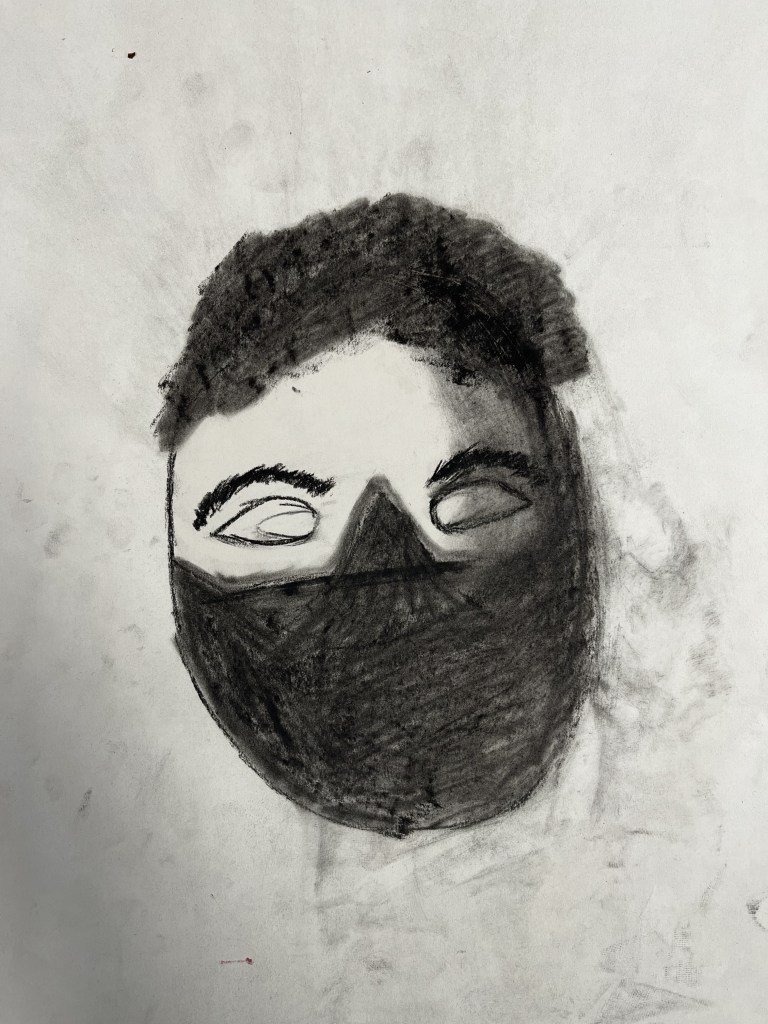
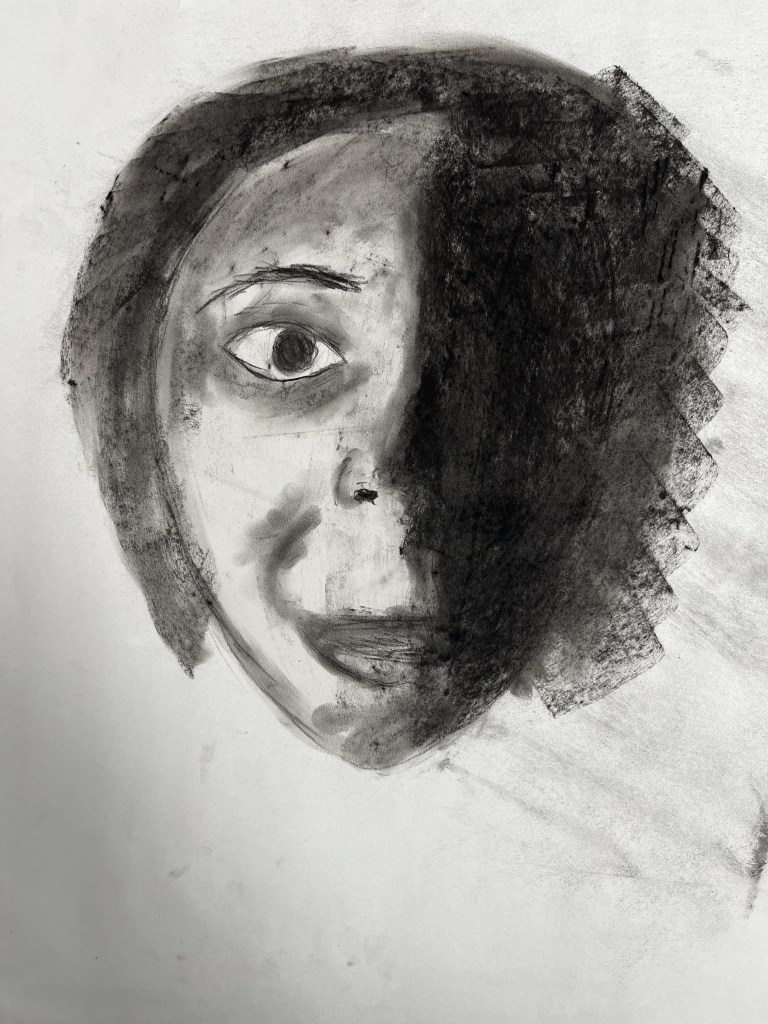
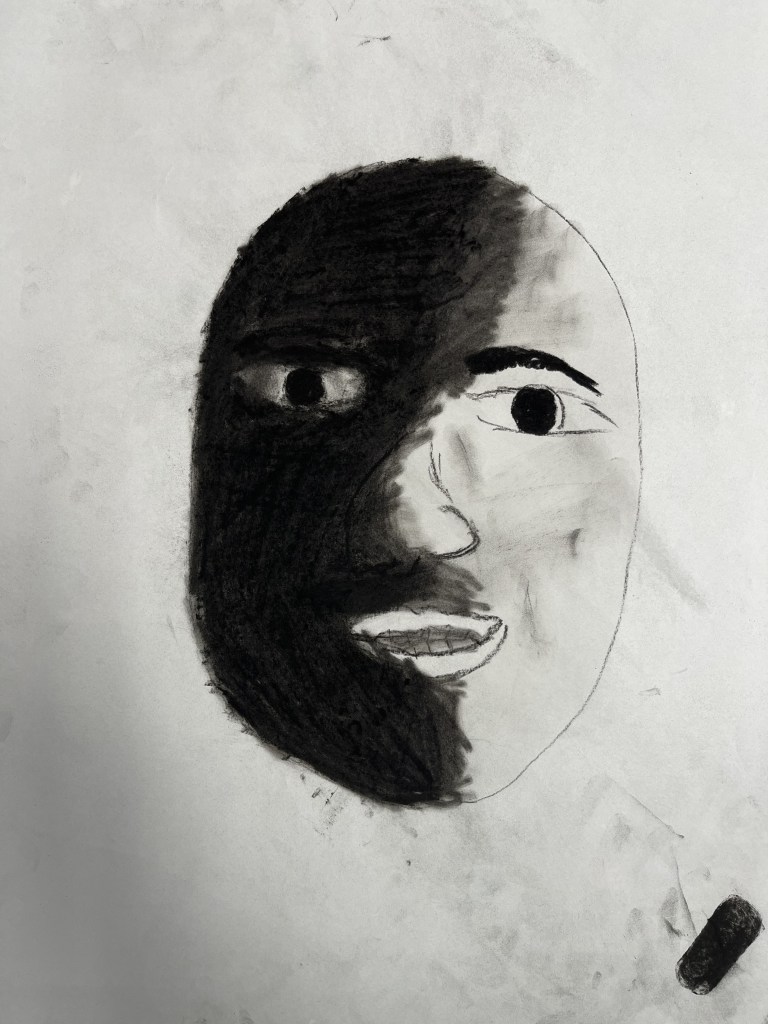
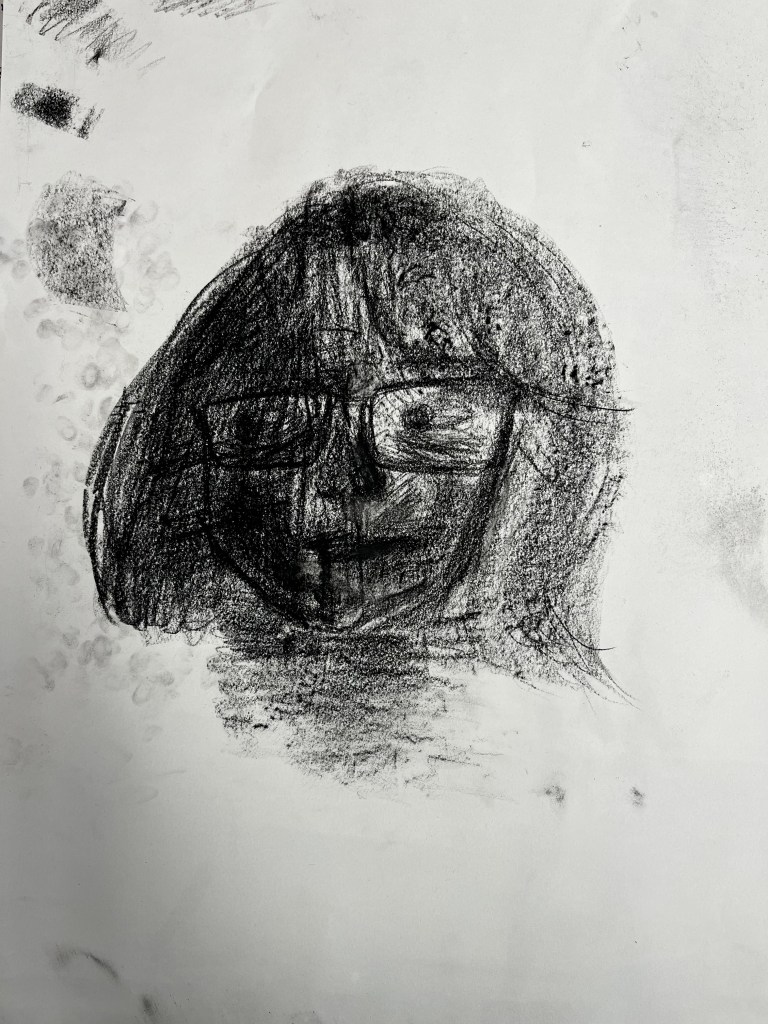
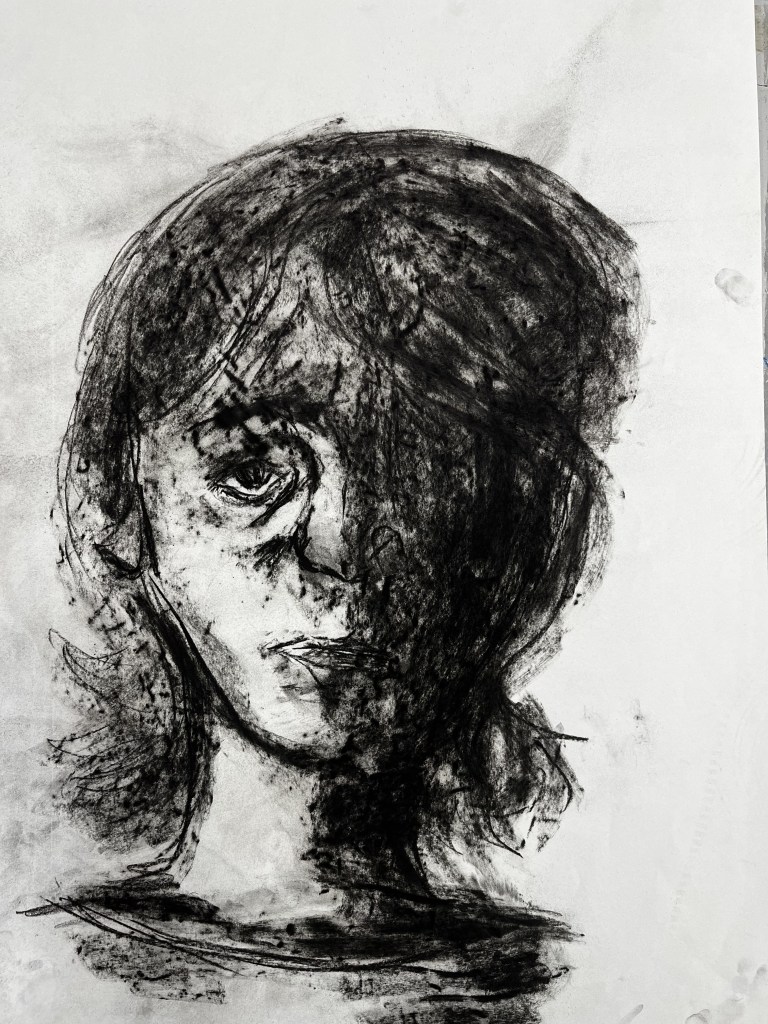
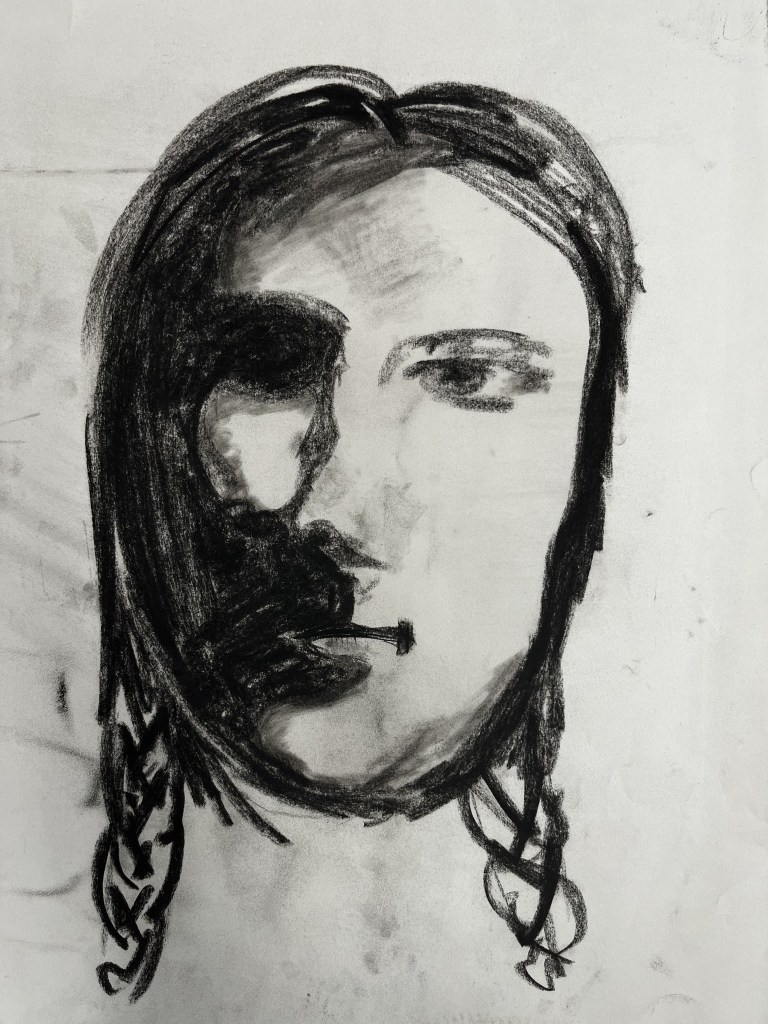
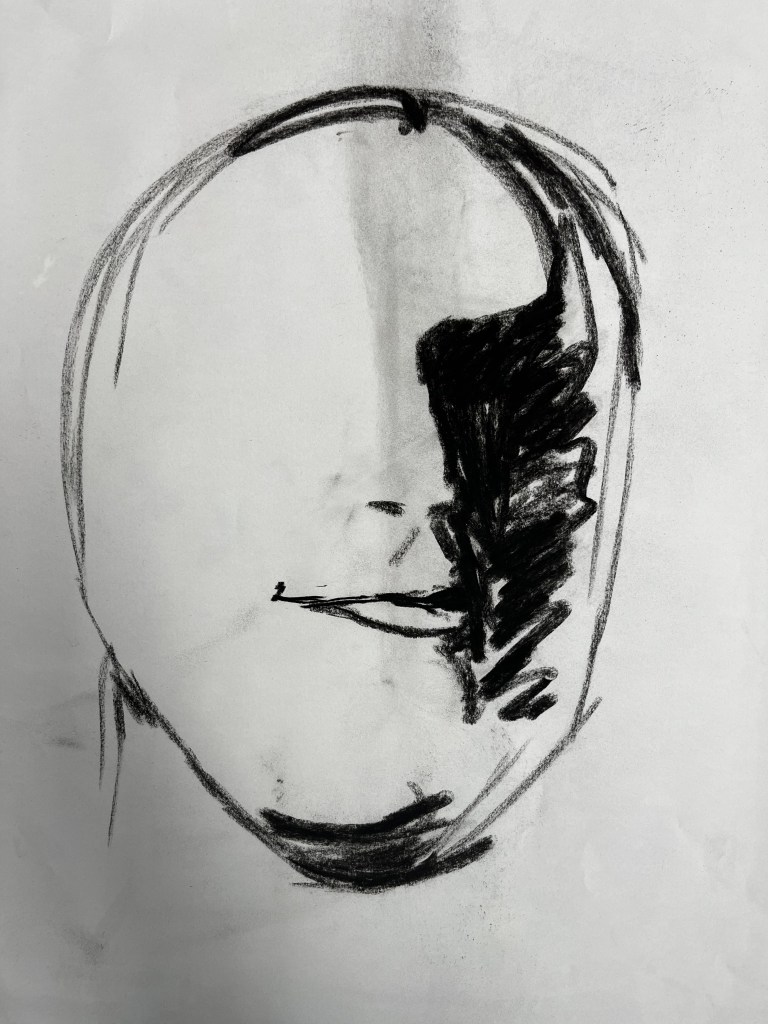
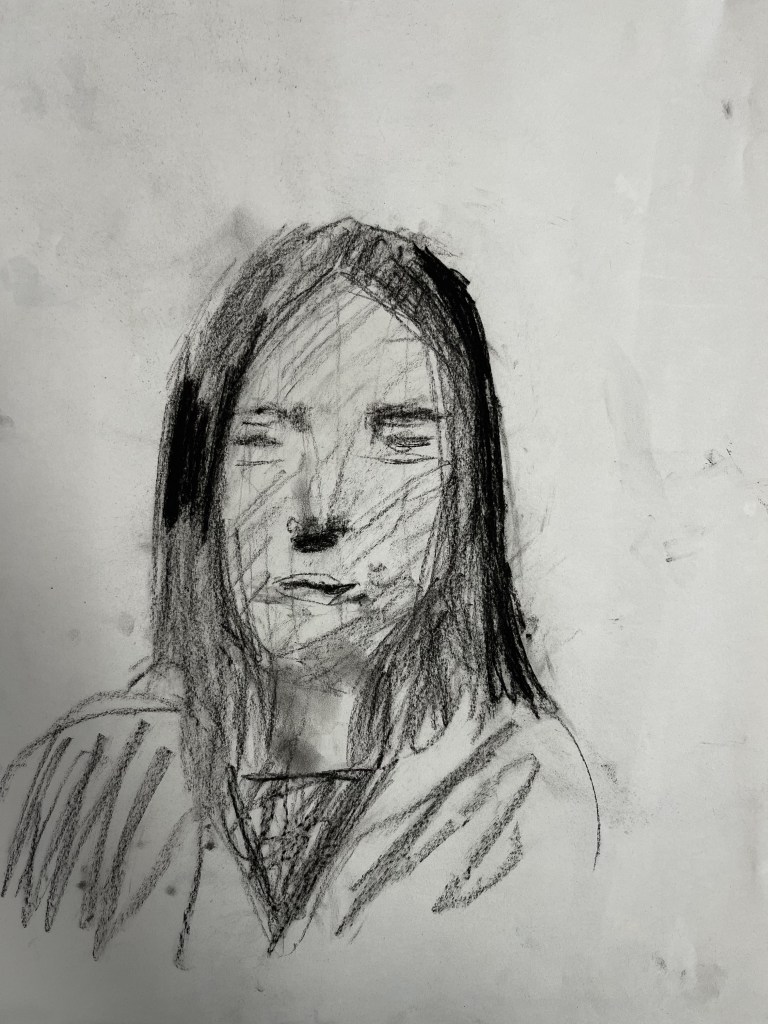
After that, we switched to black paper and white conté crayons. It was very challenging to draw the light parts of our faces, rather than the lines and shadows. Still in some cases, this version was more successful as students were pushed even further out of their comfort zone.
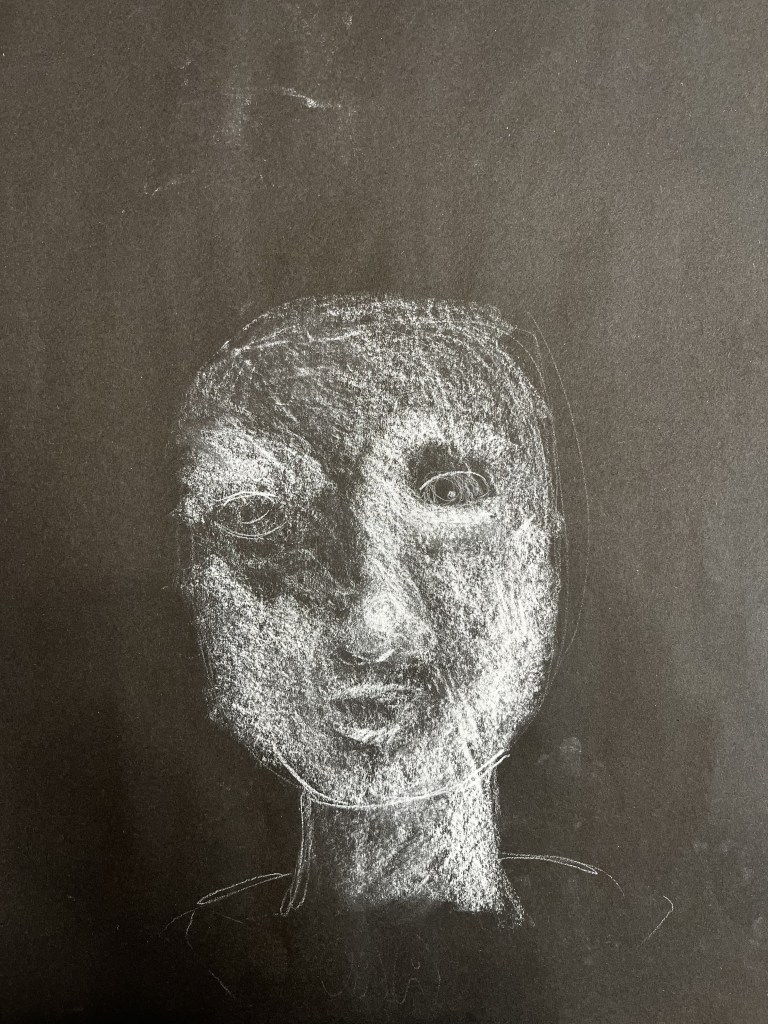
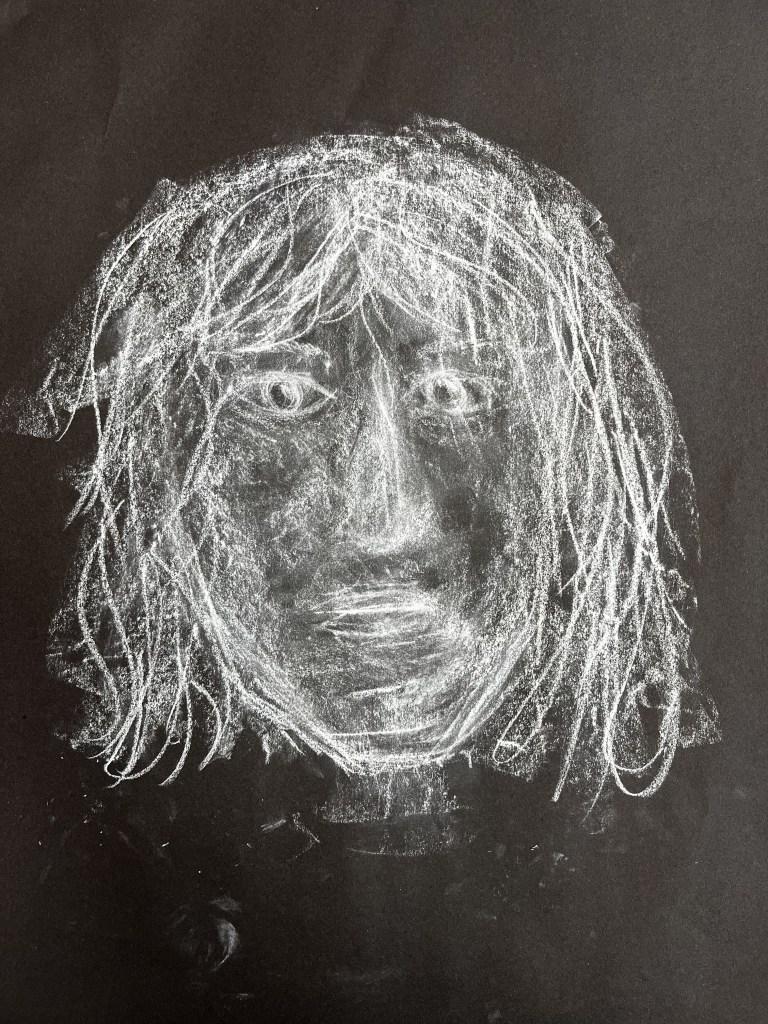
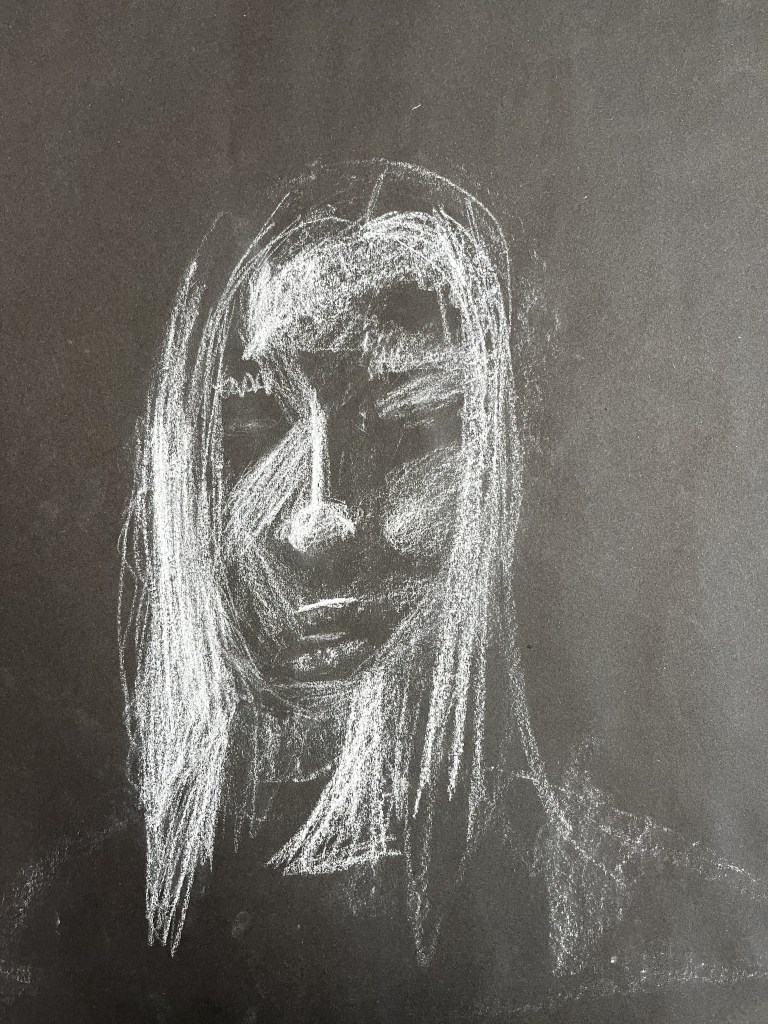

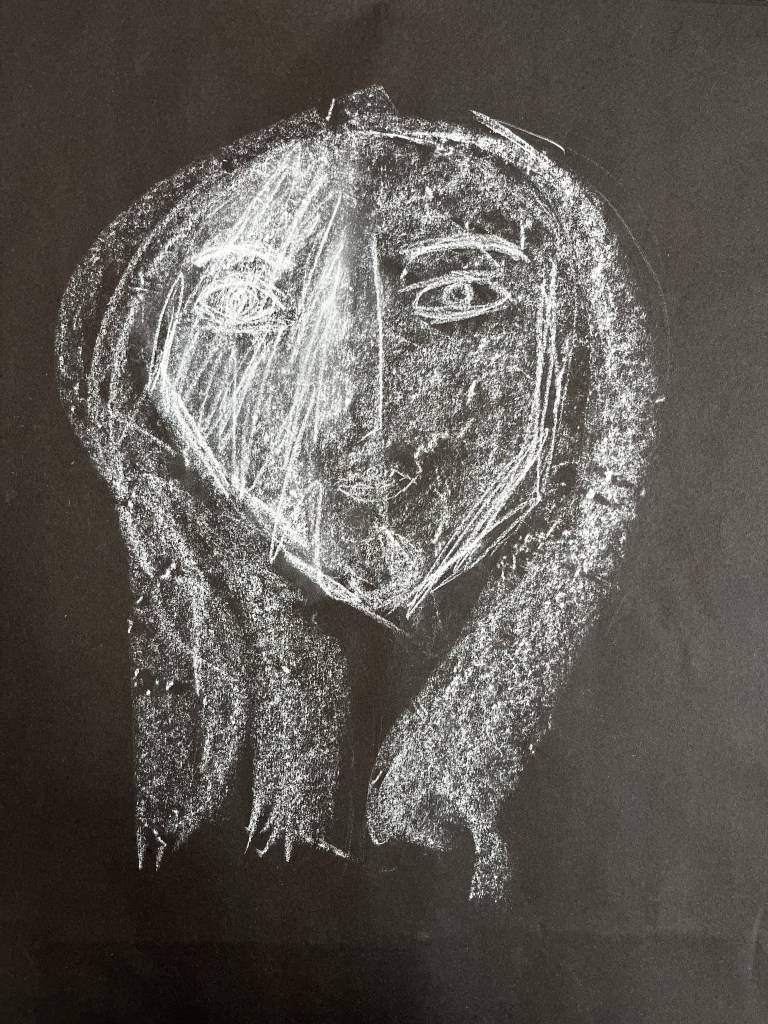
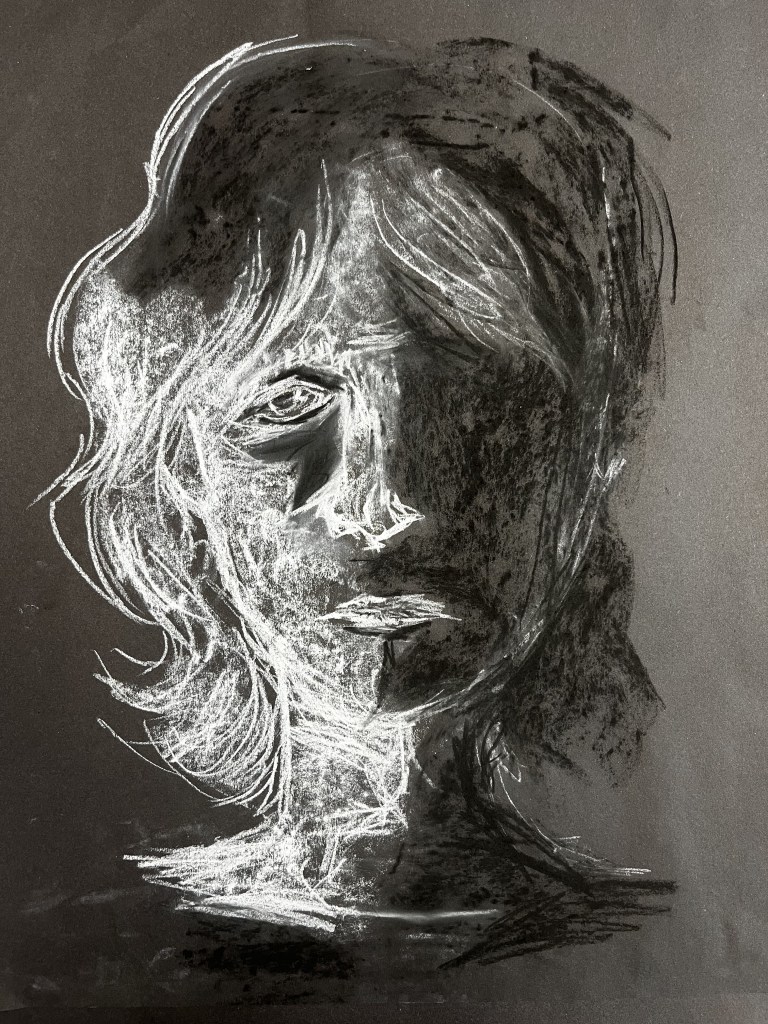
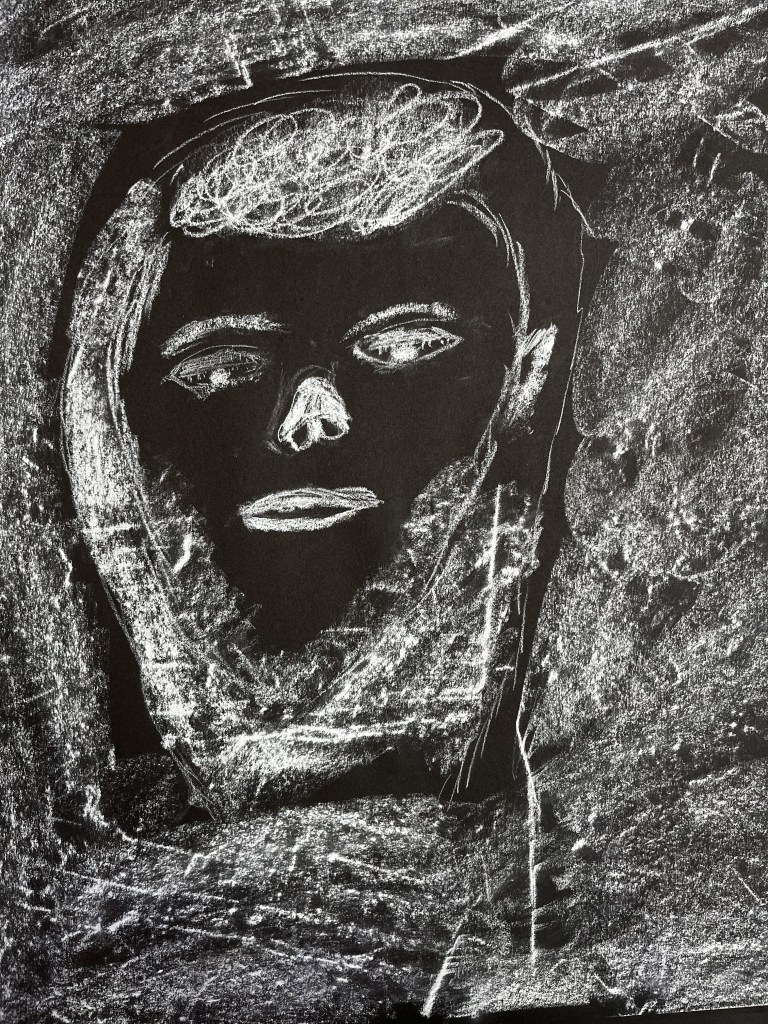
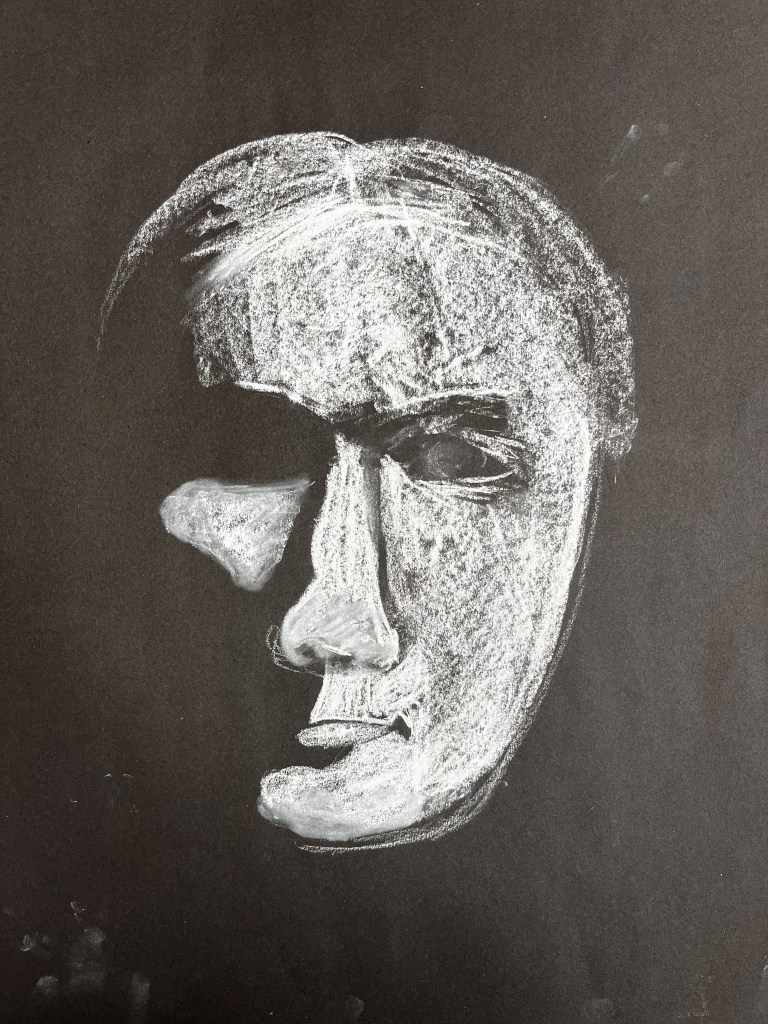
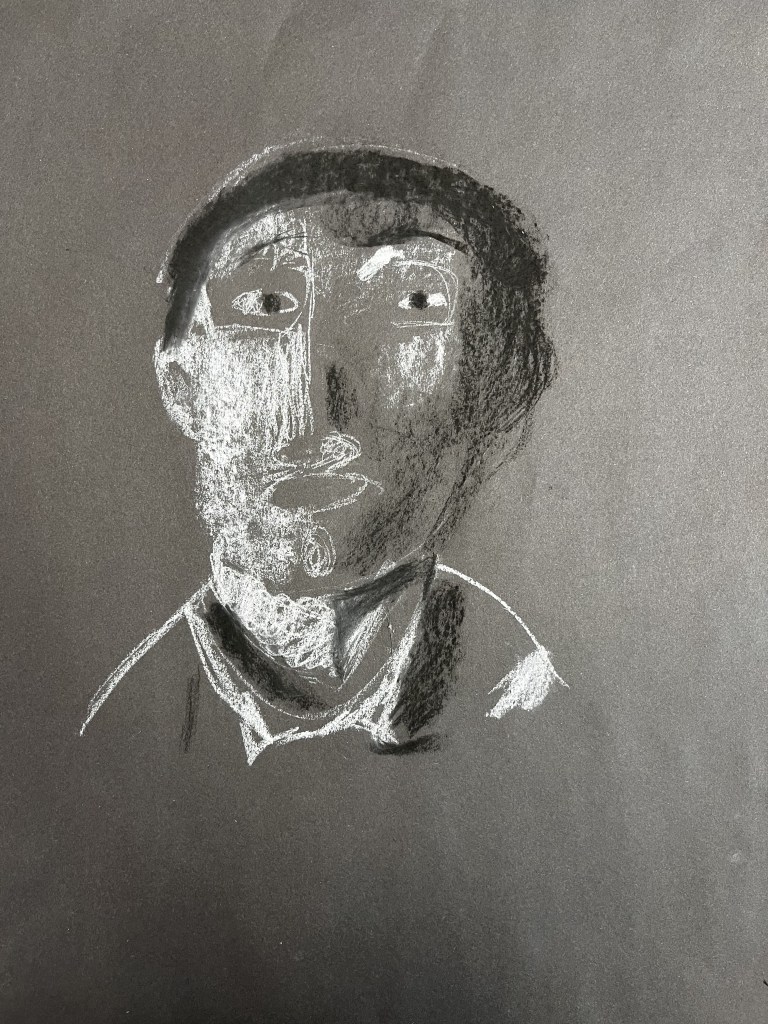
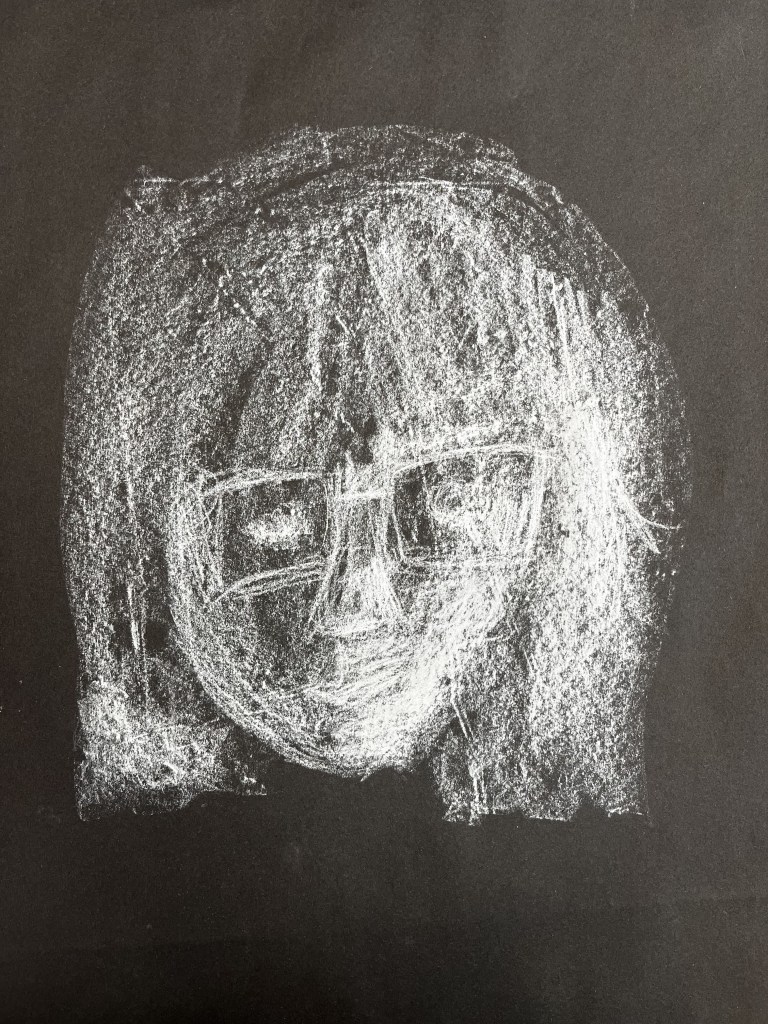
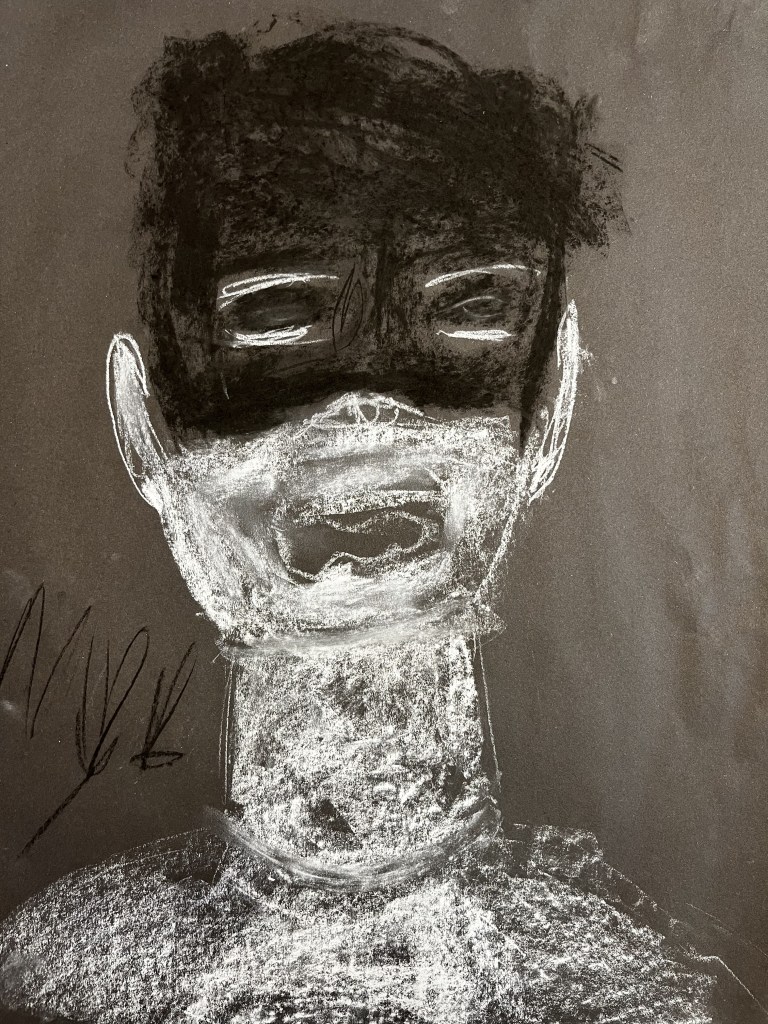
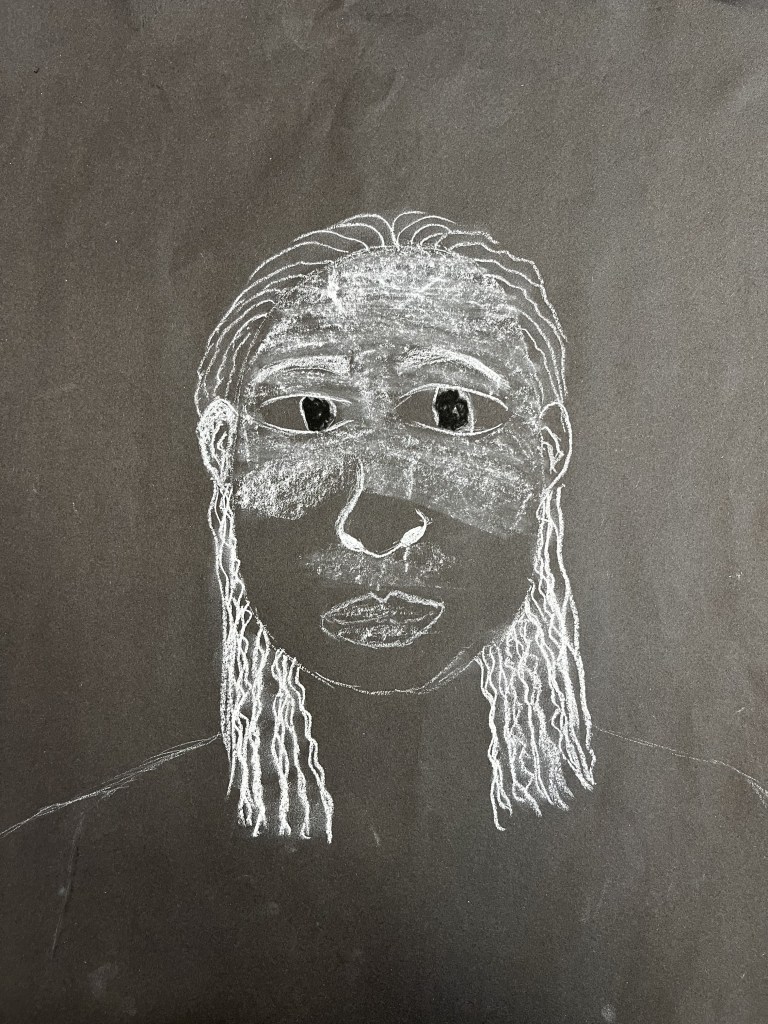
The next lesson, I let student free to chose any of the media we used before and to work smaller. Focussing on expressing themselves through the media and style as it pleased them. Some students chose to create a drawing of someone else.

-
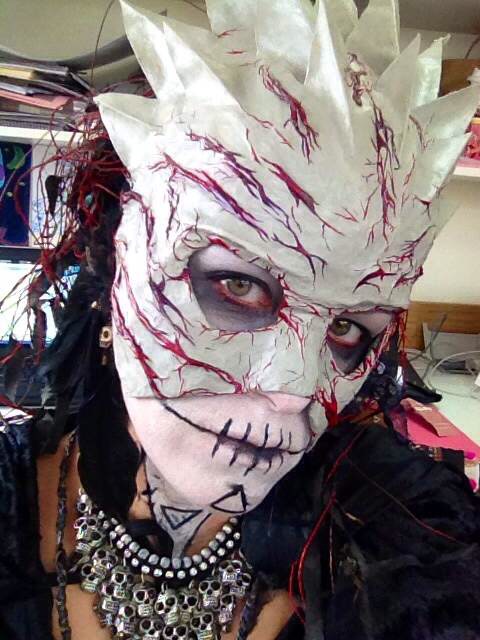
Halloween is coming!
I love Halloween and I love dressing up and I love it even more when I make my costume myself! Last year I sewed a witchy dress, but what I really wanted to make was another mask. I used to make many masks when I lived in Shanghai, but haven’t done it since. Of course I grew all my masks away when we moved back to Europe (I still regret it), so I will have to start from scratch.
I made my masks from plaster and paper-mache. They’re lightweight and made to fit my head perfectly. Then I painted them with acrylic paint.
Here is my favourite one, I wonder how I could top this!